


The voltmeter is one of the most important instruments in electronics, which is why in today’s tutorial we will learn how to build our own Arduino voltmeter using a very cheap voltage sensor. The voltage we measure will be displayed to the user through the Nokia 5110 LCD monitor. This project is very easy to build and provides a very good learning experience, ideal for beginners.
What is B25 Sensor?
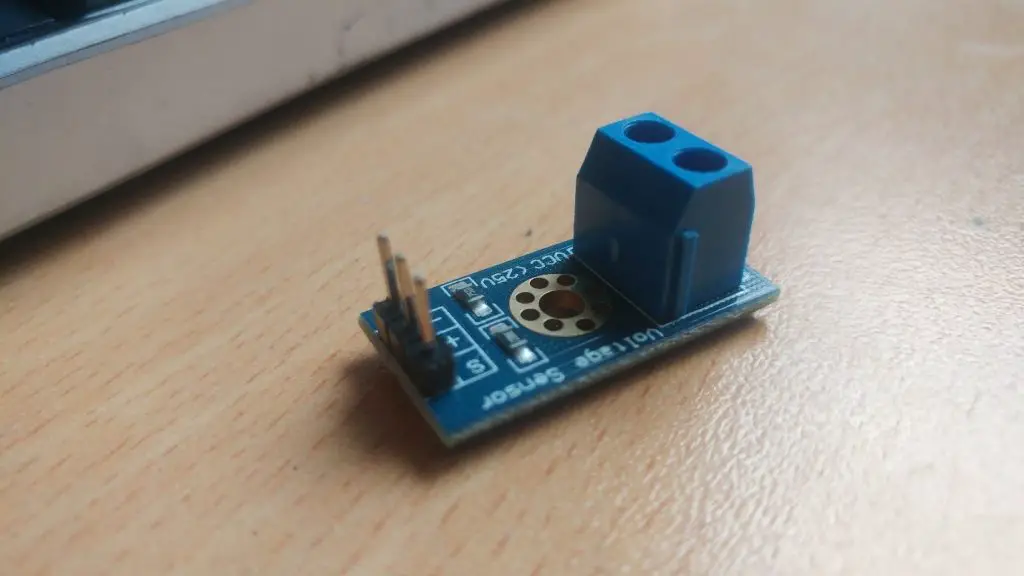
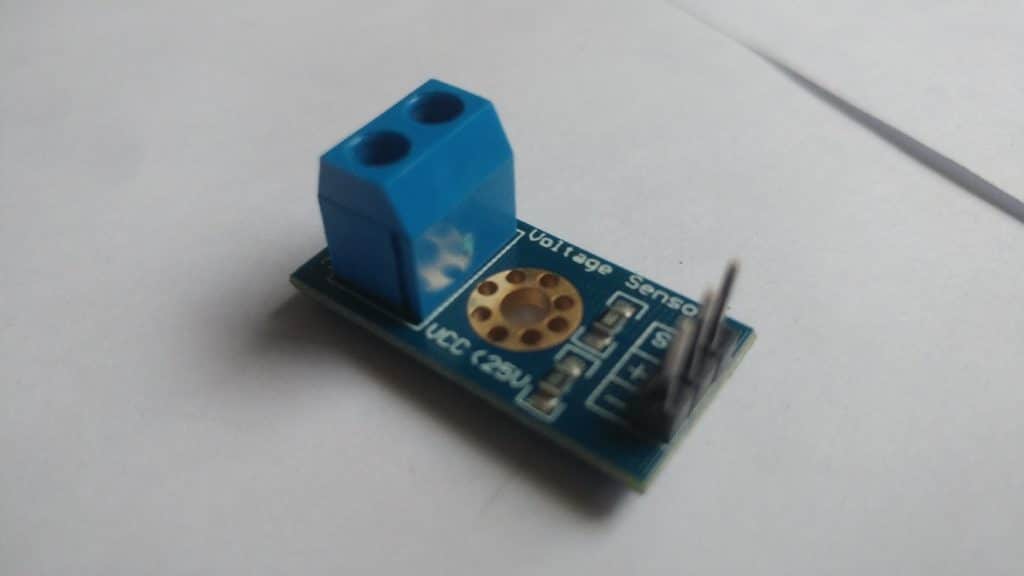
The B25 voltage sensor is very simple and easy to use with the voltage sensor module. It contains only two resistors, but if you prefer, you can choose to easily build your own module, or if you need an already built product, you can purchase this module sensor for less than $1. The sensor is based on an electronic voltage divider circuit, which is a very common circuit in electronic devices. It is used most of the time for t0. It converts higher voltages to lower voltages by using a pair of resistors and calculating the output voltage according to Ohm’s law.
Abstract
Any voltage supplied by the sensor to the Arduino is converted from 0 to 25 volts to the voltage within the Arduino analog pin capacity. For DC voltages, the voltage is less than 5 volts.
It should be noted that this particular sensor has a maximum input voltage of 25V. Exceeding the voltage at the input of the sensor may damage the Arduino.
Let’s Get Started
Collect Hardware
- Arduino Uno View on Amazon
- Nokia 5110 LCD View on Amazon
- Voltage Sensor View on Amazon
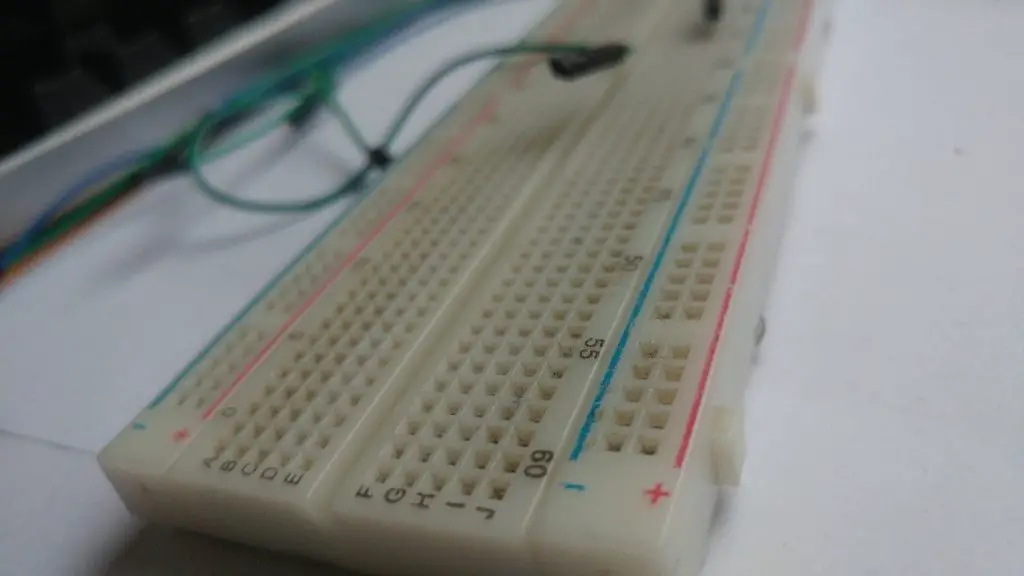
- Small Breadboard View on Amazon
- Jumper Wires View on Amazon

Note:- I have written a post for people looking for the best multimeter for electronics to buy?, do read it If you are interested.
Assemble Hardware
Let’s now connect all the parts together.
At first we connect the voltage sensor. It only has 3 pins. Of those, we only have to connect.
Connecting the Voltage Sensor
- Pin goes to Arduino’s GND
- + Pin stays unconnected
- S Pin goes to Analog Pin 0
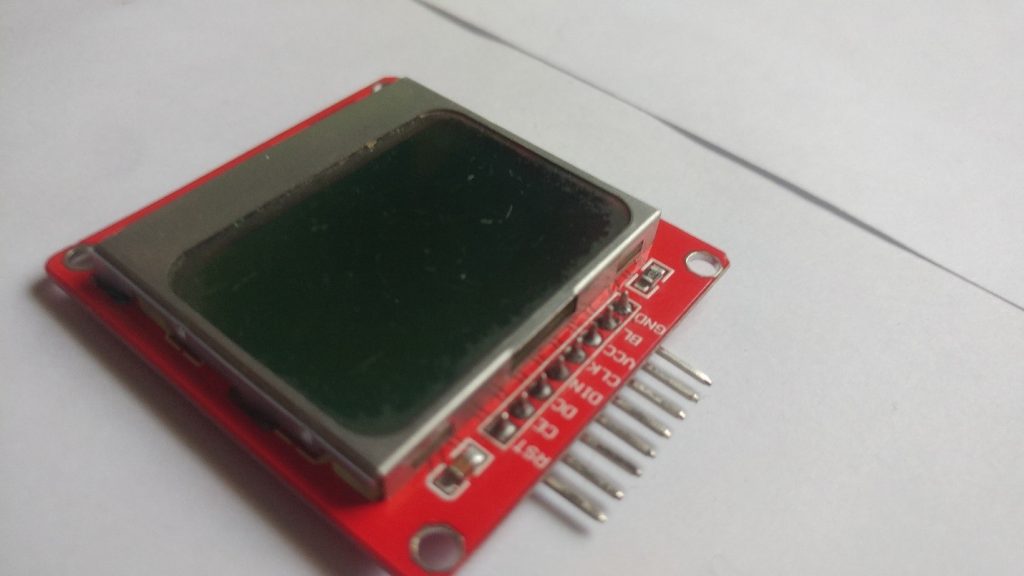
The next step is to connect the Nokia 5110 LCD display.
Connecting the Nokia 5110 LCD Display
- RST goes to Digital Pin 12 of the Arduino
- CE goes to Digital Pin 11 of the Arduino
- DC goes to Digital Pin 10 of the Arduino
- DIN goes to Digital Pin 9 of the Arduino
- CLK goes to Digital Pin 8 of the Arduino
- VCC goes to Arduino 3.3V
- LIGHT goes to Arduino GND (backlight on)
- GND goes to Arduino GND
Now that we have connected all the parts together, all we have to do is to load the code. A Splash screen is displayed for a couple of seconds and then we can start measuring the voltage.
Software Requirements
Download Arduino IDE, and Source Code.
Source code Download Here
Arduino Source
#include <LCD5110_Graph.h> // THE LIBRARY I AM USING IS THIS: https://www.rinkydinkelectronics.com/library.php?id=47
LCD5110 lcd(8,9,10,12,11);
extern unsigned char BigNumbers[];
extern uint8_t ui[];
extern uint8_t startScreen[];
float voltage = 0.0;
int sensorPin = A0;
float sensorValue = 0.0f;
String voltageString =”0.0″;
int stringLength = 0;
float vout = 0.0;
float vin = 0.0;
float R1 = 30000.0;
float R2 = 7500.0;
void setup() {
Serial.begin(9600);
lcd.InitLCD();
lcd.drawBitmap(0, 0, startScreen, 84, 48);
lcd.update();
delay(3000);
lcd.setFont(BigNumbers);
delay(1000);
}
void loop() {
lcd.clrScr();
lcd.drawBitmap(0, 0, ui, 84, 48);
voltage = readVoltage();
Serial.println(voltage);
voltageString = String(voltage,1);
stringLength = voltageString.length();
displayVoltage(stringLength);
lcd.update();
delay(1000);
}
float readVoltage()
{
sensorValue = analogRead(sensorPin);
vout = (sensorValue * 5.0) / 1024.0;
vin = vout / (R2/(R1+R2));
return vin;
}
void displayVoltage(int length)
{
switch(length)
{
case 3: lcd.print(voltageString,14,19); break;
case 4: lcd.print(voltageString,2,19); break;
default: lcd.print(voltageString,2,19); break;
}
}


