


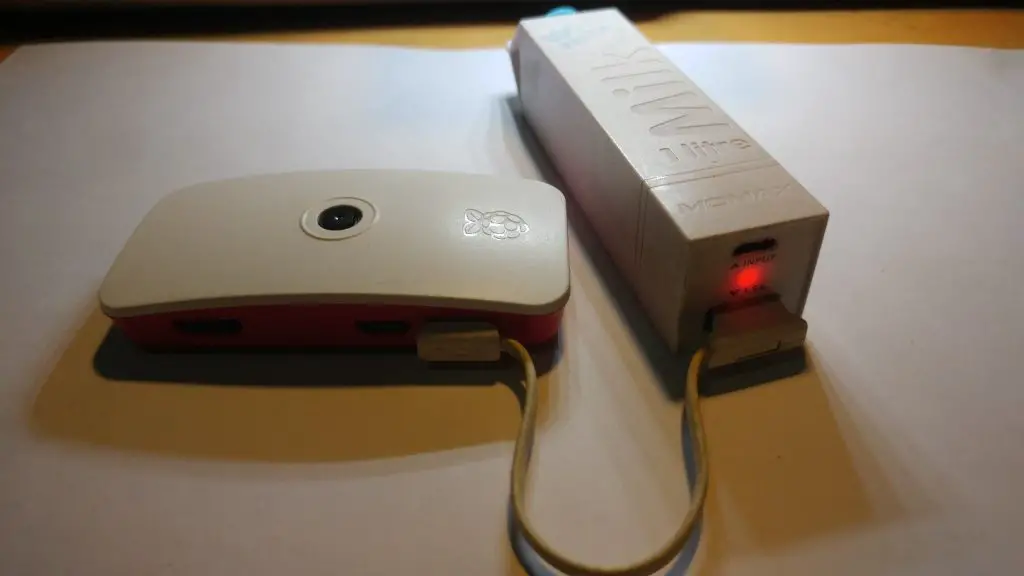
In this article, I’ll show you how to build a CCTV camera with a Raspberry Pi zero, a $ 10 computers, so I will build a Raspberry Pi security camera using a standard Pi camera. It’s a cost-effective way to see your security camera over the web, and yes, you can even design it portable, just as you can easily place a raspberry pi in your pocket, and we can move through a standard 5-volt power bank supply. For this project, I will use Motion Pie operating system.
So What is MotionPie?
MotionPie is a simple, stand-alone Linux-based operating system that has been renamed motionEyeOS and is now available at https://github.com/ccrisan/motioneyeos.
So, according to Github, the reasons for renaming the project include: Preventing false associations with Raspberry PI (motionEyeOS now supports five different motherboards), avoiding confusion over the names generated by all the projects built around the actionsHowever, updating from motionPie to motionEyeOS cannot be done automatically – it requires a manual download and a new image is written to the SD card from scratch.
So let’s get started
Collect Software Requirements
- Win32 Disk Imager (Download)
- SD Formatter (Download)
- MotionPie OS (For raspberry pi zero) (Download)
Install MotionPie OS
For the installation of motionpie operating system just follow the steps mention below
Download & Format the SD Card
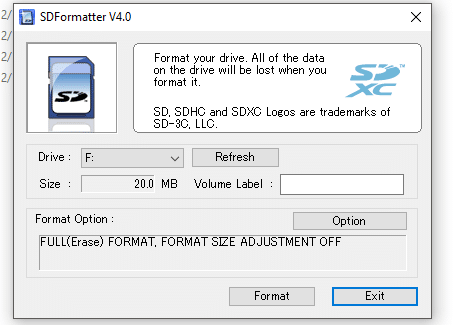
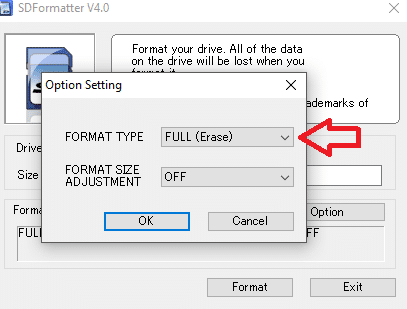
Select FULL (Erase and Format it)
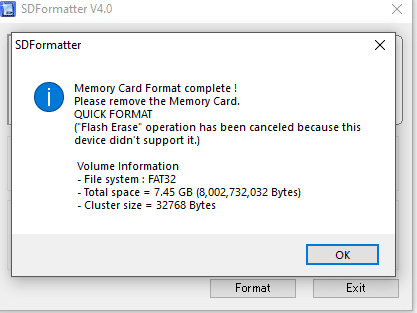
After the format, this message will pop up
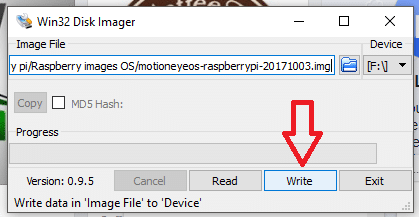
Download and Select the motionpie operating in Win32 Disk imager tool,
Hit the click on “Write”
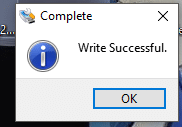
When burning will complete, this message will pop up on the screen.
Collect Hardware
So you will need equipment in order to complete this project.
- Raspberry Pi zero w View on Amazon
- microSD card (8GB Recommended) View on Amazon
- 5volt Power Supply/ Power Bank View on Amazon
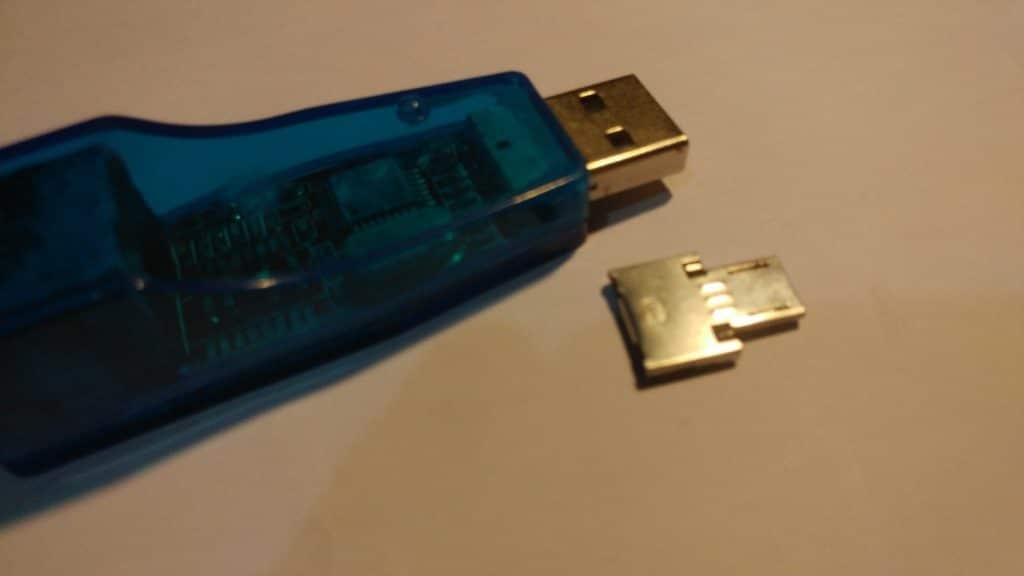
- USB Ethernet (for setup) View on Amazon
- Raspberry Pi Camera module View on Amazon
Booting up and Assemble Hardware
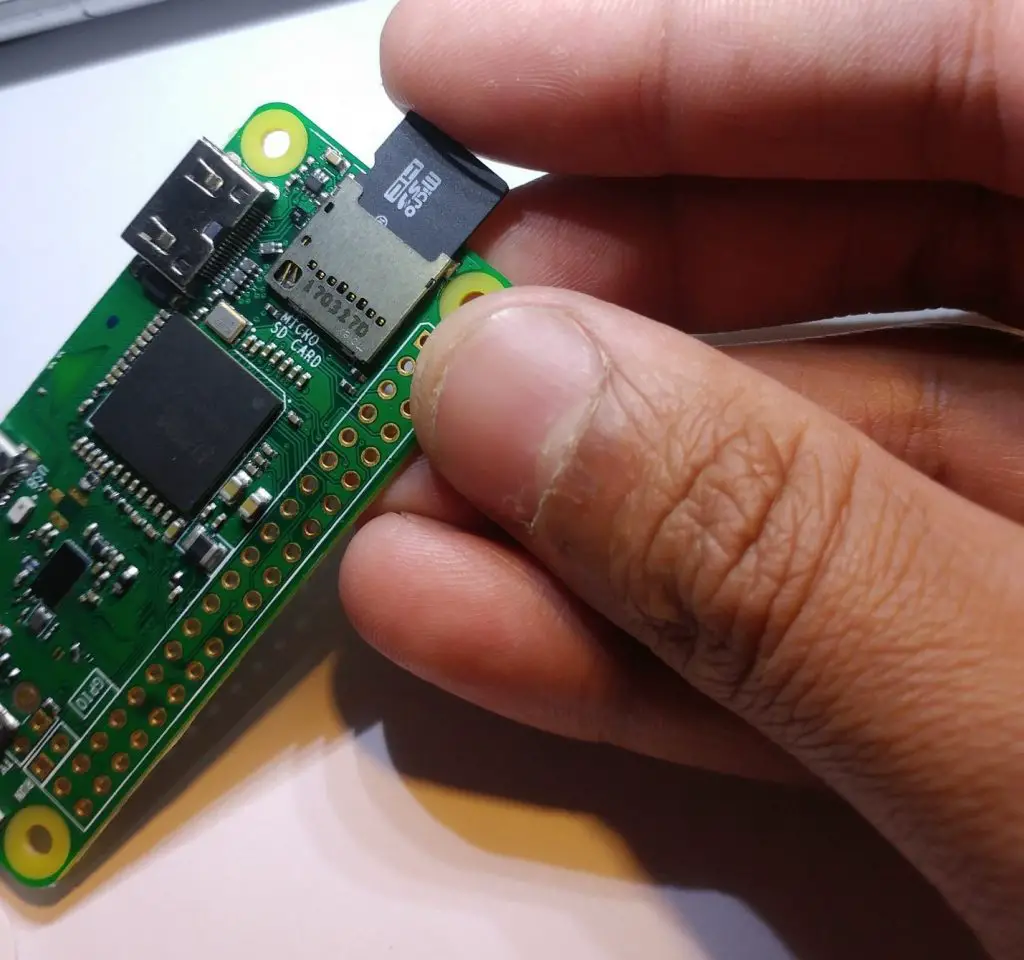
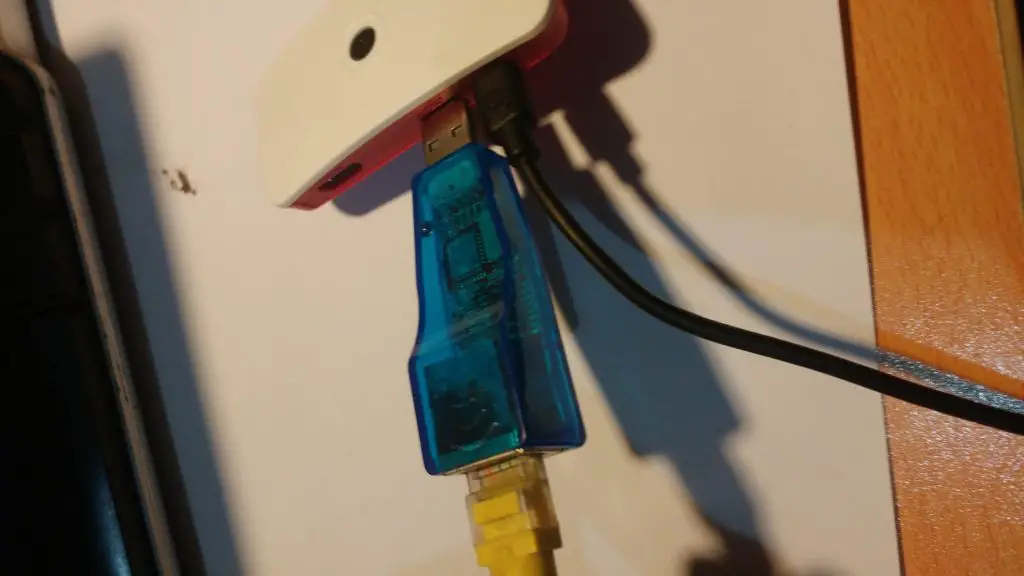
Now we are ready to start, so please insert the SD card, Assemble the hardware and continuing to start Pi now, and then we can start setting it up correctly.

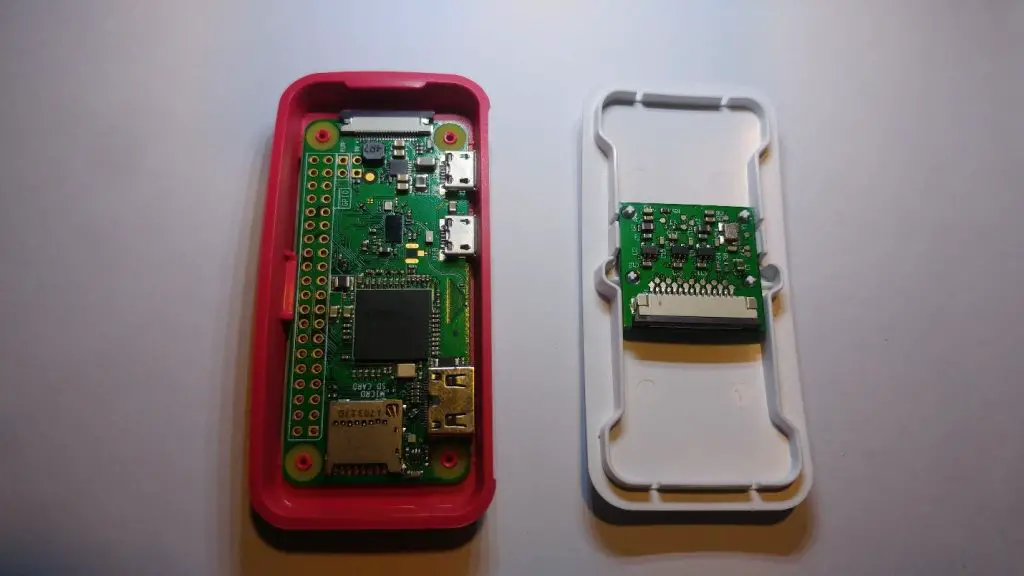

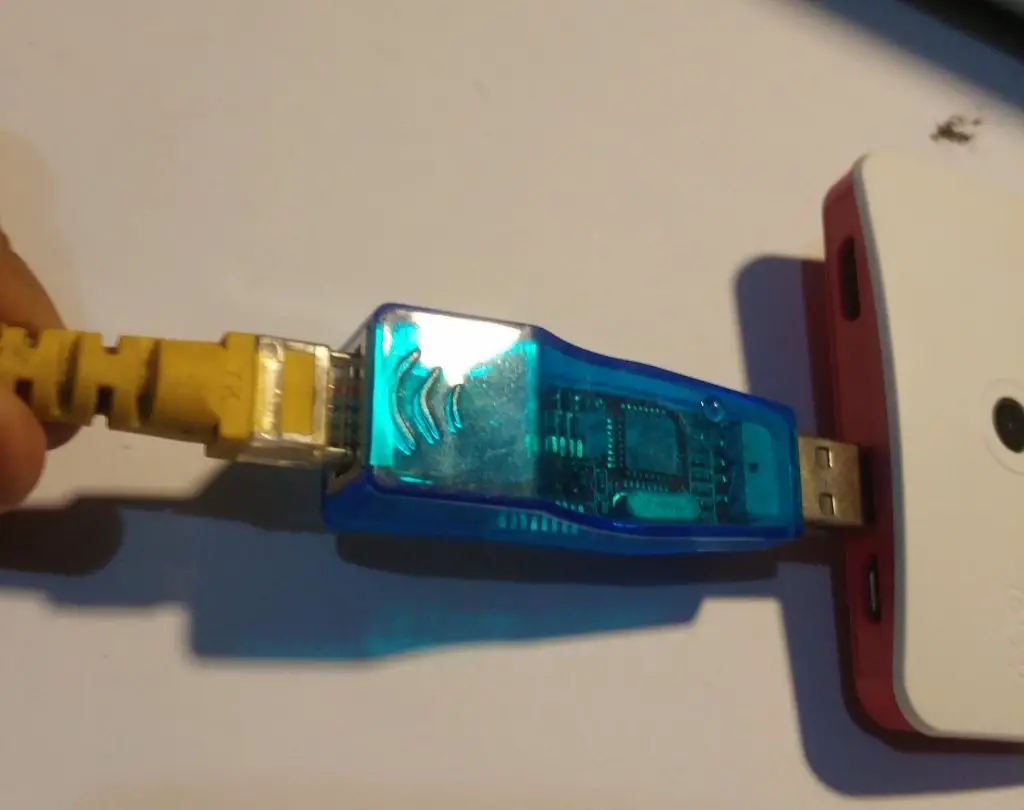
Now that the connector is open, insert a ribbon cable with the metal lead away from the Ethernet port. Make sure it is well lined up, and then gently press the connector down. The cables should now be locked in place and we can now move to the software. In order to keep this tutorial very basic, I do not plan to go into a large number of custom camera cases.
Connect the raspberry pi zero w with your network so for this purpose, I am going to use a simple USB Ethernet Module for one-time use.

Note:- I have written a post for people looking for the best digital camera under 300 $ to buy?, do read it If you are interested.
Once Pi is started you will need to do the following:
- First, we need the IP or hostname so that we can connect to Pi.
- Search your network for IP address, I am using Advanced IP Scanner software, so in my case, I have IP address 192.168.0.15
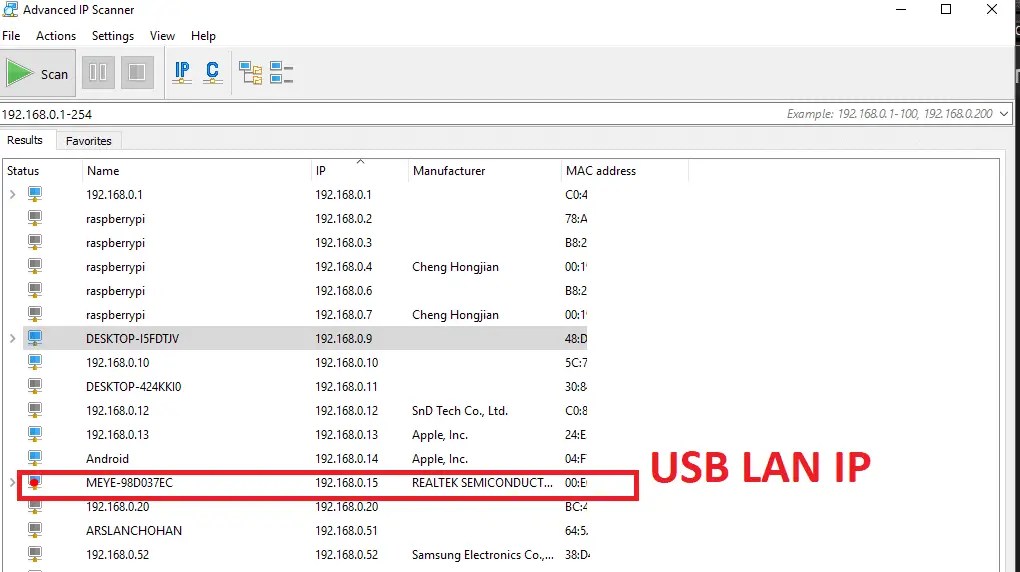
- You should see a computer name with your USB Ethernet model name
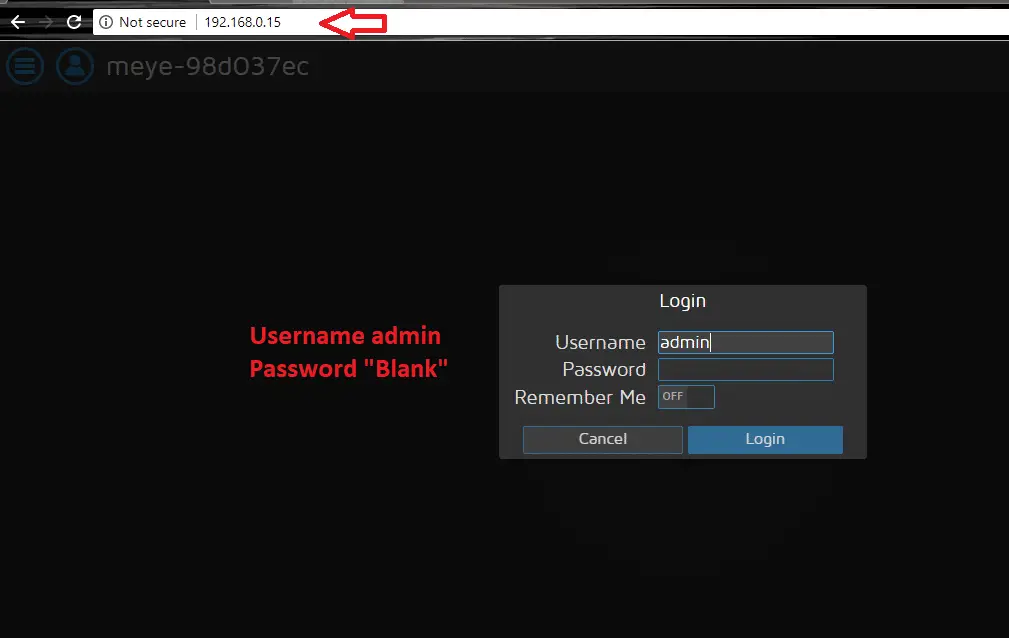
- Go to your browser and add it to your browser bar, for example. https://192.168.0.15
- You should now have the Motion Pie interface.
- Also, you can find the Pi’s IP through the router. Since all the routers are different, I will not explain how this is done. Please refer to your manufacturer’s manual.
- Log in as an administrator to the key symbol in the upper left corner. Username is admin, the password is blank, you can change later.
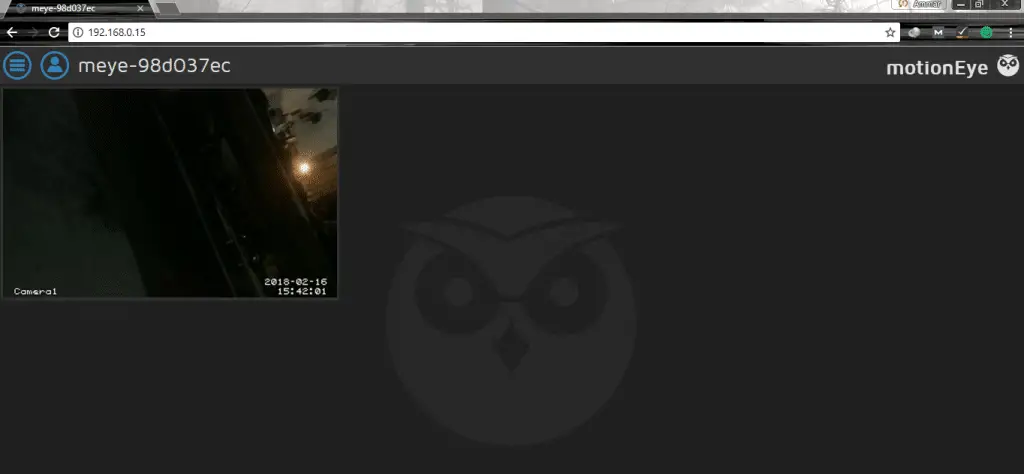
Here you can access all settings of the camera stream. If you are interested in changing these settings, read on to explain them as much as possible below.
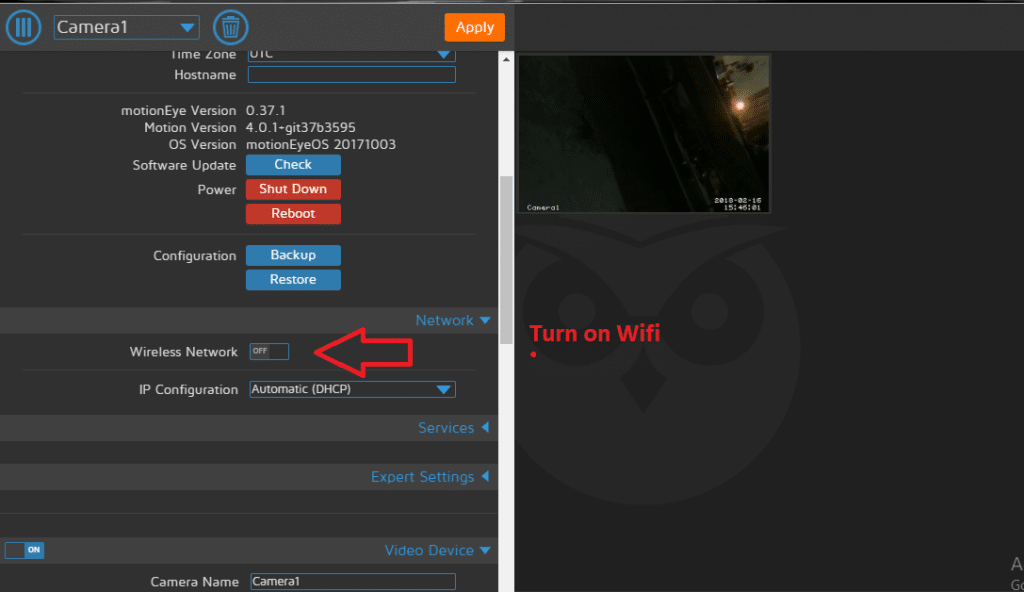
Now Next Step has turned the wifi on and give the SSID and password of your local wifi network in Advanced settings.
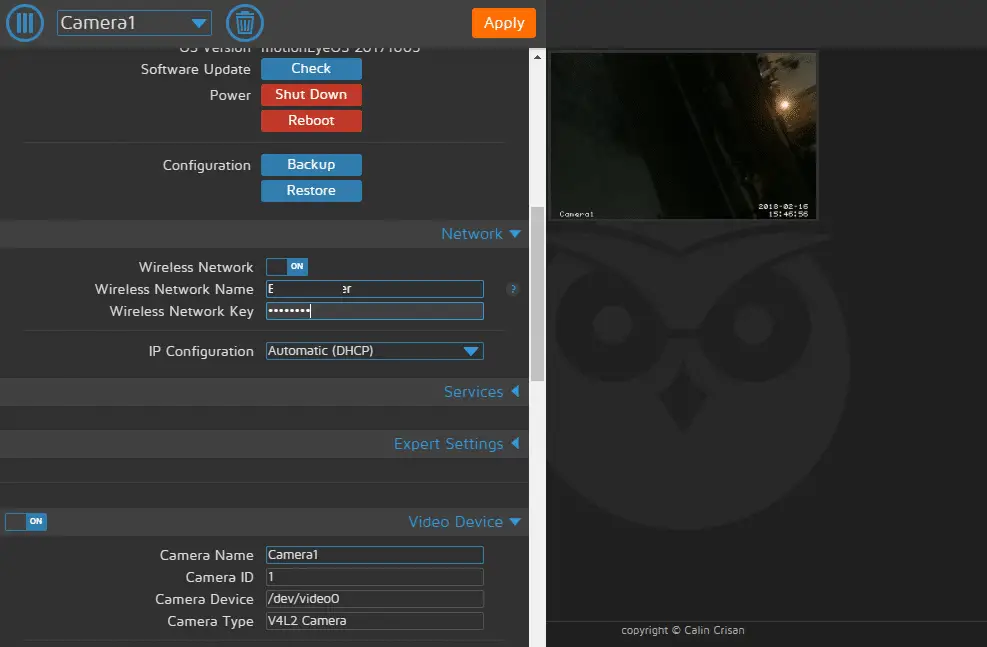
After changing the password just unplug the Ethernet USB and browse your streaming over the Wi-Fi and follow the same steps for searching IP as I mention above. Connect your Raspberry Pi with power for making it portable.
This is it for now if you face any problem regarding this article please write a comment below.


