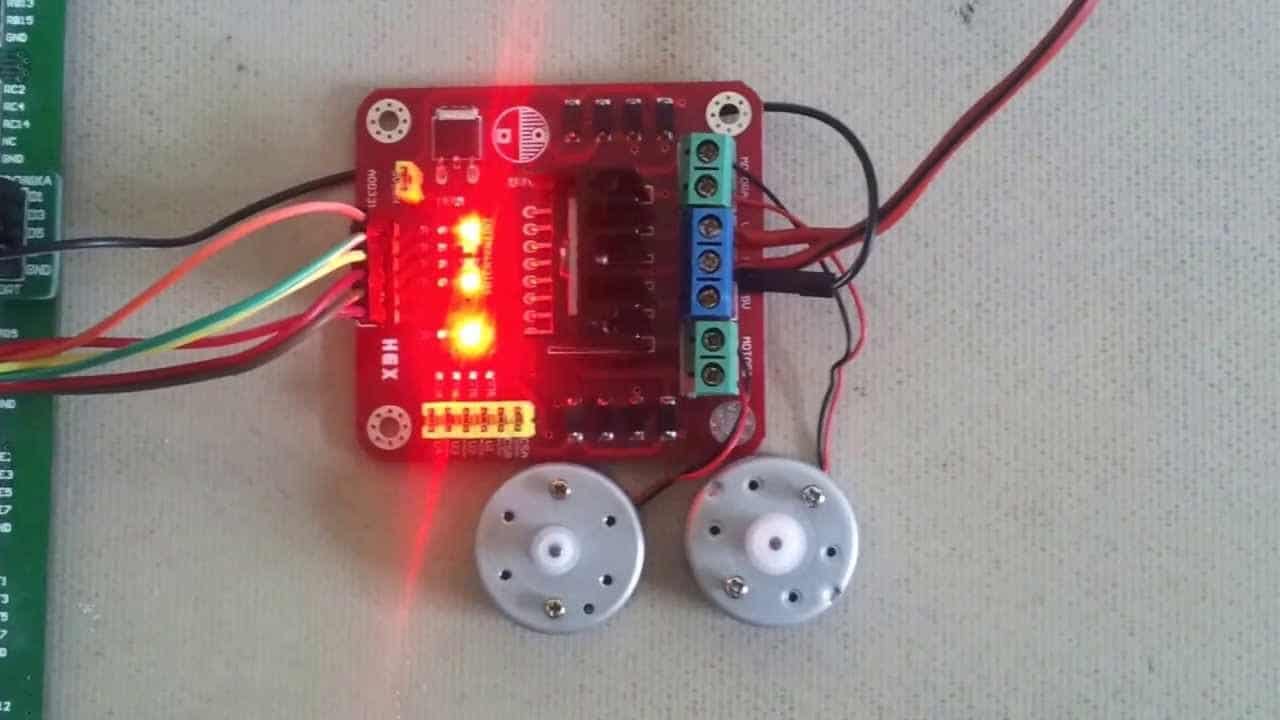
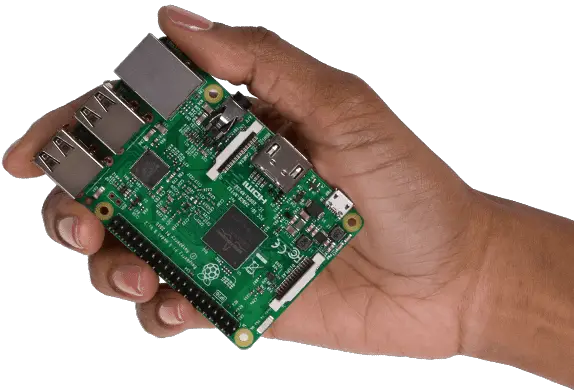
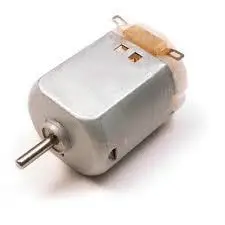
This is a simple “How to Turn Motors “article. Robots, wheels, moving and everything can be moved using a simple raspberry code and a really cheap RC-racer like a motor and although we can make a car with it so this is a very initial tutorial for beginners who really want to build a raspberry pi based robot car.
This part can be purchased on Aliexpress for about just 5$ (certainly less than $ 10). This project assumes you can use wires, old power supplies (cleared from older electronics), and other items.
Why L298 use for Raspberry Pi?
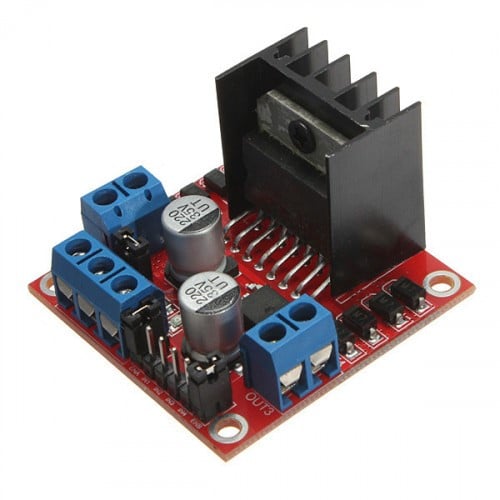
The L298 is called a Bi-Directional motor driver based on a dual H-bridge motor driver IC. This circuit allows you to control two DC motors independently in either direction.
This is a common component of a prototype and enthusiast project because it is easy to use and interface with the Raspberry Pi or Arduino L298. In addition to the smallest design, it offers an onboard 5V regulator that you can use to power your 5V circuit very easily.
There are many L298-based motor driver modules on the market, and you can use any locally available L298 motor driver because they are all about the same. I use the L298 splitter, which makes it easier to install. You can find several different L 298 splitters online.
Control L298 Controller with Raspberry Pi
Collect Hardware
- Raspberry Pi (Any Raspberry Pi should work) Buy Now
- LM298 motor driver or LM298 Module Buy Now
- DC Motors Buy Now
- 9V Battery Buy Now
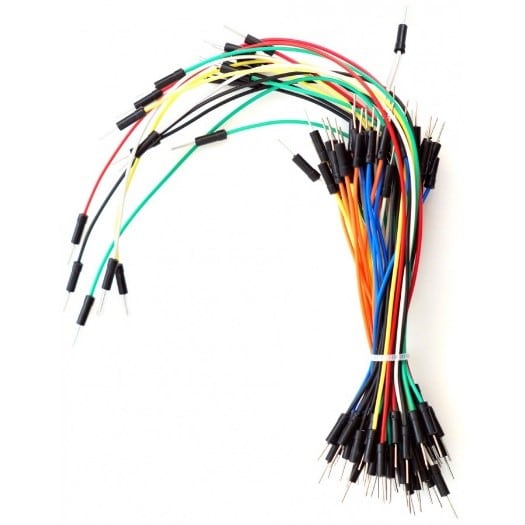
- Jumper wires Buy Now
Wired up everything
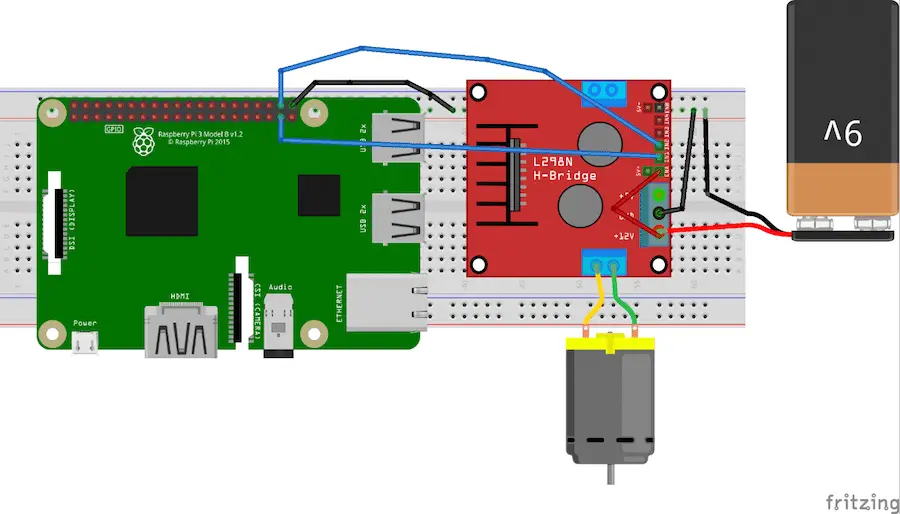
Controlling a DC motor with Raspberry Pi is easy. We use the L298 motor driver to control the DC motor to move the motor forward or backward. Please wired up everything as the mention below in the figure.
For communication, we will use a simple serial communication over USB cable.
- Connect IN1 on the L298 to the Raspberry Pi’s pin number 26.
- Connect IN2 on the L298 to Raspberry Pi’s pin number 20.
- Connect the ENA and 12-volt pin to a 9-volt battery.
- Make sure the grounds of the battery, Raspberry Pi, and L298 are common.
Run the Python Program
Note: if you are very new with raspberry pi then I will suggest you to read my previous article
How to Get started with raspberry pi
Power your Raspberry Pi and open Python 3 in a new window.
Write the following code into a new window and save it somewhere on the desktop.
import sys
import time
import RPi.GPIO as GPIO
mode=GPIO.getmode()
GPIO.cleanup()
Forward=26
Backward=20
sleeptime=1
GPIO.setmode(GPIO.BOARD)
GPIO.setup(Forward, GPIO.OUT)
GPIO.setup(Backward, GPIO.OUT)
def forward(x):
GPIO.output(Forward, GPIO.HIGH)
print(“Moving Forward”)
time.sleep(x)
GPIO.output(Forward, GPIO.LOW)
def reverse(x):
GPIO.output(Backward, GPIO.HIGH)
print(“Moving Backward”)
time.sleep(x)
GPIO.output(Backward, GPIO.LOW)
while (1):
forward(5)
reverse(5)
GPIO.cleanup()
Python Code Explanations
In the python code example above, the code starts with the library needed to import the L298 containing the system, GPIO, and time. It is nice to note that the GPIO will provide the L298 with high and low logic and use the time base to add a delay between different actions.
The forward and backward functions are declared using the parameter options in this code. A demonstration is to keep the motor in the required direction of the delay time.
That’s it, you should be able to control the motor with a raspberry pie and an L298 motor driver. You can find more code changes online to add extra functionality to your motor!
Test Video with Raspberry Pi
If you face any problem with it then please write the comment write Below
Thanks
Here are more articles about L298 and Arduino
Build obstacle avoiding robot using Arduino
Control your PC with hand Gesture using Arduino and Ultrasonic Sensors
Visit Raspberry pi tutorials
How to Build your own Super Computer with Raspberry Pi 3 Cluster
Build Super Computer with 5$ Raspberry pi zero using Cluster HAT
How to make a Raspberry Pi bitcoin mining rig
Convert Any Printer into a Wireless Printer with a Raspberry Pi zero (10$ Cost)
Build AYI Google Voice Home with Raspberry Pi Under 35$


