


So I have a graphics driver for a Nokia monitor (“The Zero-cost 84×48 Graphic LCD for a Freedom Board”) and I have a joystick guard (see “JoyStick Shield with FRDM board”), I do have a Freescale board of directors: why not create a simple game pacman for it?
My first cell phone is a Nokia cell phone with an 84 x 48 black and white display. I like it for a lot of reasons, including the “Pacman” and “snake” game . The ARM Cortex M0 + is too powerful for this simple game, but it’s still fun to make and play :-).
The game is very simple: a pacman runs around and I can use the cursor/joystick to control it up and down. Pacman must ‘eat’ food, and the more snakes eat, the longer they eat.
Let’s Get Started
Collect Hardware
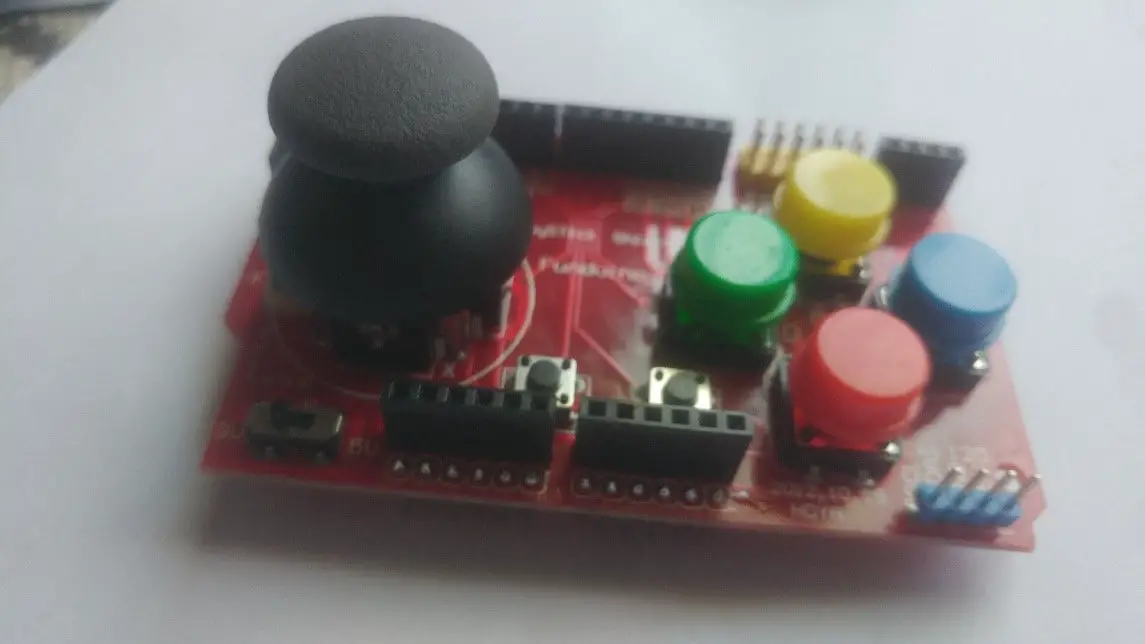
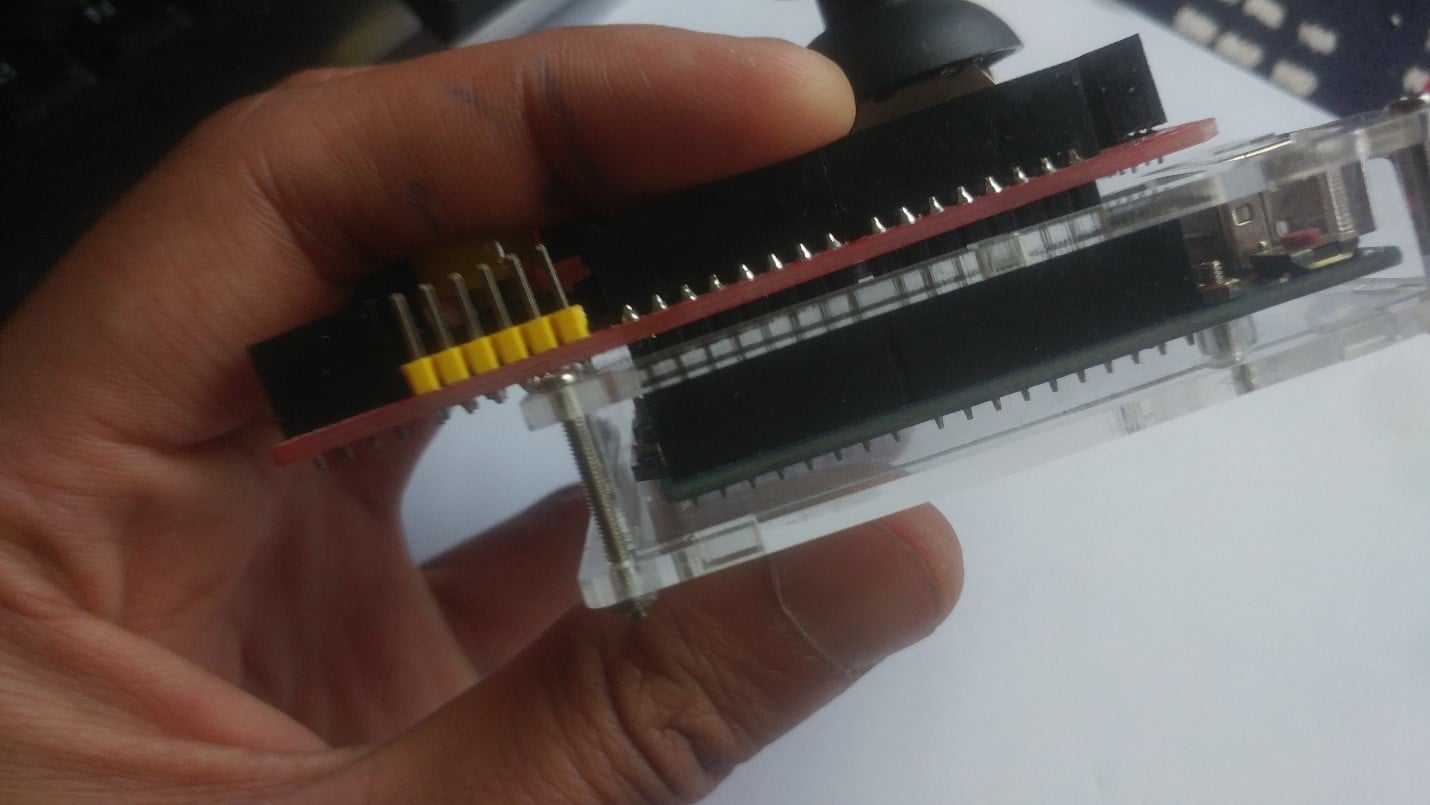
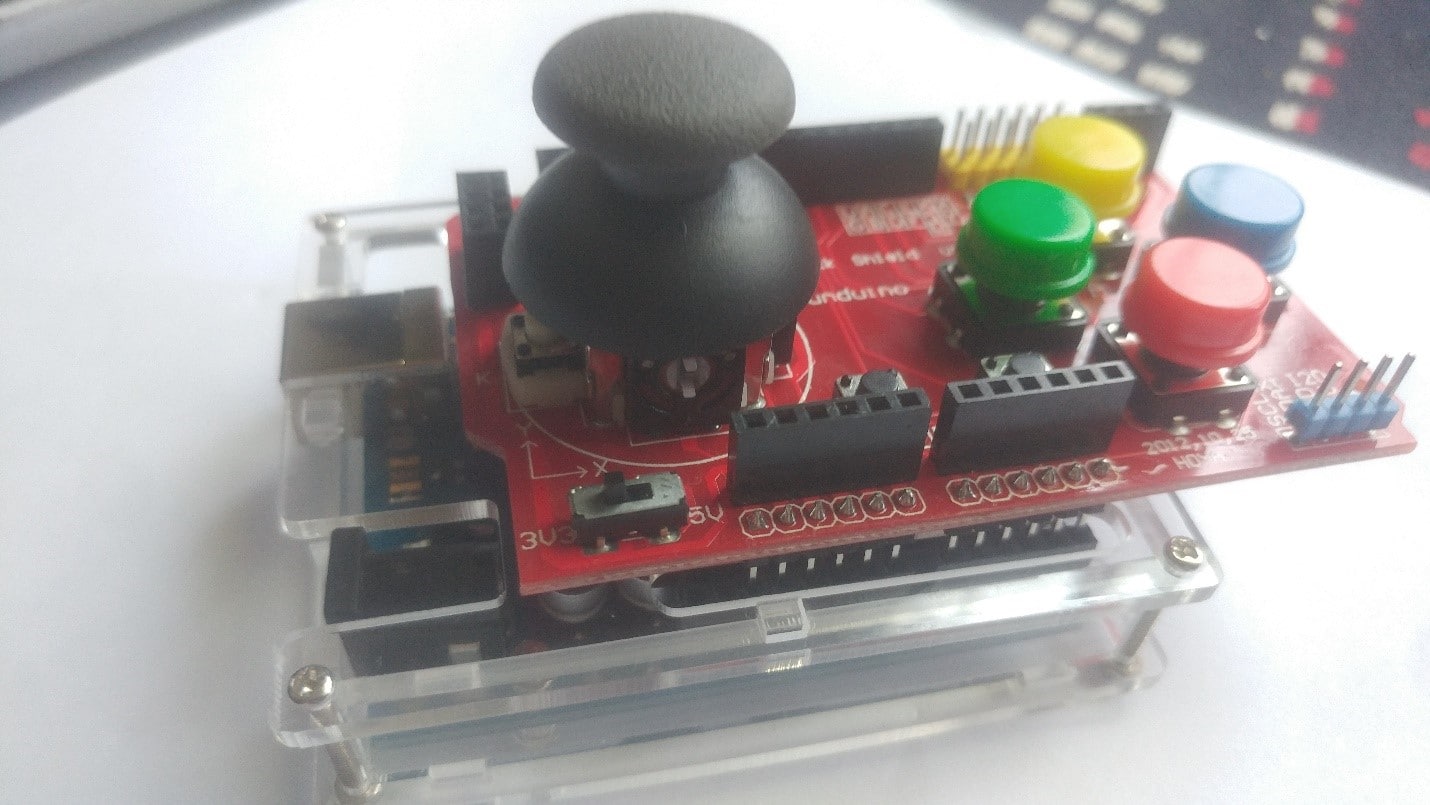
Assemble the Hardware
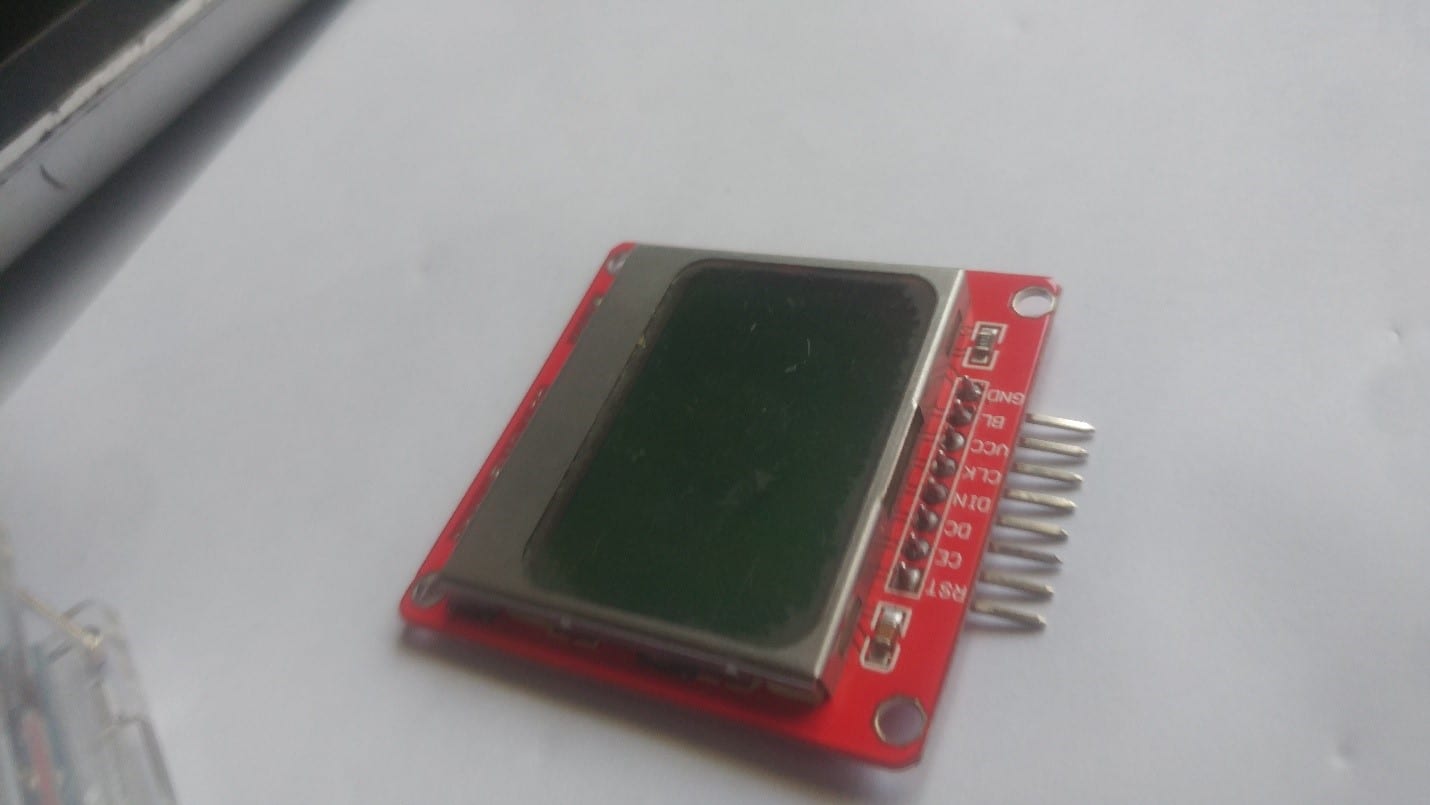
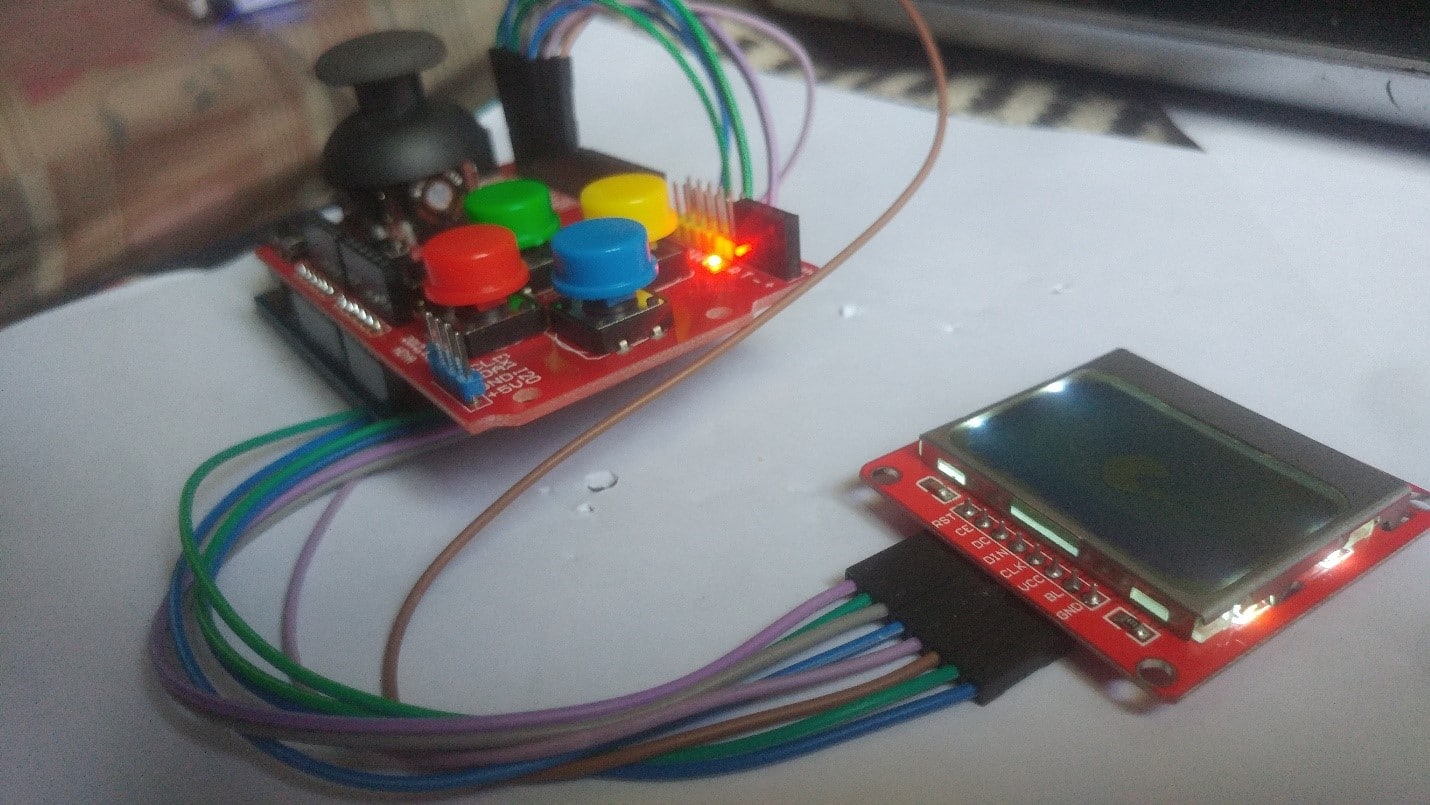
Assemble the Joystick Shield with Arduino Uno and attach the Nokia LCD with this module, I just attach the Nokia LCD with Different wires you an also connect the LCD Directly on the shield just make sure your LCD have same pins according to this data shield Or make the connection as the mention below
Arduino Joystick Shield Nokia 5110 LCD
GND GND
3.3Volt Vcc
3.3volt BL
12 RST
13 CE
11 DC
10 DIN
9 CLK
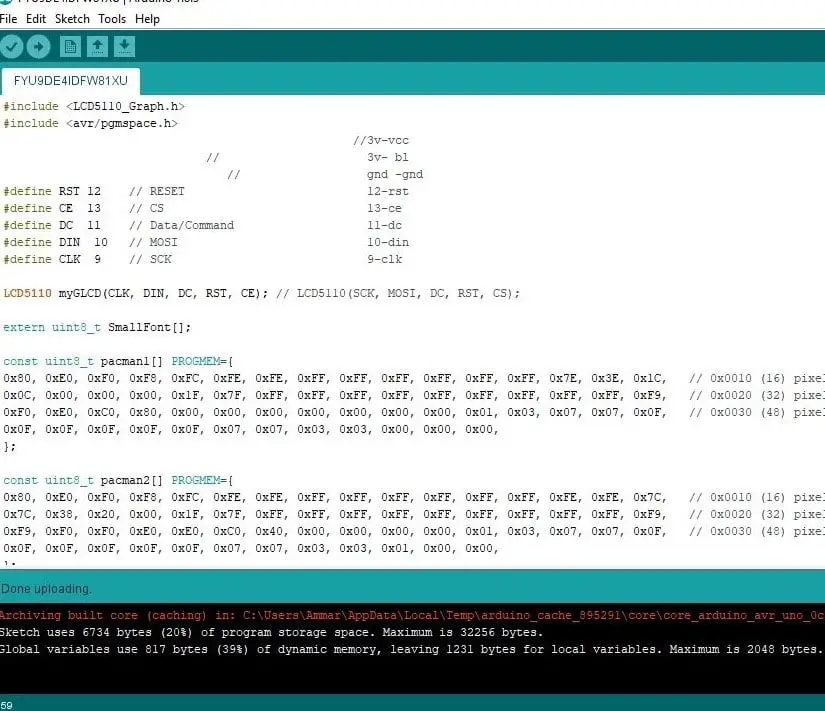
Upload Source Code
#include <LCD5110_Graph.h>
#include <avr/pgmspace.h>
//3v-vcc
// 3v- bl
// gnd -gnd
#define RST 12 // RESET 12-rst
#define CE 13 // CS 13-ce
#define DC 11 // Data/Command 11-dc
#define DIN 10 // MOSI 10-din
#define CLK 9 // SCK 9-clk
LCD5110 myGLCD(CLK, DIN, DC, RST, CE); // LCD5110(SCK, MOSI, DC, RST, CS);
extern uint8_t SmallFont[];
const uint8_t pacman1[] PROGMEM={
0x80, 0xE0, 0xF0, 0xF8, 0xFC, 0xFE, 0xFE, 0xFF, 0xFF, 0xFF, 0xFF, 0xFF, 0xFF, 0x7E, 0x3E, 0x1C, // 0x0010 (16) pixels
0x0C, 0x00, 0x00, 0x00, 0x1F, 0x7F, 0xFF, 0xFF, 0xFF, 0xFF, 0xFF, 0xFF, 0xFF, 0xFF, 0xFF, 0xF9, // 0x0020 (32) pixels
0xF0, 0xE0, 0xC0, 0x80, 0x00, 0x00, 0x00, 0x00, 0x00, 0x00, 0x00, 0x01, 0x03, 0x07, 0x07, 0x0F, // 0x0030 (48) pixels
0x0F, 0x0F, 0x0F, 0x0F, 0x0F, 0x07, 0x07, 0x03, 0x03, 0x00, 0x00, 0x00,
};
const uint8_t pacman2[] PROGMEM={
0x80, 0xE0, 0xF0, 0xF8, 0xFC, 0xFE, 0xFE, 0xFF, 0xFF, 0xFF, 0xFF, 0xFF, 0xFF, 0xFE, 0xFE, 0x7C, // 0x0010 (16) pixels
0x7C, 0x38, 0x20, 0x00, 0x1F, 0x7F, 0xFF, 0xFF, 0xFF, 0xFF, 0xFF, 0xFF, 0xFF, 0xFF, 0xFF, 0xF9, // 0x0020 (32) pixels
0xF9, 0xF0, 0xF0, 0xE0, 0xE0, 0xC0, 0x40, 0x00, 0x00, 0x00, 0x00, 0x01, 0x03, 0x07, 0x07, 0x0F, // 0x0030 (48) pixels
0x0F, 0x0F, 0x0F, 0x0F, 0x0F, 0x07, 0x07, 0x03, 0x03, 0x01, 0x00, 0x00,
};
const uint8_t pacman3[] PROGMEM={
0x80, 0xE0, 0xF0, 0xF8, 0xFC, 0xFE, 0xFE, 0xFF, 0xFF, 0xFF, 0xFF, 0xFF, 0xFF, 0xFE, 0xFE, 0xFC, // 0x0010 (16) pixels
0xF8, 0xF0, 0xE0, 0x80, 0x1F, 0x7F, 0xFF, 0xFF, 0xFF, 0xFF, 0xFF, 0xFF, 0xFF, 0xFF, 0xFF, 0xFF, // 0x0020 (32) pixels
0xFF, 0xFF, 0xFF, 0xFF, 0xFB, 0xF9, 0x79, 0x19, 0x00, 0x00, 0x00, 0x01, 0x03, 0x07, 0x07, 0x0F, // 0x0030 (48) pixels
0x0F, 0x0F, 0x0F, 0x0F, 0x0F, 0x07, 0x07, 0x03, 0x01, 0x00, 0x00, 0x00,
};
const uint8_t pill[] PROGMEM={
0x0E, 0x1F, 0x1F, 0x1F, 0x0E,
};
#define Width 84
#define Hight 48
#define Range 12
int FirstShotX , FirstShotY;
int PointX, PointY;
int delaytime;
void setup()
{
/* Init LCD5110_Graph library */
myGLCD.InitLCD();
myGLCD.setFont(SmallFont);
randomSeed(analogRead(0));
/* Record Joystick corrected coordinates */
FirstShotX = analogRead(A0);
FirstShotY = analogRead(A1);
/* Black specks the initial coordinates */
PointX = 75;
PointY = 20;
/* Refresh time */
delaytime = 50;
/* Start display */
myGLCD.print(“- Technical Ustaad -“, CENTER, 0);
myGLCD.print(“Funduino v1.A”, CENTER, 20);
myGLCD.print(“by Armuino”, CENTER, 40);
myGLCD.update();
delay(3000);
/* Init Serial port */
Serial.begin(115200);
}
void loop()
{
//int pacy=random(0, 42);
uint8_t* bm;
for (int i=-20; i<84; i++)
{
// Clear LCD
myGLCD.clrScr();
// Refresh Greedy Freak Bitmap
switch(((i+20)/3) % 4)
{
case 0: bm=pacman1;
break;
case 1: bm=pacman2;
break;
case 2: bm=pacman3;
break;
case 3: bm=pacman2;
break;
}
int sensorValueX = (analogRead(A0) – FirstShotX)*0.1 + 32; //You can change the coefficient such as 0.08, which decide X-axis Range
int sensorValueY = (FirstShotY – analogRead(A1))*0.06 + 14; //You can change the coefficient such as 0.04, which decide Y-axis Range
myGLCD.drawBitmap(sensorValueX, sensorValueY, bm, 20, 20);
// Once the Greedy Freak be close to black specks, random another X and Y
TX:
if((sensorValueX-5 <= PointX && PointX <= sensorValueX+15) && (sensorValueY-3 <= PointY && PointY <= sensorValueY + 20))
{
PointX = random(0, 80);
PointY = random(0, 43);
goto TX;
}
else
myGLCD.drawBitmap(PointX, PointY, pill, 5, 5);
// myGLCD.update(); // update and display the Bitmap
int j, someInt, flag = 0;
for(j=2; j<9; j++)
{
someInt = digitalRead(j); // scan the KEY (check for pressed button)
if(someInt == 0)
{
flag = 1;
break;
}
}
if(flag == 1)
{
Serial.println(i);
switch(j)
{
case 2: Serial.println(“——–> Button A”);
delaytime = 50;
myGLCD.invert(true);
break;
case 3: Serial.println(“——–> Button B”);
delaytime = 50;
myGLCD.invert(false);
break;
default: break;
}
flag=0;
}
delay(delaytime);
myGLCD.update(); // update and display the Bitmap
}
}
You may also like to read these awesome projects


