


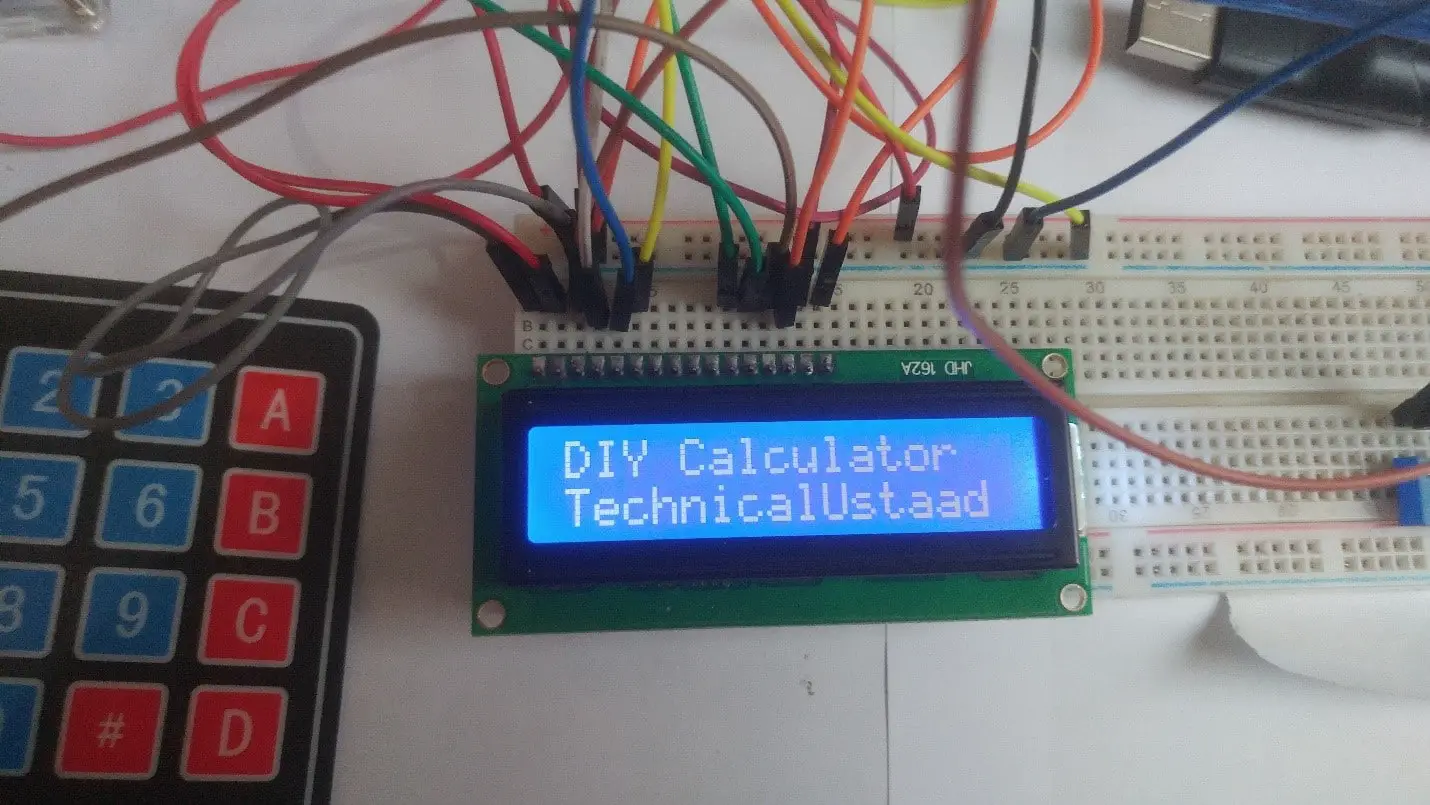
Programming is always fun. If you are just starting to use embedded programming, Arduino is a great platform. In this tutorial, we will use Arduino to build our own calculator.
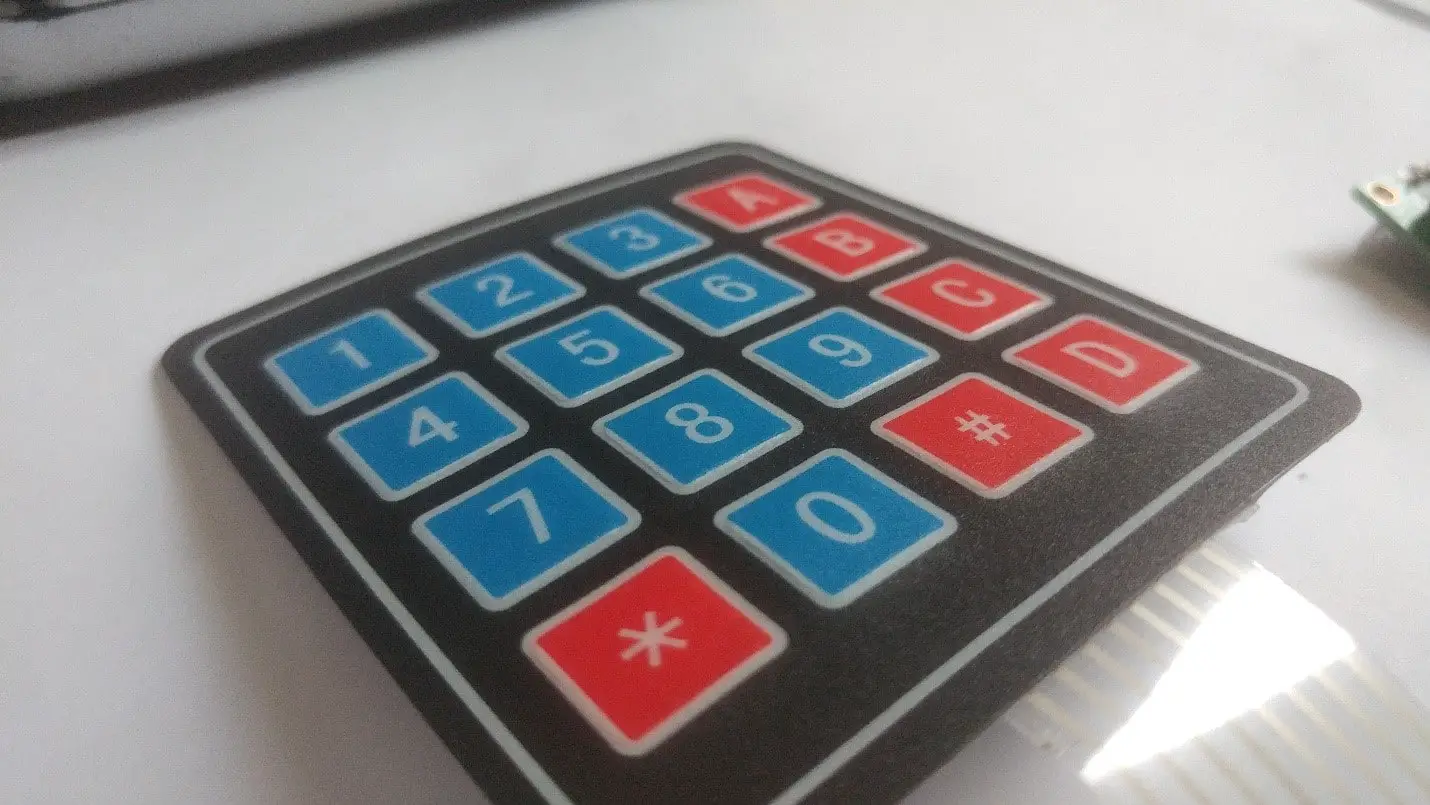
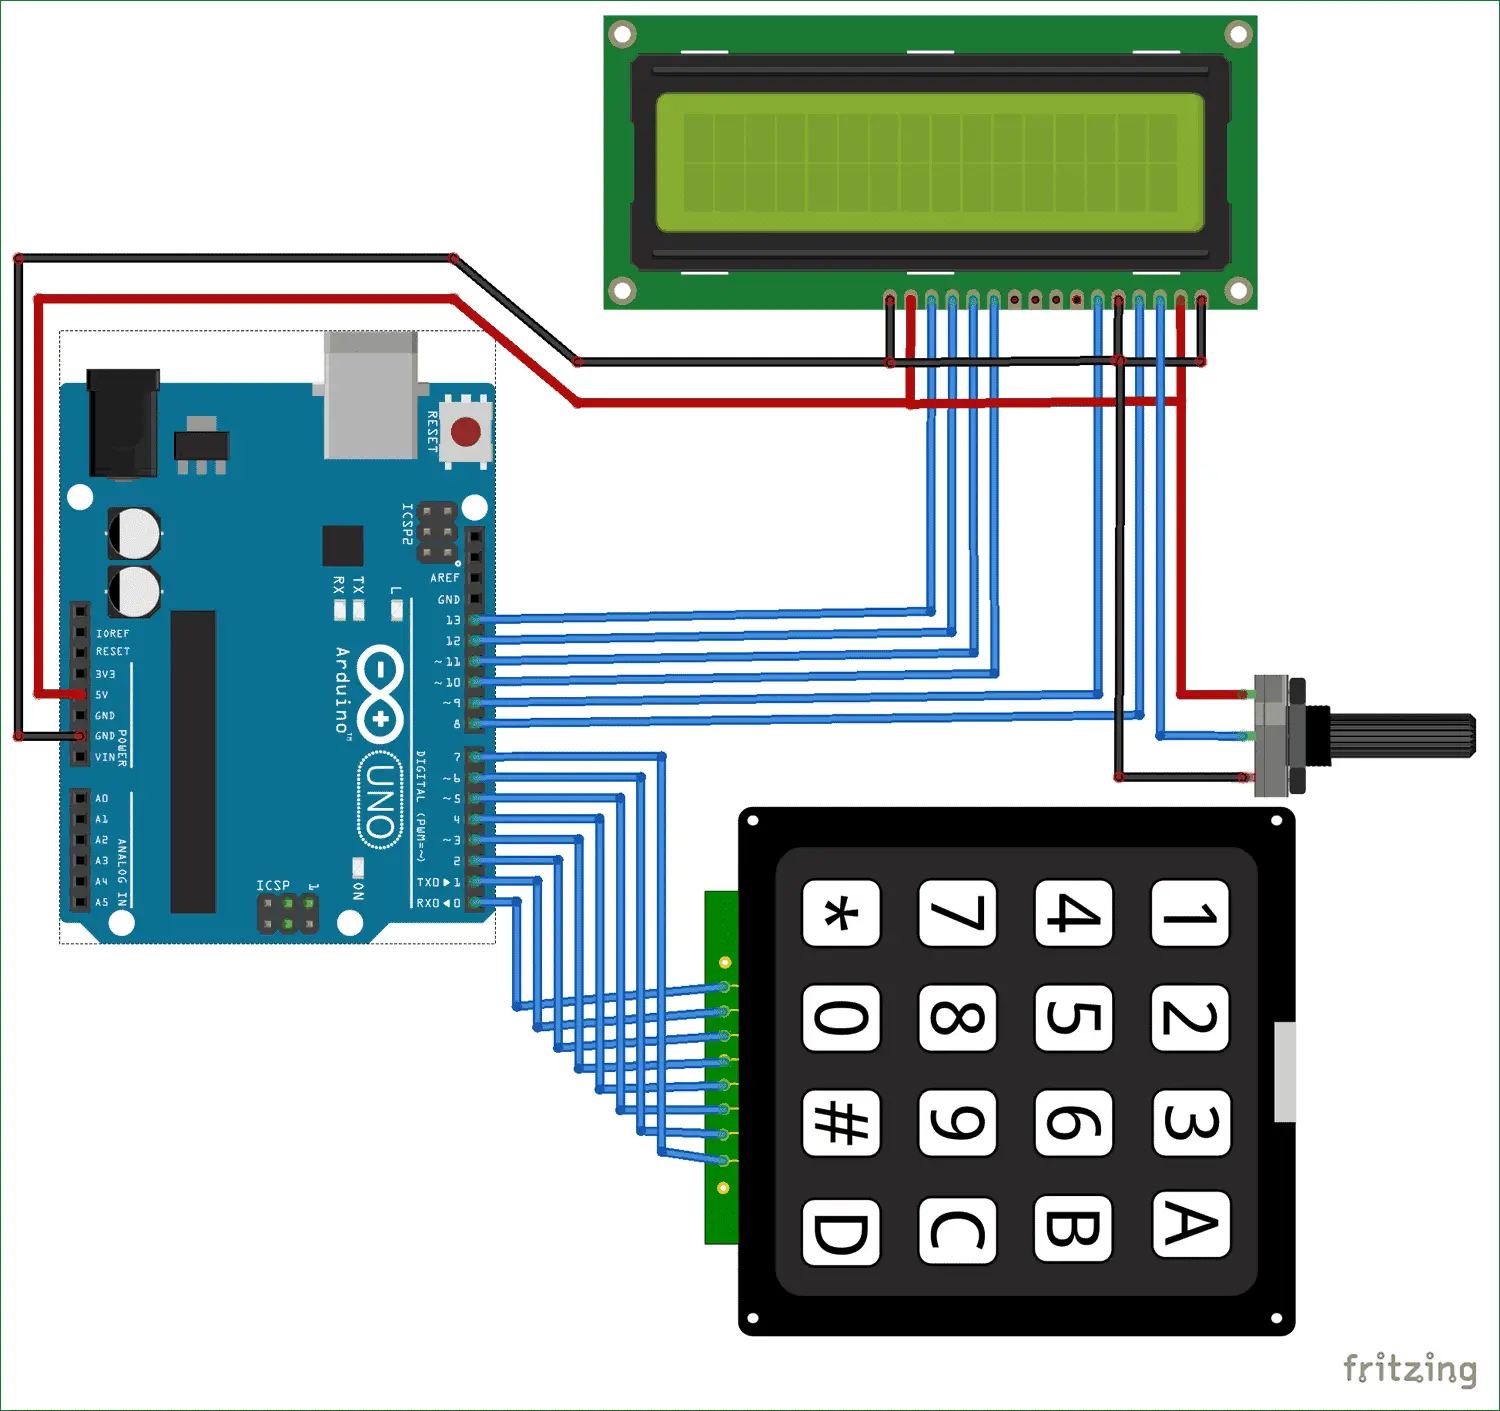
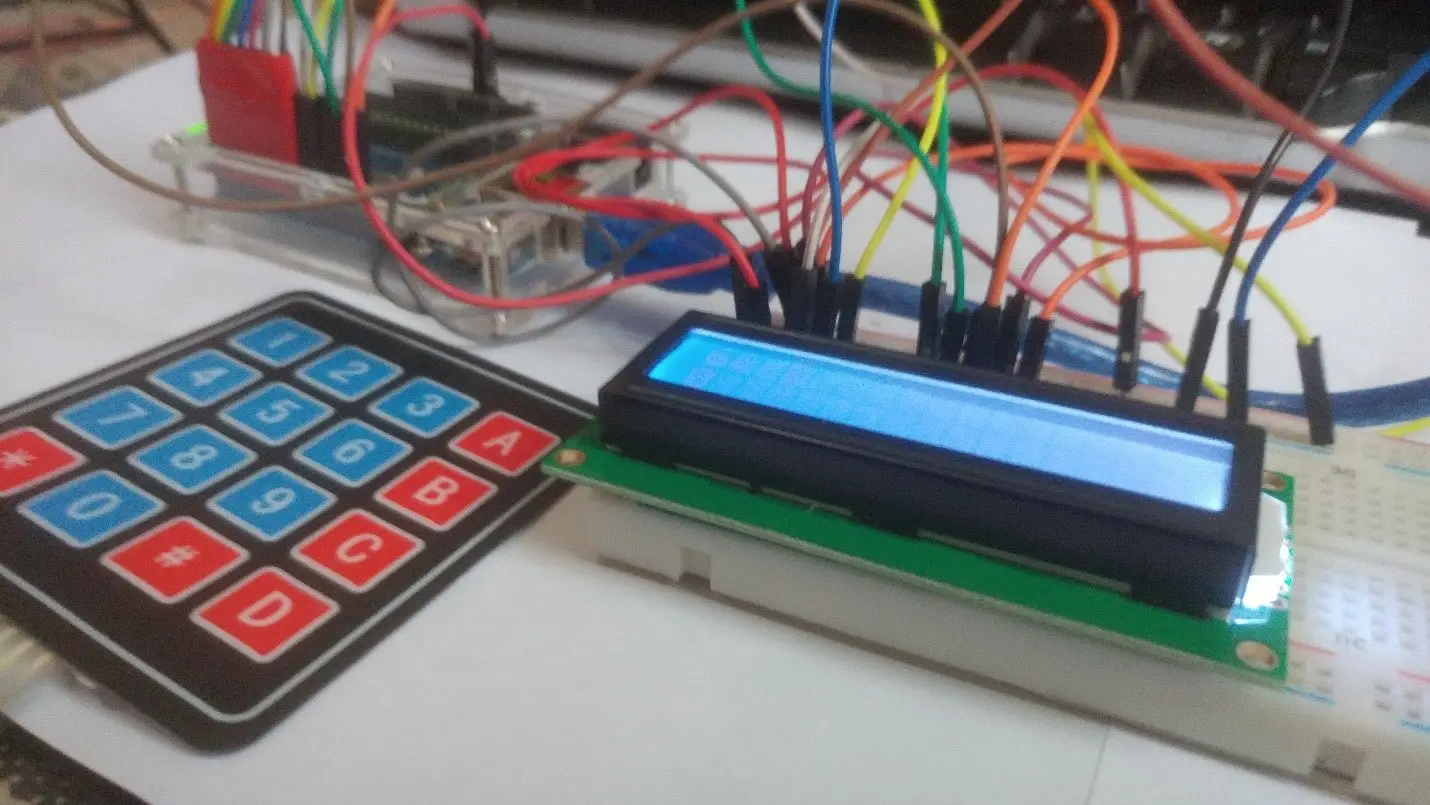
These values can be sent via the keyboard (4 x 4 keyboard) and the results can be viewed on the LCD screen (16 x 2 dot matrix). This calculator can perform simple operations such as addition, subtraction, multiplication, and integer division.
But once you understand this concept, you can use Arduino’s built-in functions to achieve even scientific functionality.
At the end of this project, you will know how to use the 16×2 LCD and keyboard with Arduino and how easy it is to program them using an off-the-shelf library. You will also learn how to program your Arduino to accomplish a specific task.
Hardware required
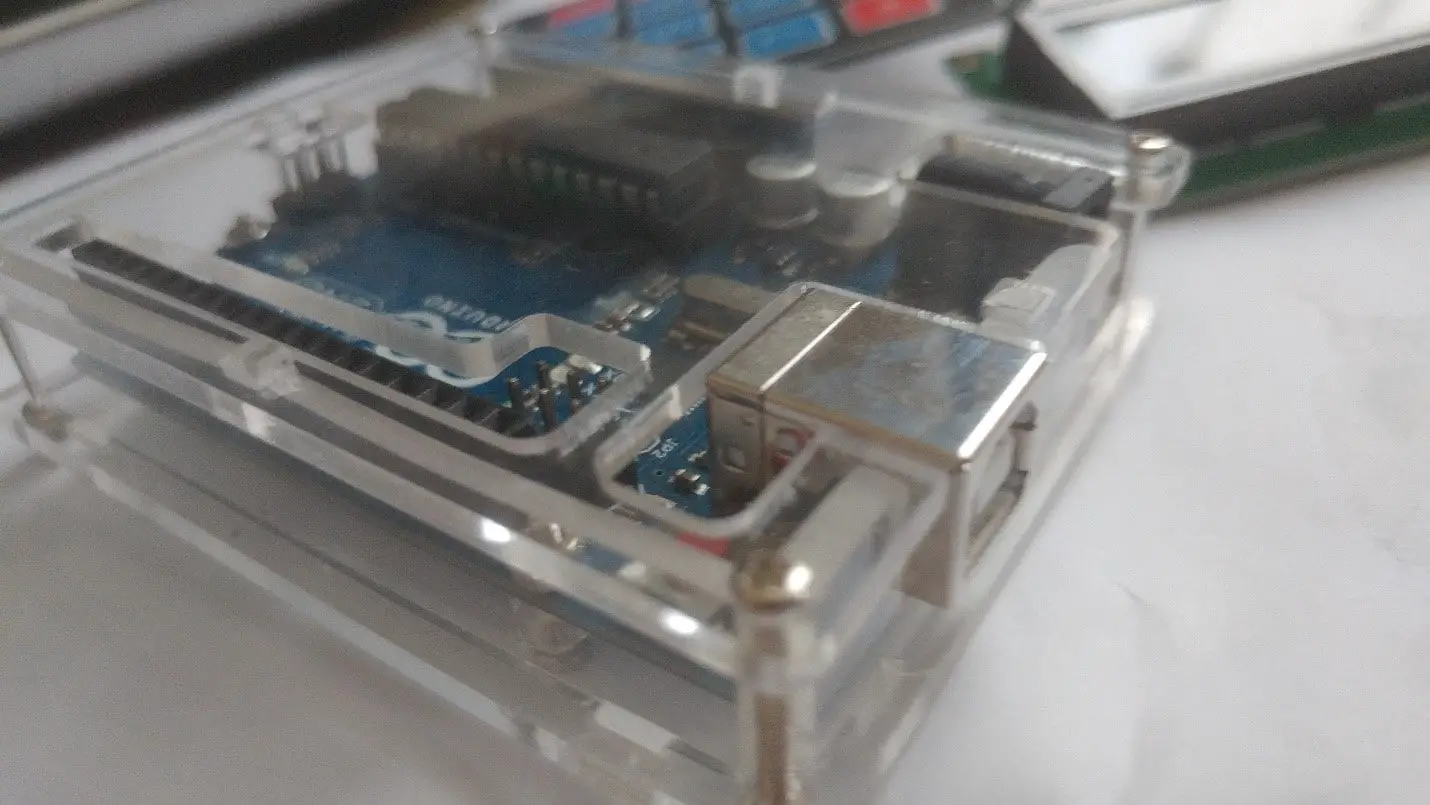
- Arduino Uno (Buy Now)
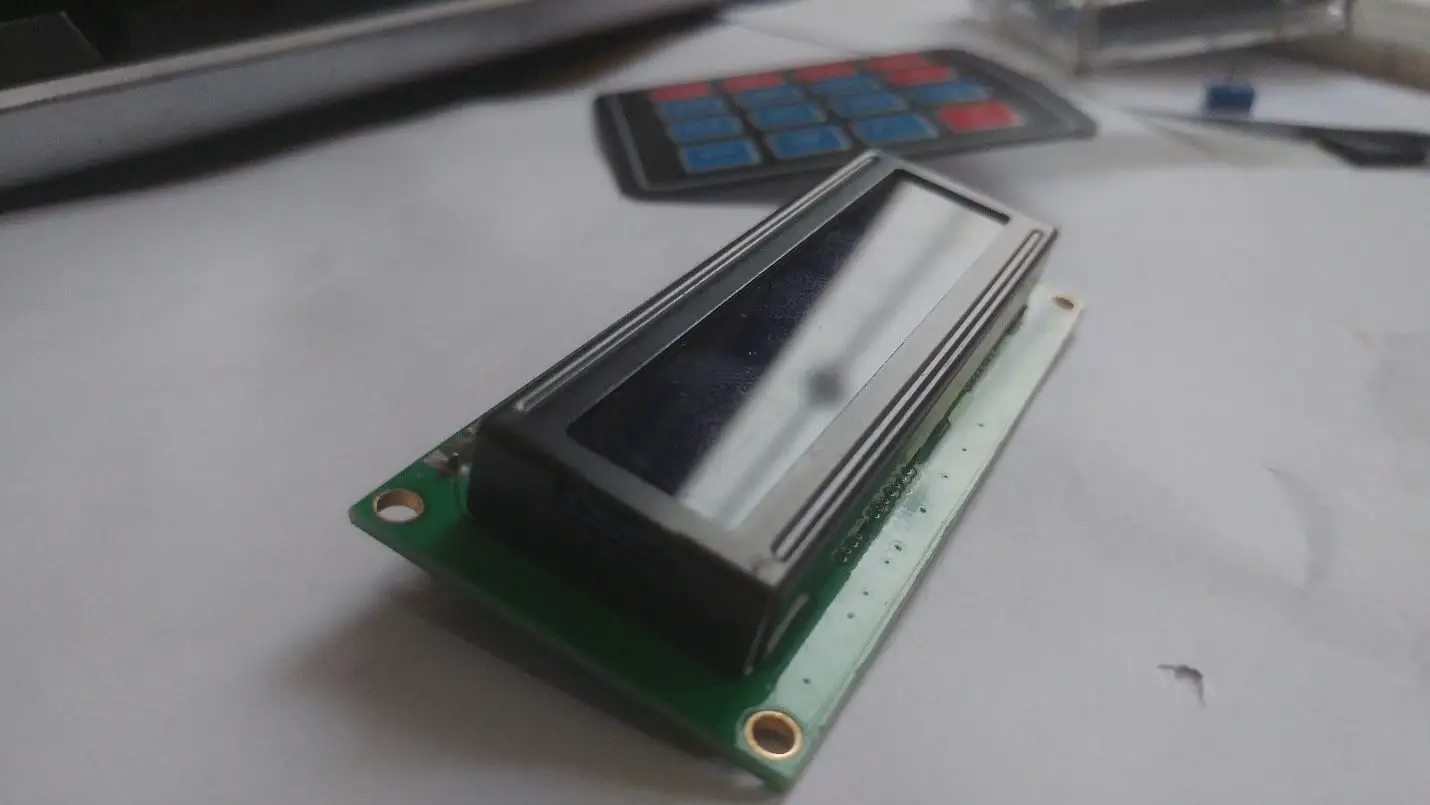
- 16×2 LCD display (Buy Now)
- 4 x 4 keyboard (Buy Now)
- 9V battery
- Breadboard and connecting wires

Wiring
Upload source code
/*
- Arduino Keypad calculator Program
*/
#include <LiquidCrystal.h> //Header file for LCD from https://www.arduino.cc/en/Reference/LiquidCrystal
#include <Keypad.h> //Header file for Keypad from https://github.com/Chris–A/Keypad
const byte ROWS = 4; // Four rows
const byte COLS = 4; // Three columns
// Define the Keymap
char keys[ROWS][COLS] = {
{‘1′,’2′,’3′,’A’},
{‘4′,’5′,’6′,’B’},
{‘7′,’8′,’9′,’C’},
{‘*’,’0′,’#’,’D’}
};
byte rowPins[ROWS] = { 0, 1, 2, 3 };// Connect keypad ROW0, ROW1, ROW2 and ROW3 to these Arduino pins.
byte colPins[COLS] = { 4, 5, 6, 7 }; // Connect keypad COL0, COL1 and COL2 to these Arduino pins.
Keypad kpd = Keypad( makeKeymap(keys), rowPins, colPins, ROWS, COLS ); // Create the Keypad
const int rs = 8, en = 9, d4 = 10, d5 = 11, d6 = 12, d7 = 13; //Pins to which LCD is connected
LiquidCrystal lcd(rs, en, d4, d5, d6, d7);
long Num1,Num2,Number;
char key,action;
boolean result = false;
void setup() {
lcd.begin(16, 2); //We are using a 16*2 LCD display
lcd.print(“DIY Calculator”); //Display a intro message
lcd.setCursor(0, 1); // set the cursor to column 0, line 1
lcd.print(“TechnicalUstaad”); //Display a intro message
delay(5000); //Wait for display to show info
lcd.clear(); //Then clean it
}
void loop() {
key = kpd.getKey(); //storing pressed key value in a char
if (key!=NO_KEY)
DetectButtons();
if (result==true)
CalculateResult();
DisplayResult();
}
void DetectButtons()
{
lcd.clear(); //Then clean it
if (key==’*’) //If cancel Button is pressed
{Serial.println (“Button Cancel”); Number=Num1=Num2=0; result=false;}
if (key == ‘1’) //If Button 1 is pressed
{Serial.println (“Button 1”);
if (Number==0)
Number=1;
else
Number = (Number*10) + 1; //Pressed twice
}
if (key == ‘4’) //If Button 4 is pressed
{Serial.println (“Button 4”);
if (Number==0)
Number=4;
else
Number = (Number*10) + 4; //Pressed twice
}
if (key == ‘7’) //If Button 7 is pressed
{Serial.println (“Button 7”);
if (Number==0)
Number=7;
else
Number = (Number*10) + 7; //Pressed twice
}
if (key == ‘0’)
{Serial.println (“Button 0”); //Button 0 is Pressed
if (Number==0)
Number=0;
else
Number = (Number*10) + 0; //Pressed twice
}
if (key == ‘2’) //Button 2 is Pressed
{Serial.println (“Button 2”);
if (Number==0)
Number=2;
else
Number = (Number*10) + 2; //Pressed twice
}
if (key == ‘5’)
{Serial.println (“Button 5”);
if (Number==0)
Number=5;
else
Number = (Number*10) + 5; //Pressed twice
}
if (key == ‘8’)
{Serial.println (“Button 8”);
if (Number==0)
Number=8;
else
Number = (Number*10) + 8; //Pressed twice
}
if (key == ‘#’)
{Serial.println (“Button Equal”);
Num2=Number;
result = true;
}
if (key == ‘3’)
{Serial.println (“Button 3”);
if (Number==0)
Number=3;
else
Number = (Number*10) + 3; //Pressed twice
}
if (key == ‘6’)
{Serial.println (“Button 6”);
if (Number==0)
Number=6;
else
Number = (Number*10) + 6; //Pressed twice
}
if (key == ‘9’)
{Serial.println (“Button 9”);
if (Number==0)
Number=9;
else
Number = (Number*10) + 9; //Pressed twice
}
if (key == ‘A’ || key == ‘B’ || key == ‘C’ || key == ‘D’) //Detecting Buttons on Column 4
{
Num1 = Number;
Number =0;
if (key == ‘A’)
{Serial.println (“Addition”); action = ‘+’;}
if (key == ‘B’)
{Serial.println (“Subtraction”); action = ‘-‘; }
if (key == ‘C’)
{Serial.println (“Multiplication”); action = ‘*’;}
if (key == ‘D’)
{Serial.println (“Devesion”); action = ‘/’;}
delay(100);
}
}
void CalculateResult()
{
if (action==’+’)
Number = Num1+Num2;
if (action==’-‘)
Number = Num1-Num2;
if (action==’*’)
Number = Num1*Num2;
if (action==’/’)
Number = Num1/Num2;
}
void DisplayResult()
{
lcd.setCursor(0, 0); // set the cursor to column 0, line 1
lcd.print(Num1); lcd.print(action); lcd.print(Num2);
if (result==true)
{lcd.print(” =”); lcd.print(Number);} //Display the result
lcd.setCursor(0, 1); // set the cursor to column 0, line 1
lcd.print(Number); //Display the result
}

You may also like to read these some awesome projects
Build DIY touch Screen Calculator using Arduino and TFT LCD
Getting Start with Joystick Shield Arduino and Nokia 51110 and build a game


