


As you may already know, Raspberry Pi can create countless cool works. However, most designs require some electronics knowledge and usually require some welding to do the job. Now thanks to an all-in-one suite called Pi-Top, you can really build your own laptop at home.
Note:
Buy Pi-Top Kit from my affiliate link, if you buy from this link I will get the very little amount, Thanks for the support.
RaspberryPiTop2 The Raspberry Pi 3 was launched two months ago as a successor to the crazy and popular Raspberry Pi, with over 4 million units sold. The original idea behind Pi was to create a small, affordable mini-computer that could help teach children, but it will soon develop into a person who loves himself, a future computer engineer and a repairman. Pi-Top embodies Pi’s original philosophy and makes programming easy – pie. These components are unassembled, so your first project is to gradually complete the process of actually building a laptop. The complete Pi-Top kit includes a 13.3-inch screen, battery, touch pad, mouse pad, laptop case, and Raspberry Pi 3. They will serve as the motherboard. In addition to the molded case, the kit comes with a 3D print file so that the user can personalize the taste. The entire kit includes the Raspberry Pi 3 for only $299.99; the Pi-2 kit will run you for $264.99.

The Raspberry PiTop1 is only $35 and it’s easy to see why the Raspberry Pi has been used for everything from drones and robots to tablets and PCs. The Raspberry Pi 3 is six times faster than its predecessor and can run more memory, making it a viable option for everyday laptops. It includes a quad-core ARM Cortex A7 CPU and is capable of running a complete Linux-based operating system, as well as browsing web pages, viewing e-mail and running productivity software. The Broadcom VideoCore IV graphics processor can render 1080p video and provide four USB ports, an HDMI socket, an Ethernet socket for storage, and GPIO pins. According to Pi-Top co-founder and CEO Jesse Lozano, battery life is estimated to be about eight hours.
With the introduction of Pi-Top, the sky and your imagination are the only limitations you can make with this amazing gadget. The kit will begin shipping in May and you can now order your product through Pi-Top’s website.
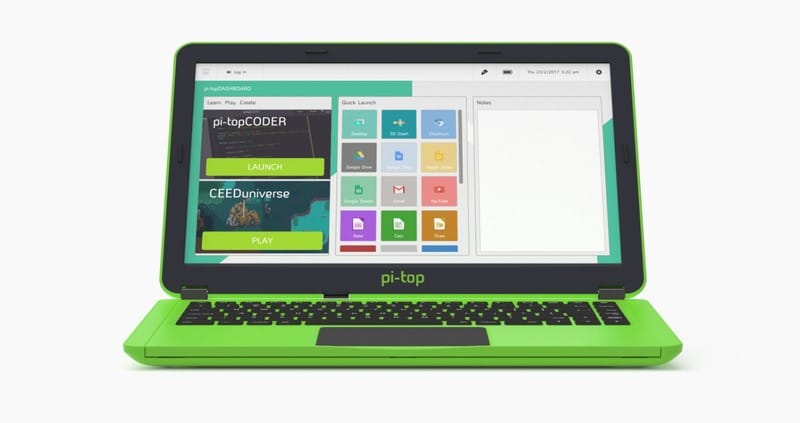
Pi-Top compares Pi’s Linux-based Raspbian desktop with pi-top OS – Add a startup program and configure the desktop so that the menu button is at the bottom left – anyone who uses Windows for a long time will be familiar with the setting to find the Start menu. The Pi-Top desktop is small but attractive, with a striped grey desktop background, crisp, bold icons, and bold text with rounded edges.
Due to the default installation of the Chromium browser, web browsing is as good as Pi 3. Chromium can load pages more quickly than Raspbian’s default Epiphany browser or IceWeasel (renamed version of Firefox), with less latency and graphical connections. If you plan to use Gmail, Google Docs, Google Drive, or other Google Apps, you must use Chromium. In my experience, documents run slowly on other browsers, and Drive simply doesn’t work. The full office suite is also included by default, and the open source LibreOffice, at least for the simple word-processing tasks I use it, feels like a $1,000 laptop on the Pi.
For me, this is the advantage of Pi-Top. It is not a generic PC because it is a kit toolkit that can use Pi’s variability and make it mobile.
Advantages
Let’s you use Pi on the move
- Easy to build
- Long battery life
- Learn various options for software programming and hardware hacking
- Visit professor-coded games while playing games
- Shortcomings
Screen
- 3-inch HD LCD with eDP interface
- 1366×768 resolution
- Color active matrix TFT LCD module, anti-glare surface treatment
- 3W power consumption
- PWM screen dimming control (can be used on PCB rails)
- 60Hz refresh rate
- 262K color
- eDP 1.2 interface
- Base top
- keyboard
- Fully reprogrammable via USB
- Any role can be placed at any key position to suit the user’s exact preferences
- Ethylene layout available in United Kingdom and United States
- 2mm working distance
- 28-pin FPC cable
- touchpad
- PalmCheck feature helps prevent unnecessary mouse clicks
- PS/2 interface
- 1N mouse click operation force
- 8-pin FPC cable
- Bottom bottom
- Smart battery pack
- Two-wire SMBus v2.0 interface
- JEITA recommended charging information
- Over-current, over-voltage, over-temperature and short-circuit protection
- Charge balance extends service life
- 8 Wh capacity
- Running time is 10-12 hours
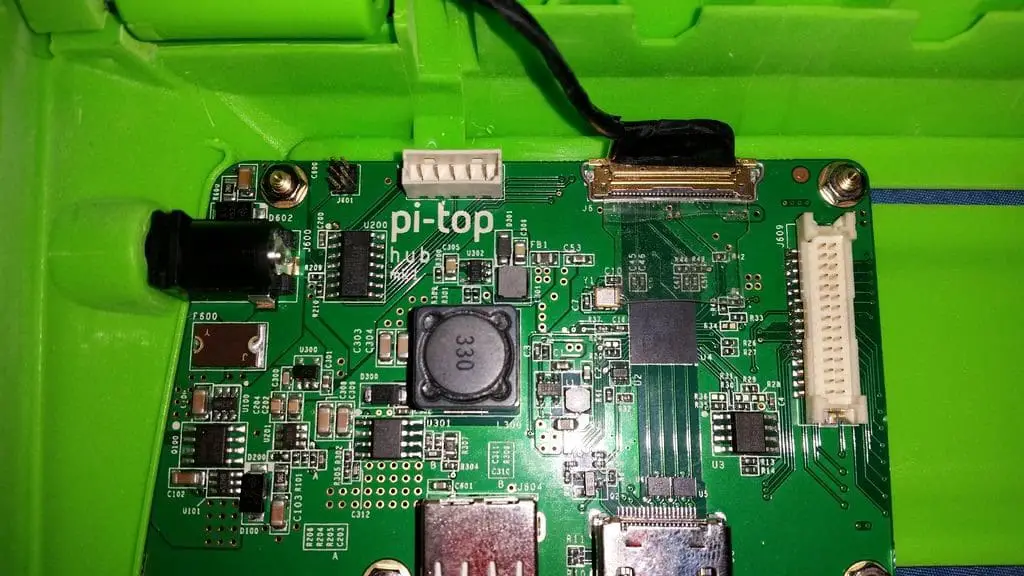
- Hub board
- Energy management
- Screen Driver (HDMI to eDP conversion)
- Batery LED indicator
- 3A input
- 3.5A output
- 3V 500mA output
- Continuous 3.3V output
- (Can be used even if it is turned off)
- PCB Rail Specification Pinouts connect the UART, I2C, and SPI to the Raspberry Pi for use with add-on boards.
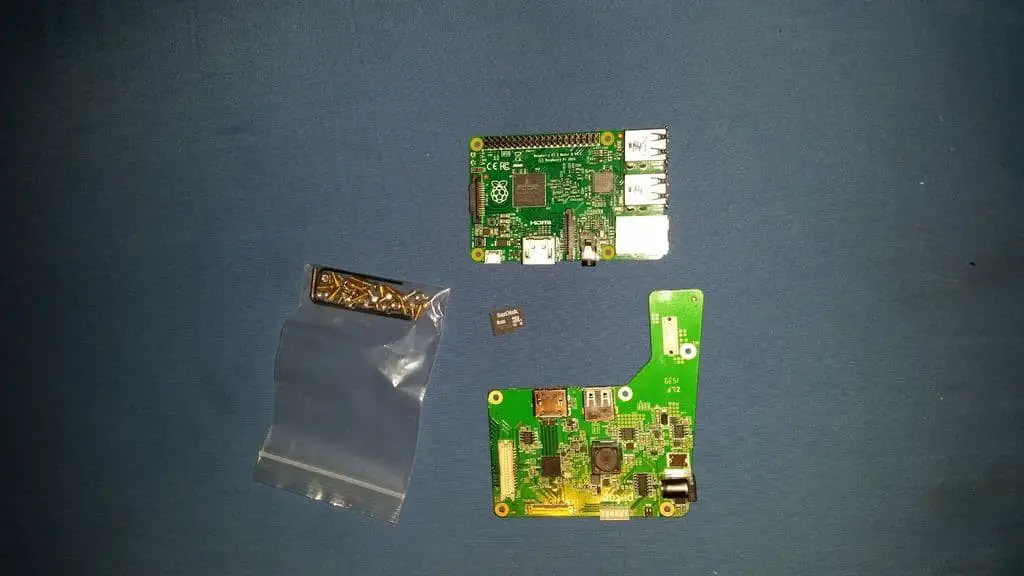
Raspberry Pi 3
- Chipset: Broadcom BCM2837
- CPU: 1.2GHz quad-core 64-bit ARM Cortex A53
- Ethernet: 10/100 (maximum throughput 100Mbps)
- USB: Four USB 2.0, 480Mbps data transmission
- Storage: MicroSD card or storage connected via USB
- Wireless: 802.11n wireless LAN (peak transmission/reception throughput 150Mbps), Bluetooth 4.1
- Graphics: 400MHz VideoCore IV Multimedia
- Memory: 1GB LPDDR2-900 SDRAM
- Extensibility: 40 universal input and output pins
- Video: Full HDMI port
- Audio: Combined 3.5mm audio output jacks and composite video
- Camera Interface (CSI)
- Display Interface (DSI)
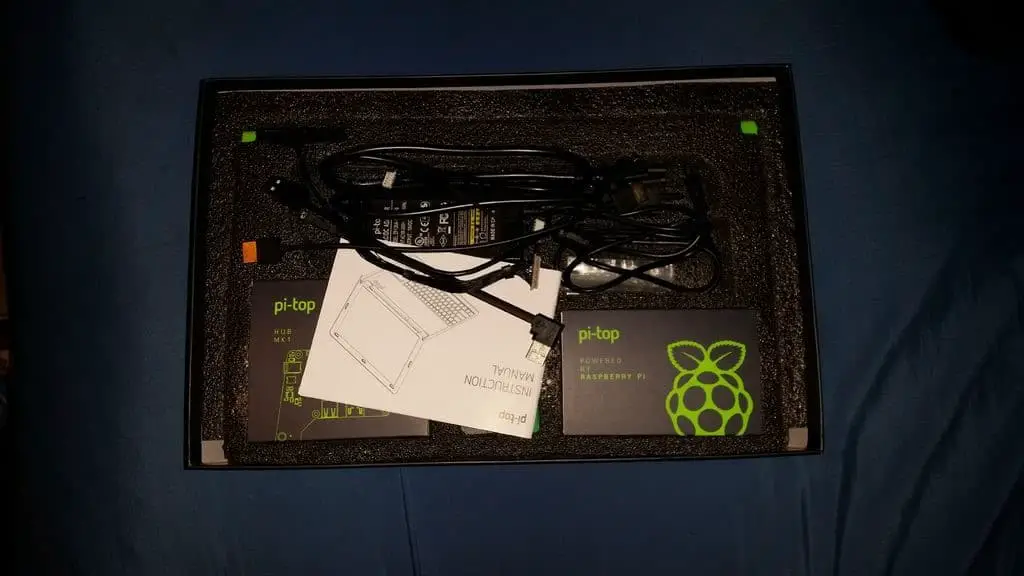
Also included
- SD card with pi-topOS (8GB)
- Connect the cable of the pi-top part
- Wifi Dongle
- charger
- Instructions
Let’s Build DIY Laptop with Raspberry Pi using Pi-Top Kit
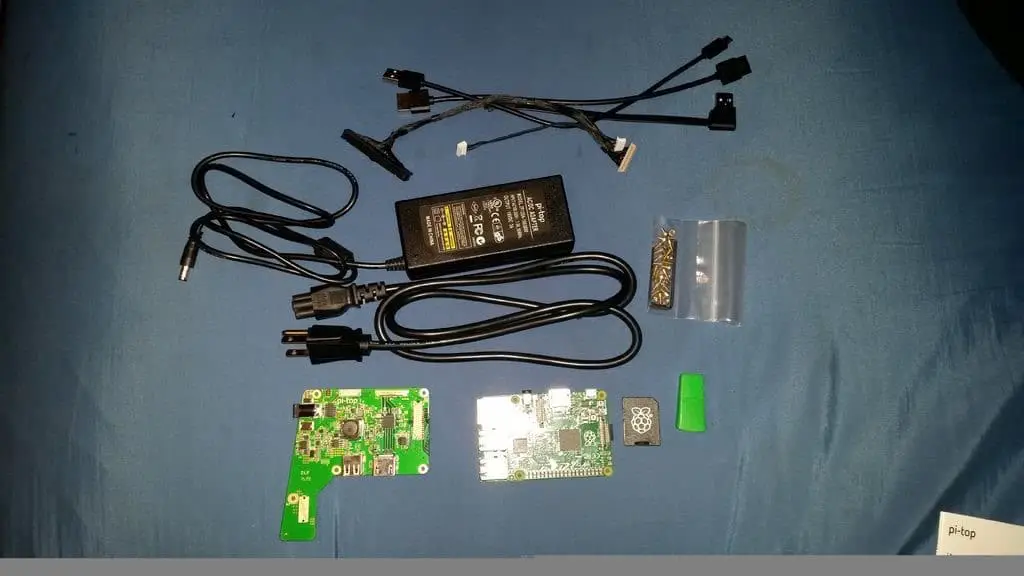
The list of materials in this intractable are VERY straight forward. If you’re looking at this, you will have already (or are waiting to) receive your Pi-Top.
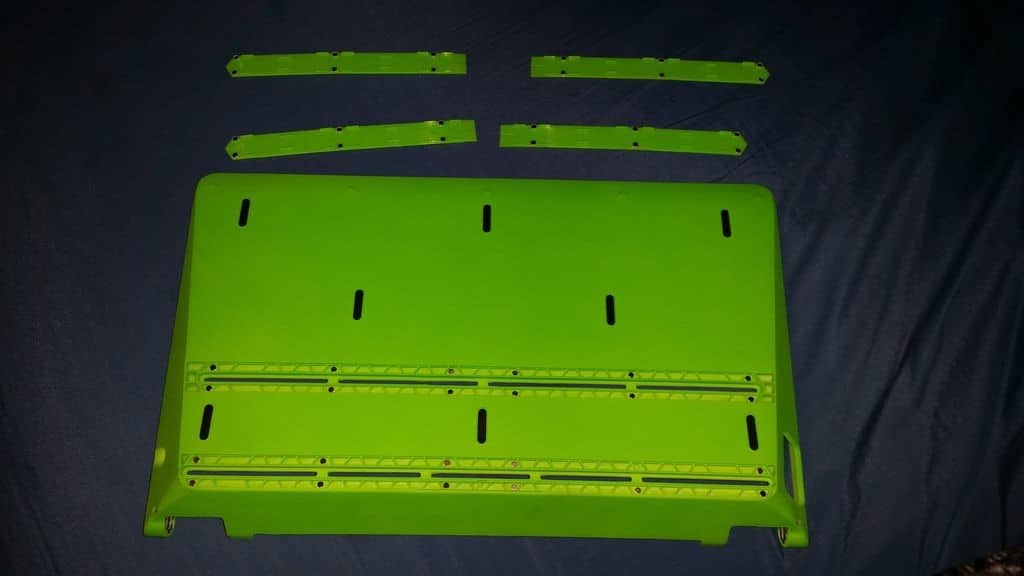
Installing Screen
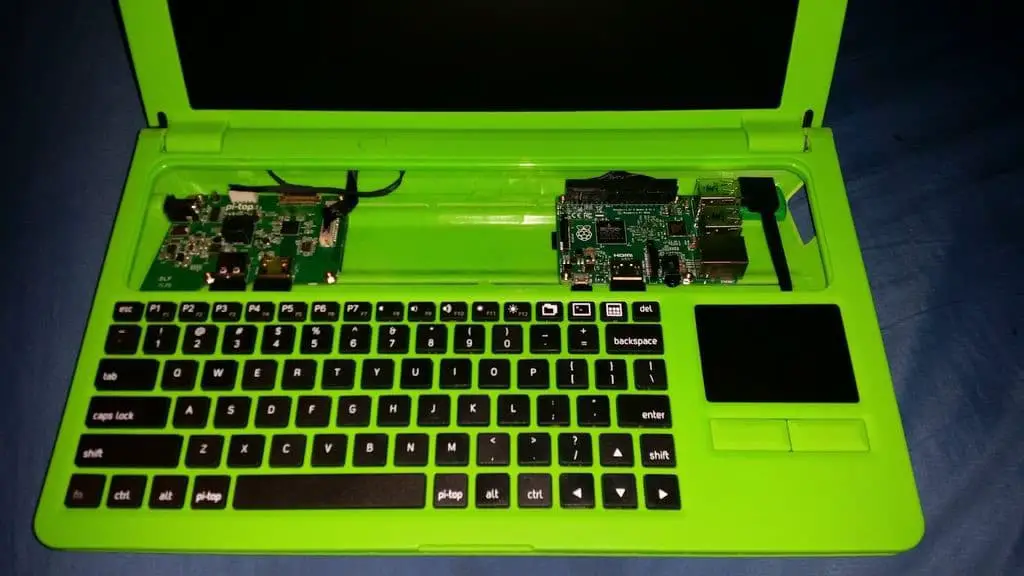
First find the base. Turn it over. You will see there are 4 “slats”. Delete them. You can use one of the included HEX wrenches to poke it out. They are magnetic and therefore easy to eject. Flip it to the right.
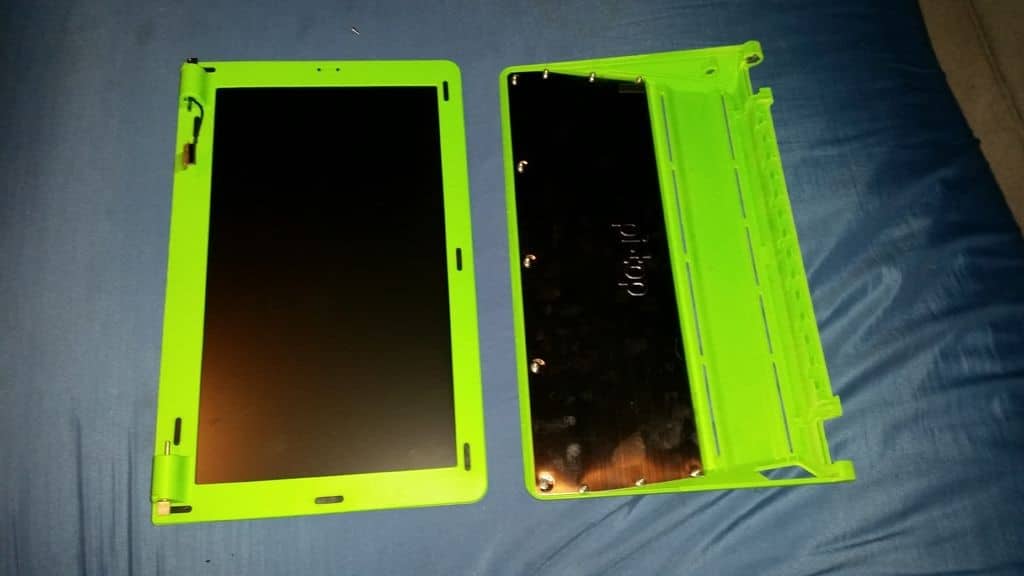
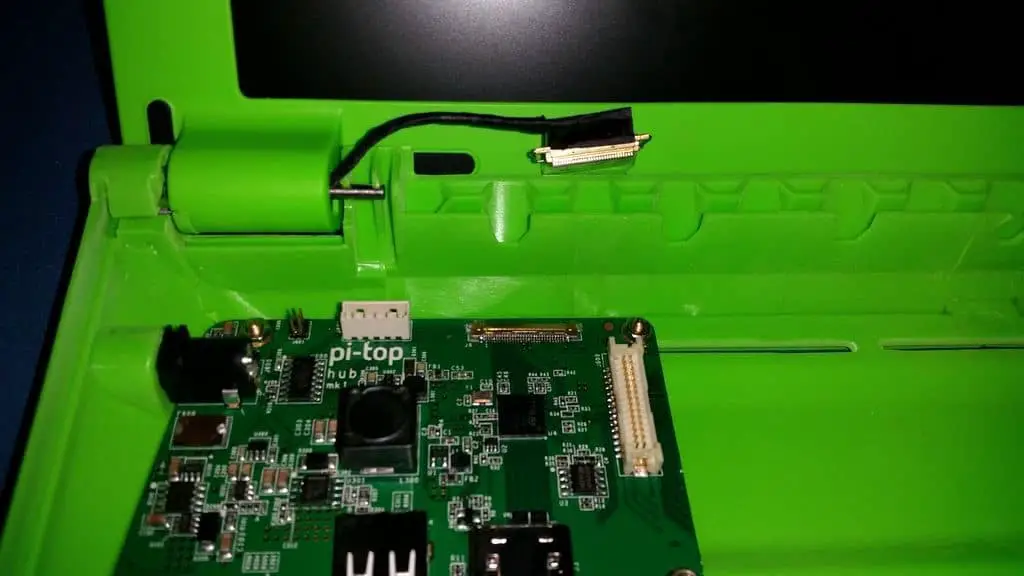
The next position screen. Position it as if it is in the installed closed position. Now carefully slide the screen hinge into place to avoid catching the hinge slot.
After sliding the top of the screen into place, carefully turn the unit over. Find the screw holes in the hinge area. Use the correct size HEX wrench to tighten the screws. Don’t overstress.
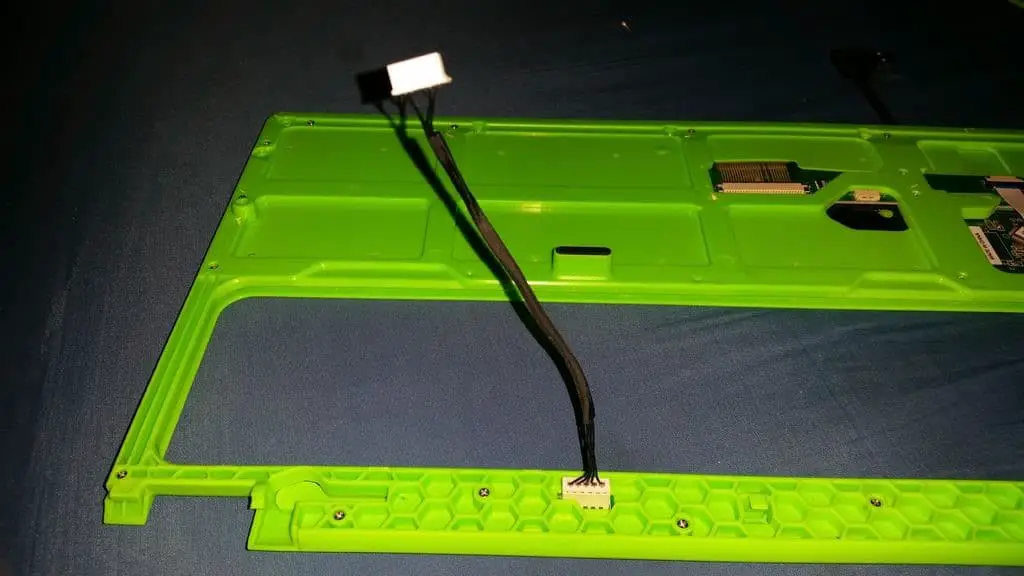
Connecting Wire
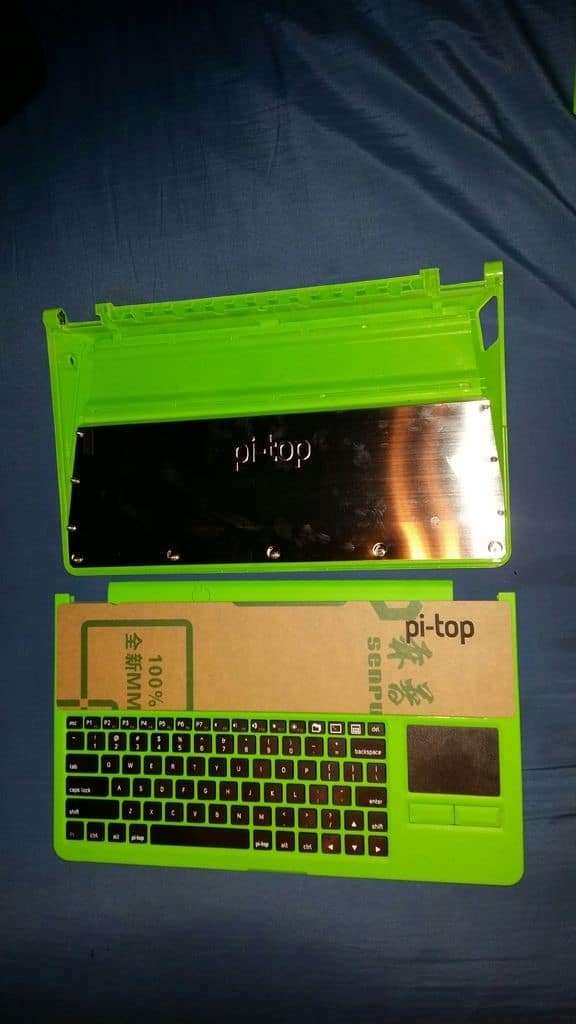
Installing Keyboard
Install the power button and USB Keyboard cables into their respective spots on the Keyboard.

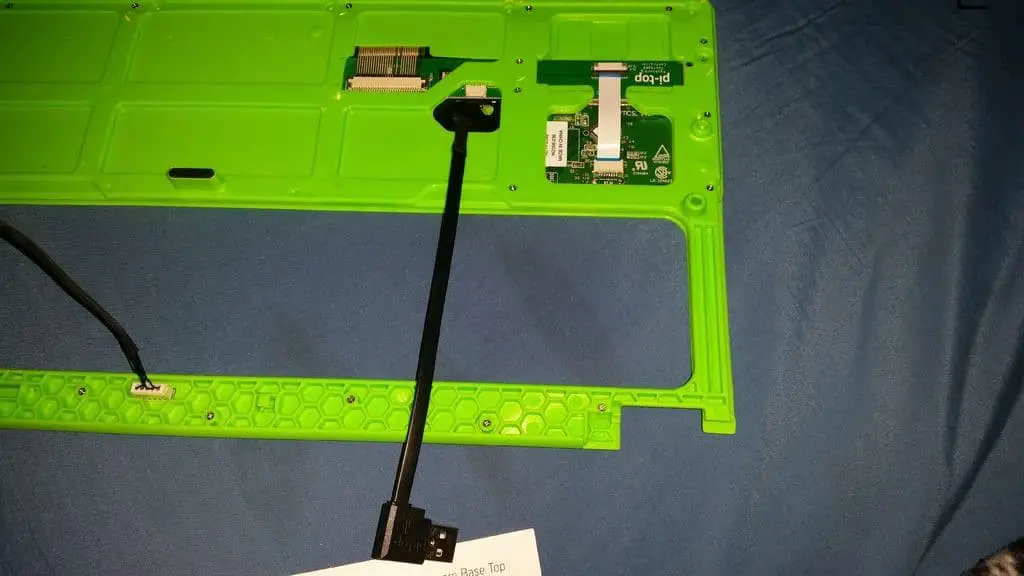
PowerUP
Congratulation now you have successfully built and powered up your raspberry pi base Laptop. Now you’ll have available the CEED Universe, and other fantastic apps at your disposal to use the Pi-Top as it was meant to be!
Note:- I have written a post for people looking for the best multimeter for electronics to buy?, do read it If you are interested.


