


Arduino microcontrollers to do a lot of work is very simple. This article tells you how to create a simple 1-button video game made from a few components in the Arduino Basic Suite of 123D Circuits. This is a side-scrolling jump game. This is a good place to start creating your own game from simple manufacturer electronics.
Collect Hardware to Build game using Arduino UNO
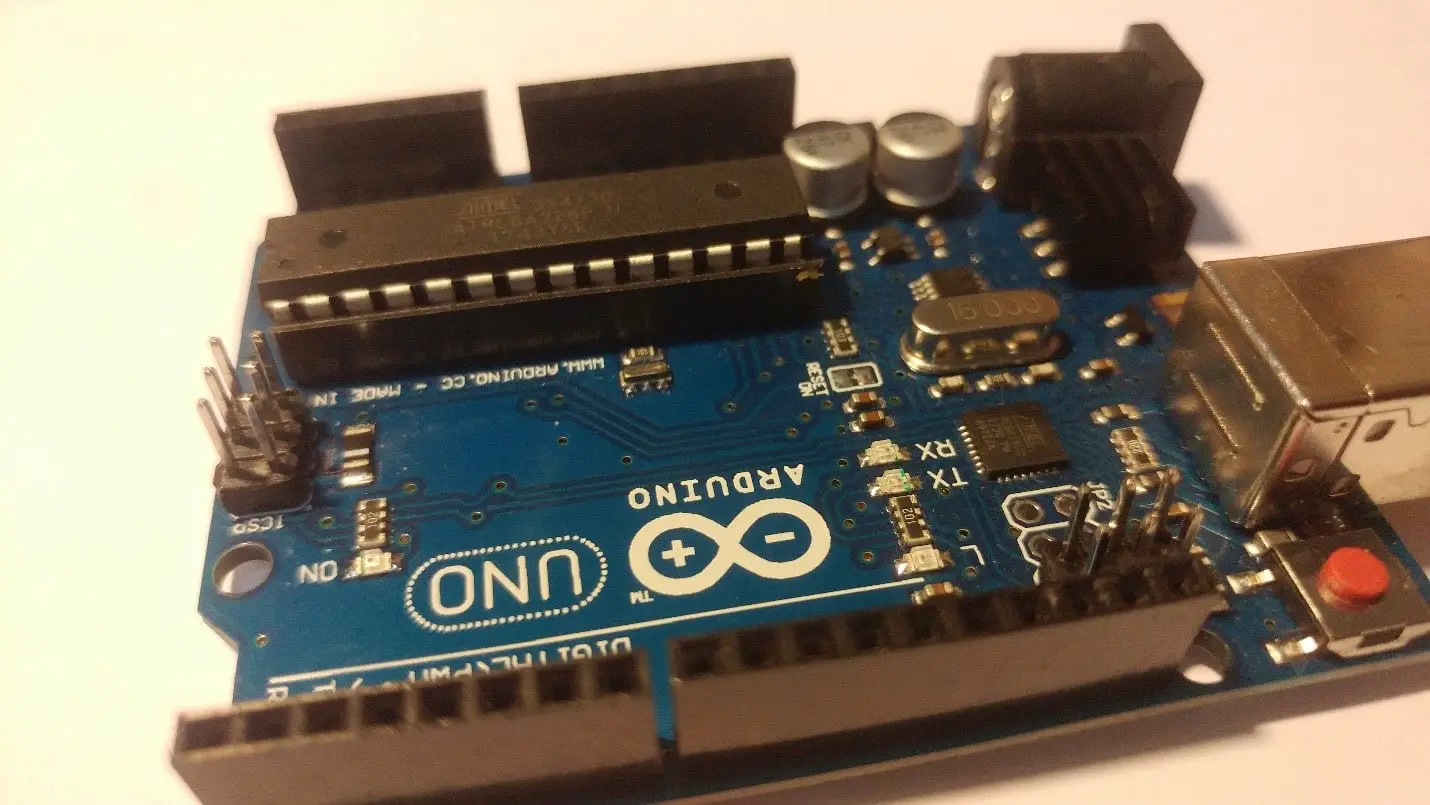
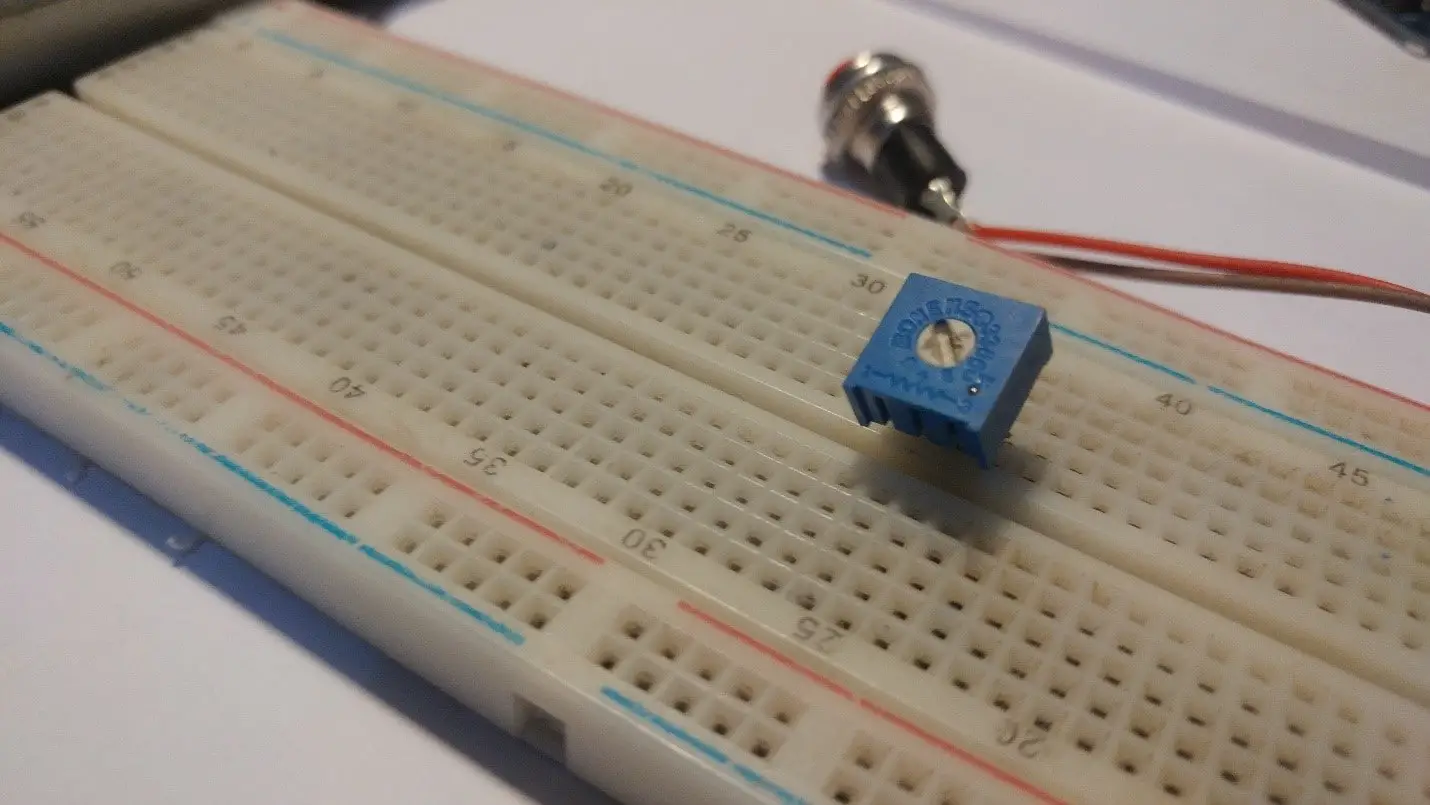
- Arduino UNO (Buy Now)
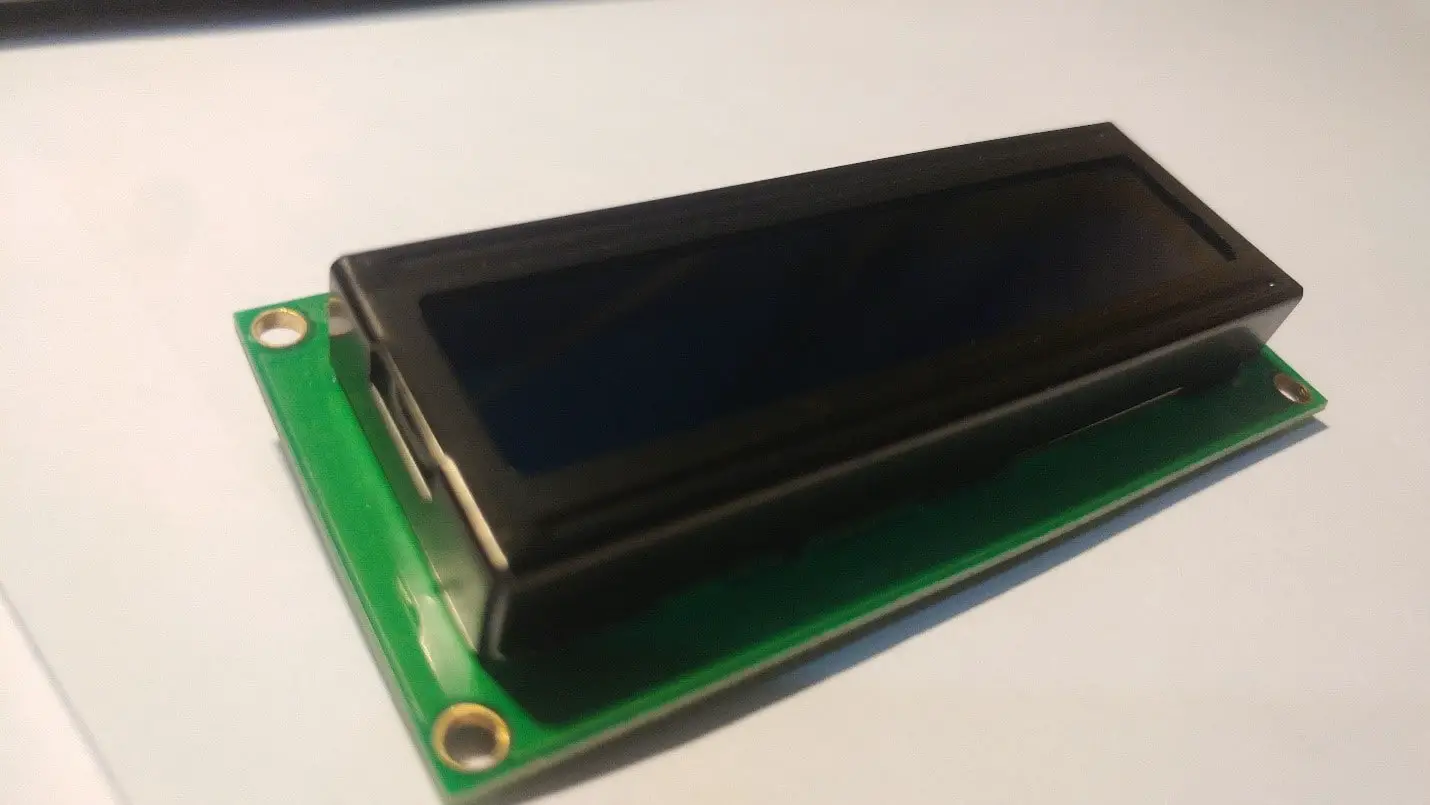
- liquid crystal display (16 x 2 characters) (Buy Now)
- Electronic breadboard (Buy Now)
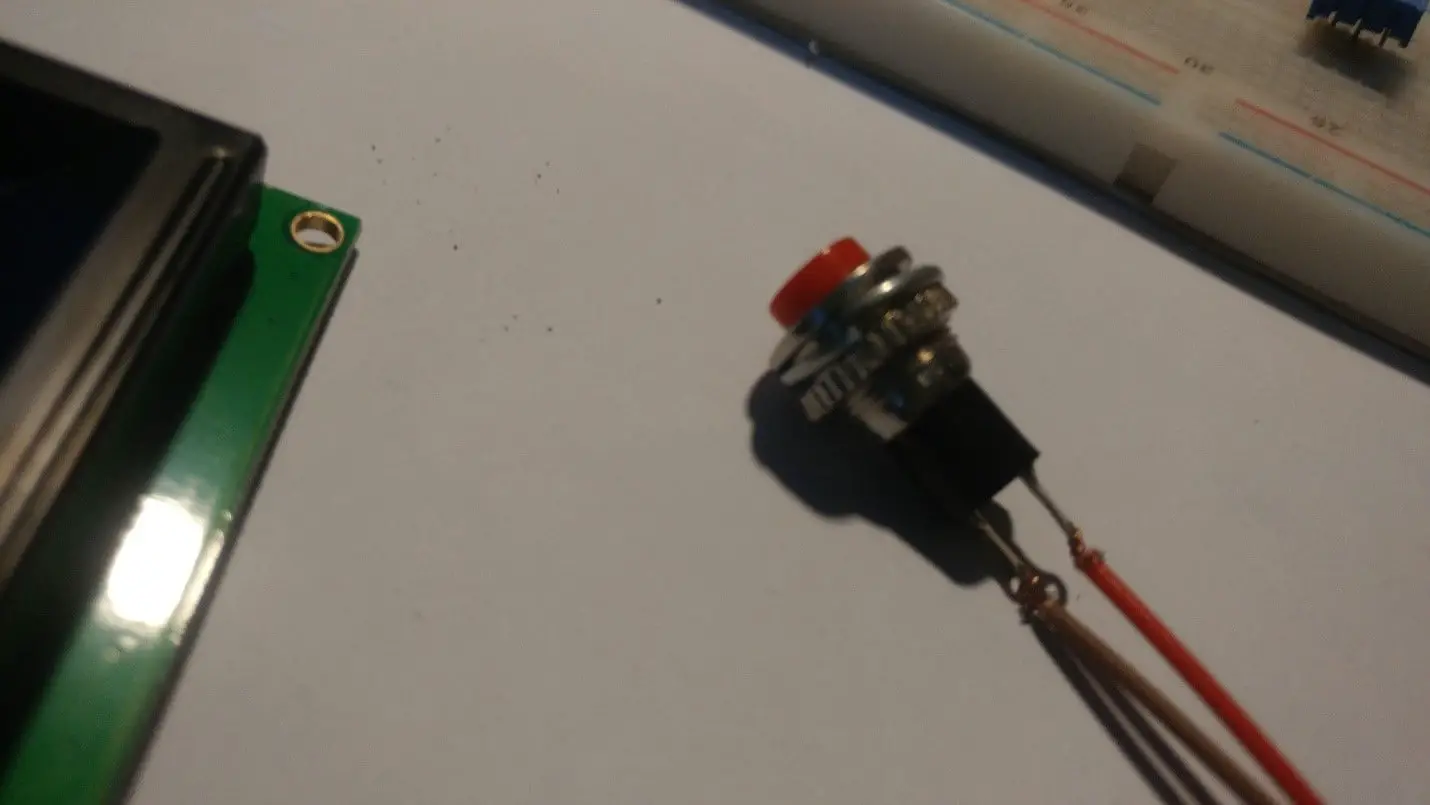
- 1 button switch (Buy Now)
The picture above shows the required parts.
- Follow Steps
Start off with no power at Arduino. Do not insert the USB cable. This will happen in later steps when it’s time to program and try the game. -
- Use a long connection to connect the 5V signal on the Arduino to the far left of the red line at the top of the breadboard.
- Use a long cable to connect the GND signal to the far left of the black (or blue on some breadboards) row at the top of the breadboard.
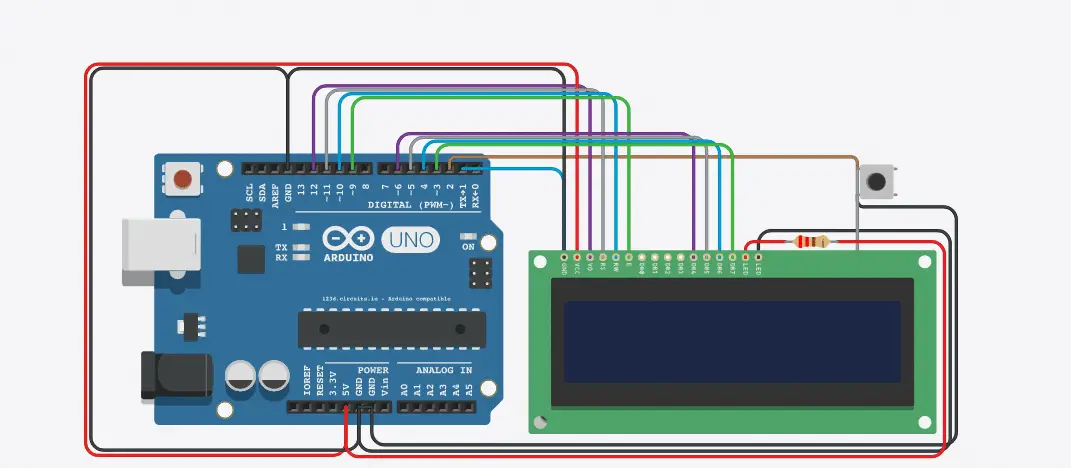
- The LCD (liquid crystal display) module has a 16-pin plug at the bottom. Insert it into the breadboard as shown. All electrical signals that power and control the LCD pass through this connector.
- These pins are (from left to right):
- GND – Power ground signal
- VCC – Forward power signal
- V0 – contrast adjustment
- RS – register selection
- R / W – read / write selection
- Electronic operation enable signal
- DB0 – Data bit 0 (not used here)
- DB1 – Data bit 1 (not used here)
- DB2 – Data Bit 2 (not used here)
- DB3 – Data Bit 3 (not used here)
- DB4 – data bit 4
- DB5 – Data Bits 5
- DB6 – Data bit 6
- DB7 – data bit 7
- LED + – Backlight LED front
- LED- – Backlight LED negative
- Using a short wiring, connect GND and LED- (pins 1 and 16) to the top black line.
- Also, connect VCC (pin 2) to the red line at the top using a short wiring.
Use the longer cable to complete the rest of the connection:
- Connect DB7 to Arduino pin 3
- Connect DB6 to Arduino pin 4
- Connect DB5 to Arduino pin 5
- Connect DB4 to Arduino pin 6
- Connect E to the Arduino pin 9
- Connect R / W to Arduino pin 10 (or black line at the top of the breadboard)
- Connect RS to Arduino pin 11
- Connect V0 to Arduino pin 12 (or connect to the black line at the top of the breadboard)
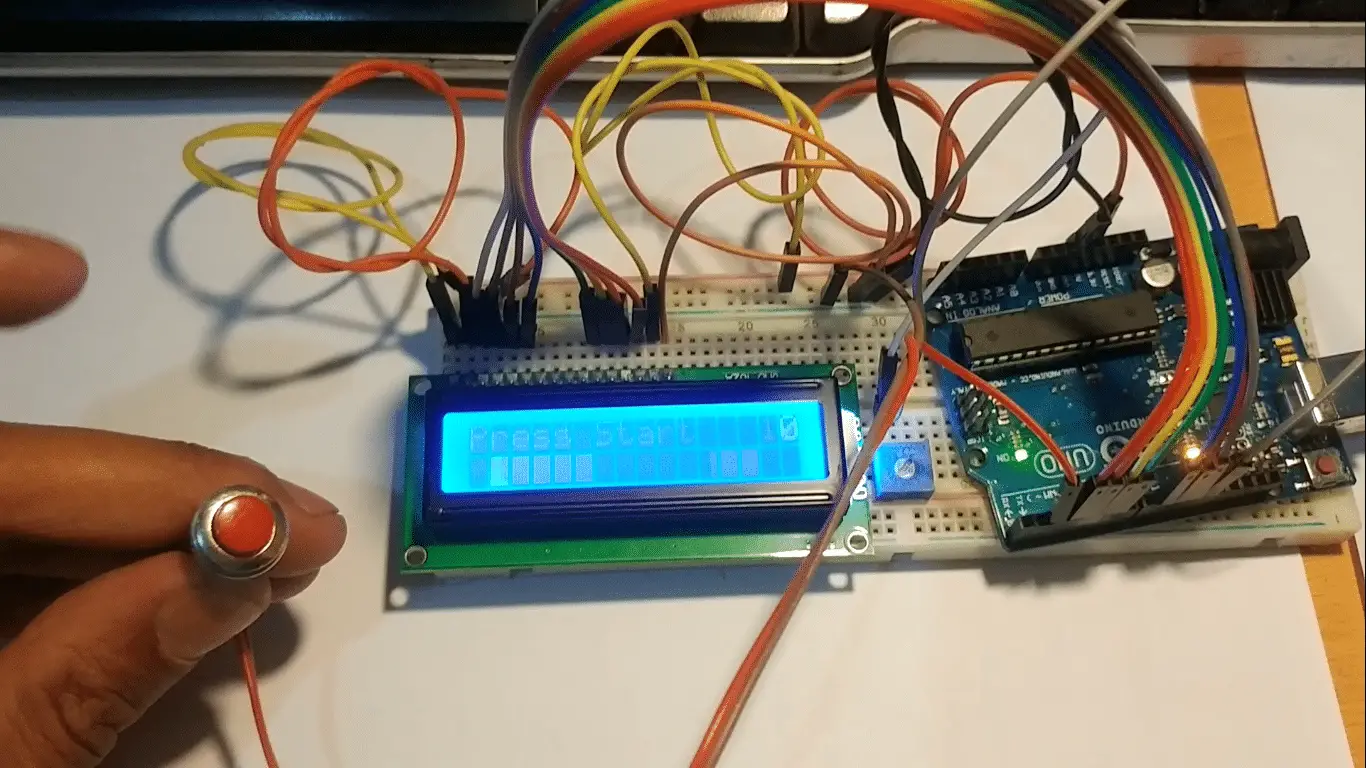
Insert the button somewhere on the left side of the LCD across the channel that extends along the center of the breadboard (see figure above). Use a short wire to connect one of the two pins on the top of the button to the black line at the top of the breadboard. Connect the other pin on the top of the button to pin 2 of the Arduino.
Note:- I have written a post for people looking for the best multimeter for electronics to buy?, do read it If you are interested.
Upload Source
At this point, you should be ready to program and test the Arduino.
First make sure your Arduino software is installed on your computer. Copy paste the source code and open it in the Arduino software. Make sure the programming board is set up correctly (Tools → Boards → Arduino Uno).
- Connect the Arduino to your computer using the USB cable. This will power Arduino / game and allow you to upload your program to Arduino.
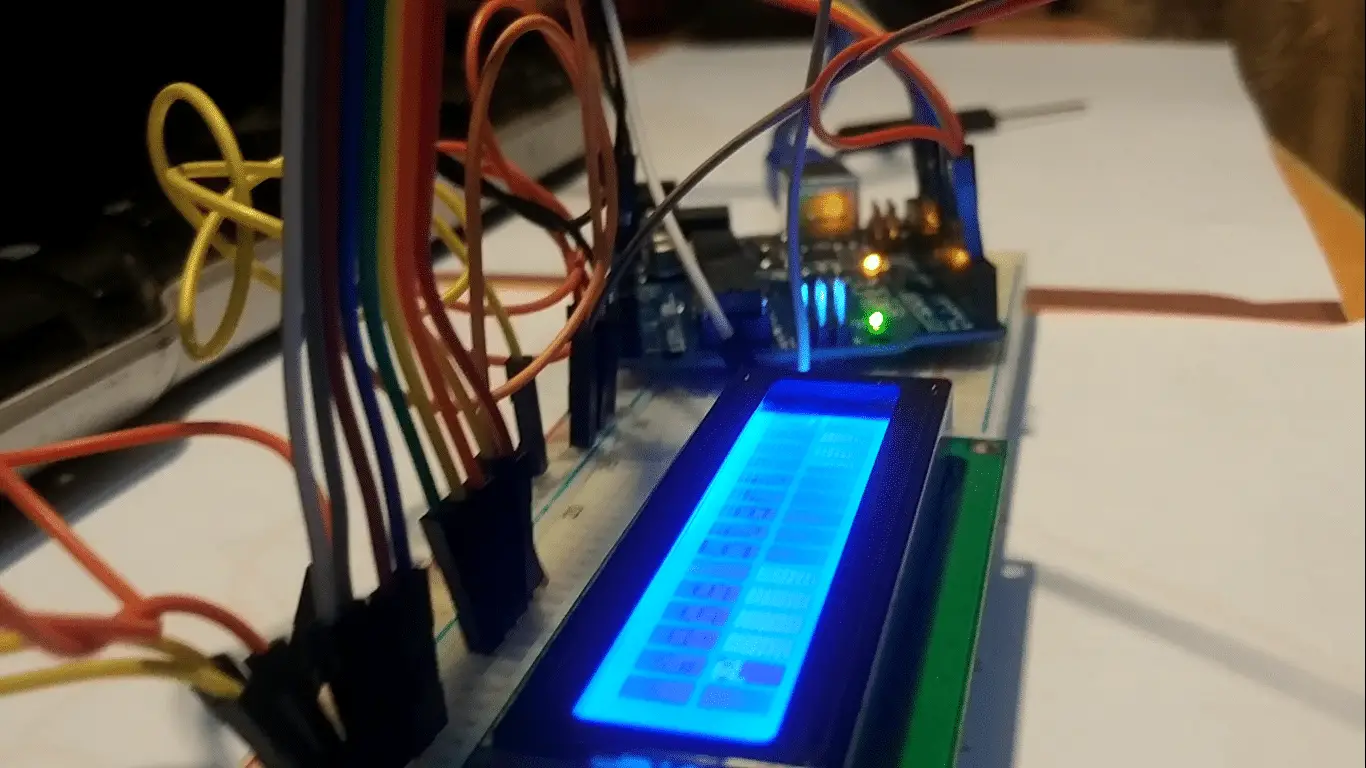
- At this point, the screen of the LCD monitor should be lit.
- Program the Arduino by selecting File → Upload (or press the right arrow button at the top of the Arduino software).
- If all goes well, the LCD screen should now show the game start screen as shown above.
Source Code:
#include <LiquidCrystal.h>
#define PIN_BUTTON 2
#define PIN_AUTOPLAY 1
#define PIN_READWRITE 10
#define PIN_CONTRAST 12
#define SPRITE_RUN1 1
#define SPRITE_RUN2 2
#define SPRITE_JUMP 3
#define SPRITE_JUMP_UPPER ‘.’ // Use the ‘.’ character for the head
#define SPRITE_JUMP_LOWER 4
#define SPRITE_TERRAIN_EMPTY ‘ ‘ // User the ‘ ‘ character
#define SPRITE_TERRAIN_SOLID 5
#define SPRITE_TERRAIN_SOLID_RIGHT 6
#define SPRITE_TERRAIN_SOLID_LEFT 7
#define HERO_HORIZONTAL_POSITION 1 // Horizontal position of hero on screen
#define TERRAIN_WIDTH 16
#define TERRAIN_EMPTY 0
#define TERRAIN_LOWER_BLOCK 1
#define TERRAIN_UPPER_BLOCK 2
#define HERO_POSITION_OFF 0 // Hero is invisible
#define HERO_POSITION_RUN_LOWER_1 1 // Hero is running on lower row (pose 1)
#define HERO_POSITION_RUN_LOWER_2 2 // (pose 2)
#define HERO_POSITION_JUMP_1 3 // Starting a jump
#define HERO_POSITION_JUMP_2 4 // Half-way up
#define HERO_POSITION_JUMP_3 5 // Jump is on upper row
#define HERO_POSITION_JUMP_4 6 // Jump is on upper row
#define HERO_POSITION_JUMP_5 7 // Jump is on upper row
#define HERO_POSITION_JUMP_6 8 // Jump is on upper row
#define HERO_POSITION_JUMP_7 9 // Half-way down
#define HERO_POSITION_JUMP_8 10 // About to land
#define HERO_POSITION_RUN_UPPER_1 11 // Hero is running on upper row (pose 1)
#define HERO_POSITION_RUN_UPPER_2 12 // (pose 2)
LiquidCrystal lcd(11, 9, 6, 5, 4, 3);
static char terrainUpper[TERRAIN_WIDTH + 1];
static char terrainLower[TERRAIN_WIDTH + 1];
static bool buttonPushed = false;
void initializeGraphics(){
static byte graphics[] = {
// Run position 1
B01100,
B01100,
B00000,
B01110,
B11100,
B01100,
B11010,
B10011,
// Run position 2
B01100,
B01100,
B00000,
B01100,
B01100,
B01100,
B01100,
B01110,
// Jump
B01100,
B01100,
B00000,
B11110,
B01101,
B11111,
B10000,
B00000,
// Jump lower
B11110,
B01101,
B11111,
B10000,
B00000,
B00000,
B00000,
B00000,
// Ground
B11111,
B11111,
B11111,
B11111,
B11111,
B11111,
B11111,
B11111,
// Ground right
B00011,
B00011,
B00011,
B00011,
B00011,
B00011,
B00011,
B00011,
// Ground left
B11000,
B11000,
B11000,
B11000,
B11000,
B11000,
B11000,
B11000,
};
int i;
// Skip using character 0, this allows lcd.print() to be used to
// quickly draw multiple characters
for (i = 0; i < 7; ++i) {
lcd.createChar(i + 1, &graphics[i * 8]);
}
for (i = 0; i < TERRAIN_WIDTH; ++i) {
terrainUpper[i] = SPRITE_TERRAIN_EMPTY;
terrainLower[i] = SPRITE_TERRAIN_EMPTY;
}
}
// Slide the terrain to the left in half-character increments
//
void advanceTerrain(char* terrain, byte newTerrain){
for (int i = 0; i < TERRAIN_WIDTH; ++i) {
char current = terrain[i];
char next = (i == TERRAIN_WIDTH-1) ? newTerrain : terrain[i+1];
switch (current){
case SPRITE_TERRAIN_EMPTY:
terrain[i] = (next == SPRITE_TERRAIN_SOLID) ? SPRITE_TERRAIN_SOLID_RIGHT : SPRITE_TERRAIN_EMPTY;
break;
case SPRITE_TERRAIN_SOLID:
terrain[i] = (next == SPRITE_TERRAIN_EMPTY) ? SPRITE_TERRAIN_SOLID_LEFT : SPRITE_TERRAIN_SOLID;
break;
case SPRITE_TERRAIN_SOLID_RIGHT:
terrain[i] = SPRITE_TERRAIN_SOLID;
break;
case SPRITE_TERRAIN_SOLID_LEFT:
terrain[i] = SPRITE_TERRAIN_EMPTY;
break;
}
}
}
bool drawHero(byte position, char* terrainUpper, char* terrainLower, unsigned int score) {
bool collide = false;
char upperSave = terrainUpper[HERO_HORIZONTAL_POSITION];
char lowerSave = terrainLower[HERO_HORIZONTAL_POSITION];
byte upper, lower;
switch (position) {
case HERO_POSITION_OFF:
upper = lower = SPRITE_TERRAIN_EMPTY;
break;
case HERO_POSITION_RUN_LOWER_1:
upper = SPRITE_TERRAIN_EMPTY;
lower = SPRITE_RUN1;
break;
case HERO_POSITION_RUN_LOWER_2:
upper = SPRITE_TERRAIN_EMPTY;
lower = SPRITE_RUN2;
break;
case HERO_POSITION_JUMP_1:
case HERO_POSITION_JUMP_8:
upper = SPRITE_TERRAIN_EMPTY;
lower = SPRITE_JUMP;
break;
case HERO_POSITION_JUMP_2:
case HERO_POSITION_JUMP_7:
upper = SPRITE_JUMP_UPPER;
lower = SPRITE_JUMP_LOWER;
break;
case HERO_POSITION_JUMP_3:
case HERO_POSITION_JUMP_4:
case HERO_POSITION_JUMP_5:
case HERO_POSITION_JUMP_6:
upper = SPRITE_JUMP;
lower = SPRITE_TERRAIN_EMPTY;
break;
case HERO_POSITION_RUN_UPPER_1:
upper = SPRITE_RUN1;
lower = SPRITE_TERRAIN_EMPTY;
break;
case HERO_POSITION_RUN_UPPER_2:
upper = SPRITE_RUN2;
lower = SPRITE_TERRAIN_EMPTY;
break;
}
if (upper != ‘ ‘) {
terrainUpper[HERO_HORIZONTAL_POSITION] = upper;
collide = (upperSave == SPRITE_TERRAIN_EMPTY) ? false : true;
}
if (lower != ‘ ‘) {
terrainLower[HERO_HORIZONTAL_POSITION] = lower;
collide |= (lowerSave == SPRITE_TERRAIN_EMPTY) ? false : true;
}
byte digits = (score > 9999) ? 5 : (score > 999) ? 4 : (score > 99) ? 3 : (score > 9) ? 2 : 1;
// Draw the scene
terrainUpper[TERRAIN_WIDTH] = ‘\0’;
terrainLower[TERRAIN_WIDTH] = ‘\0’;
char temp = terrainUpper[16-digits];
terrainUpper[16-digits] = ‘\0’;
lcd.setCursor(0,0);
lcd.print(terrainUpper);
terrainUpper[16-digits] = temp;
lcd.setCursor(0,1);
lcd.print(terrainLower);
lcd.setCursor(16 – digits,0);
lcd.print(score);
terrainUpper[HERO_HORIZONTAL_POSITION] = upperSave;
terrainLower[HERO_HORIZONTAL_POSITION] = lowerSave;
return collide;
}
// Handle the button push as an interrupt
void buttonPush() {
buttonPushed = true;
}
void setup(){
pinMode(PIN_READWRITE, OUTPUT);
digitalWrite(PIN_READWRITE, LOW);
pinMode(PIN_CONTRAST, OUTPUT);
digitalWrite(PIN_CONTRAST, LOW);
pinMode(PIN_BUTTON, INPUT);
digitalWrite(PIN_BUTTON, HIGH);
pinMode(PIN_AUTOPLAY, OUTPUT);
digitalWrite(PIN_AUTOPLAY, HIGH);
// Digital pin 2 maps to interrupt 0
attachInterrupt(0/PIN_BUTTON/, buttonPush, FALLING);
initializeGraphics();
lcd.begin(16, 2);
}
void loop(){
static byte heroPos = HERO_POSITION_RUN_LOWER_1;
static byte newTerrainType = TERRAIN_EMPTY;
static byte newTerrainDuration = 1;
static bool playing = false;
static bool blink = false;
static unsigned int distance = 0;
if (!playing) {
drawHero((blink) ? HERO_POSITION_OFF : heroPos, terrainUpper, terrainLower, distance >> 3);
if (blink) {
lcd.setCursor(0,0);
lcd.print(“Press Start”);
}
delay(250);
blink = !blink;
if (buttonPushed) {
initializeGraphics();
heroPos = HERO_POSITION_RUN_LOWER_1;
playing = true;
buttonPushed = false;
distance = 0;
}
return;
}
// Shift the terrain to the left
advanceTerrain(terrainLower, newTerrainType == TERRAIN_LOWER_BLOCK ? SPRITE_TERRAIN_SOLID : SPRITE_TERRAIN_EMPTY);
advanceTerrain(terrainUpper, newTerrainType == TERRAIN_UPPER_BLOCK ? SPRITE_TERRAIN_SOLID : SPRITE_TERRAIN_EMPTY);
// Make new terrain to enter on the right
if (–newTerrainDuration == 0) {
if (newTerrainType == TERRAIN_EMPTY) {
newTerrainType = (random(3) == 0) ? TERRAIN_UPPER_BLOCK : TERRAIN_LOWER_BLOCK;
newTerrainDuration = 2 + random(10);
} else {
newTerrainType = TERRAIN_EMPTY;
newTerrainDuration = 10 + random(10);
}
}
if (buttonPushed) {
if (heroPos <= HERO_POSITION_RUN_LOWER_2) heroPos = HERO_POSITION_JUMP_1;
buttonPushed = false;
}
if (drawHero(heroPos, terrainUpper, terrainLower, distance >> 3)) {
playing = false; // The hero collided with something. Too bad.
} else {
if (heroPos == HERO_POSITION_RUN_LOWER_2 || heroPos == HERO_POSITION_JUMP_8) {
heroPos = HERO_POSITION_RUN_LOWER_1;
} else if ((heroPos >= HERO_POSITION_JUMP_3 && heroPos <= HERO_POSITION_JUMP_5) && terrainLower[HERO_HORIZONTAL_POSITION] != SPRITE_TERRAIN_EMPTY) {
heroPos = HERO_POSITION_RUN_UPPER_1;
} else if (heroPos >= HERO_POSITION_RUN_UPPER_1 && terrainLower[HERO_HORIZONTAL_POSITION] == SPRITE_TERRAIN_EMPTY) {
heroPos = HERO_POSITION_JUMP_5;
} else if (heroPos == HERO_POSITION_RUN_UPPER_2) {
heroPos = HERO_POSITION_RUN_UPPER_1;
} else {
++heroPos;
}
++distance;
digitalWrite(PIN_AUTOPLAY, terrainLower[HERO_HORIZONTAL_POSITION + 2] == SPRITE_TERRAIN_EMPTY ? HIGH : LOW);
}
delay(100);
}
Note
If you want to change the way the game works or make a cool printed circuit board for this project that directly inserts Arduino and replaces all those messy wires, here’s how to get started.

You may also like to read these articles
Build Real Ghost Detector: Arduino EMF (ELECTROMAGNETIC FIELD) DETECTOR


