


Have you been receiving notifications on your Mac, that “Your startup disk is almost full”? We have been there, too and had no idea how to check the storage. So, we did our research and listed out some of the easiest ways on how to check the storage on mac.
It is always better to keep in check with your Mac storage. You can then easily manage your files such that any unwanted data can be removed.
Moreover, you may have experienced your system running slow and the foremost reason for such a situation is due to storage being full. No matter how much storage initially you have, your system needs some memory or storage to run the applications smoothly.
Here are some ways on How to check the storage on mac.
How to Check Storage on Mac via “About this Mac”
There are mostly three ways in which you can check the storage of your Mac disk drive or simply any file or folder on your system separately.
The most common method that any Mac user should know if he/she hopes to check the storage left or used on their system is by accessing the “About this Mac” option from the Apple menu.
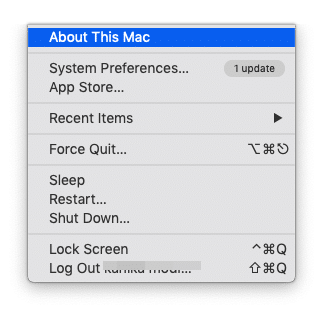
- Click on the Apple icon on your Desktop in the top-left corner of the screen.
- Now, tap on “About this Mac”.
- Click on Storage on the menu.
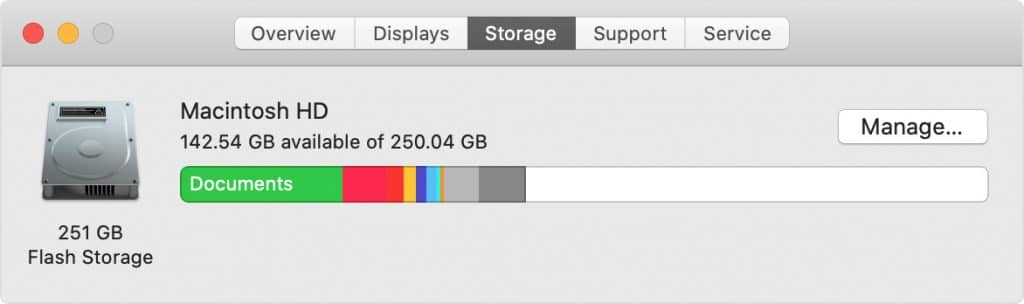
Simply wait for the system to calculate the storage on the system and the total left space to be used. You can also click on the Manage icon to get rid of unwanted files and free some more space.
How to Check Storage on Mac via “Disk Utility”
We have another method that directly calculates the total space on your system and how much you have used as of now.
It involves checking out your disk utility option, which can be done in multiple ways. Either you can open up Applications from the Docks or simply use the Spotlight search.
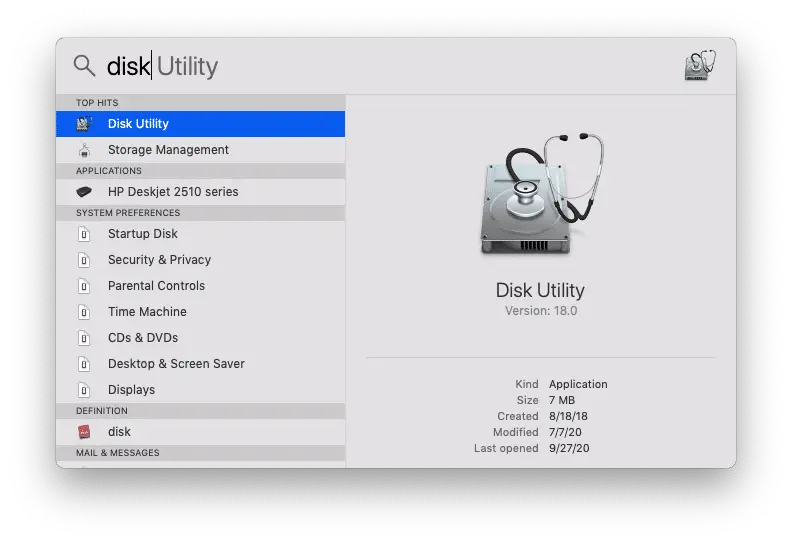
- Press Command + Space on your keyboard to access Spotlight Search.
- Type Disk Utility and click on it to open.
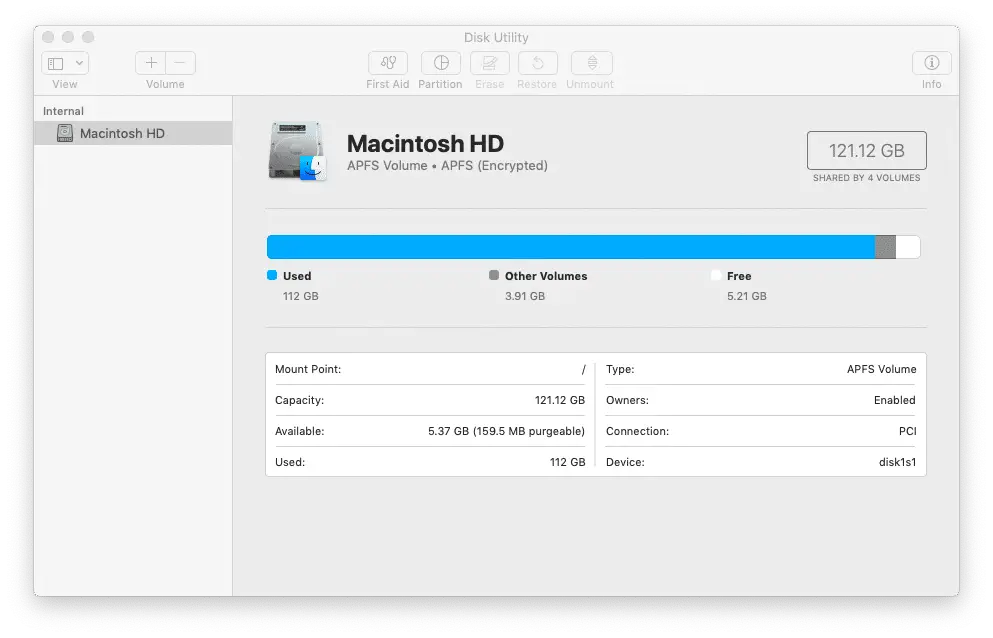
- Tap on Mackintosh HD to check the storage.
How to Check Storage on Mac via “Finder”
You can also check free disk space on your Mac using Finder. Rather than simply going for the entire space available on your system, you can choose to see the space available in a particular folder as soon as you click on it.
To enable this feature you need to follow a few steps which are as follows.
- Open Finder.
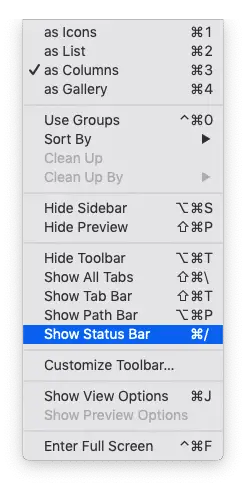
- Click on the View menu bar from the desktop.
- Enable “Show Status Bar” from the drop-down.
- Head back to the Finder and click on any folder to see the space on the status bar below.
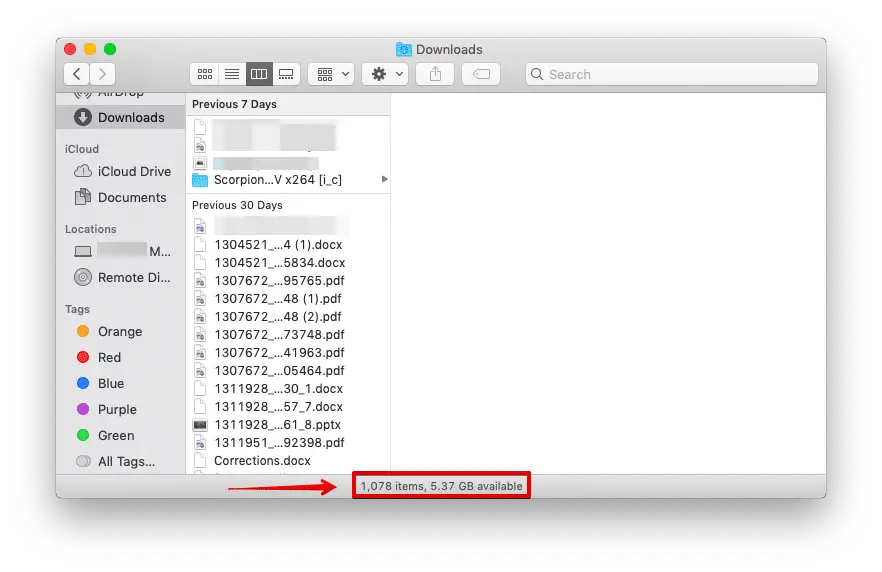
Using this method, you can easily remove unwanted files and folders on the spot. This will help you create more space and also keep track further in the future.
Optimize Storage Space on Mac
Well, since you now know how much storage space your Mac has been holding up. It is time to optimize the space and get rid of anything that is cluttering the system.
One of the biggest reasons for a system to slow down is when the storage space isn’t enough to run it. Hence you can try out certain methods to free up storage space.
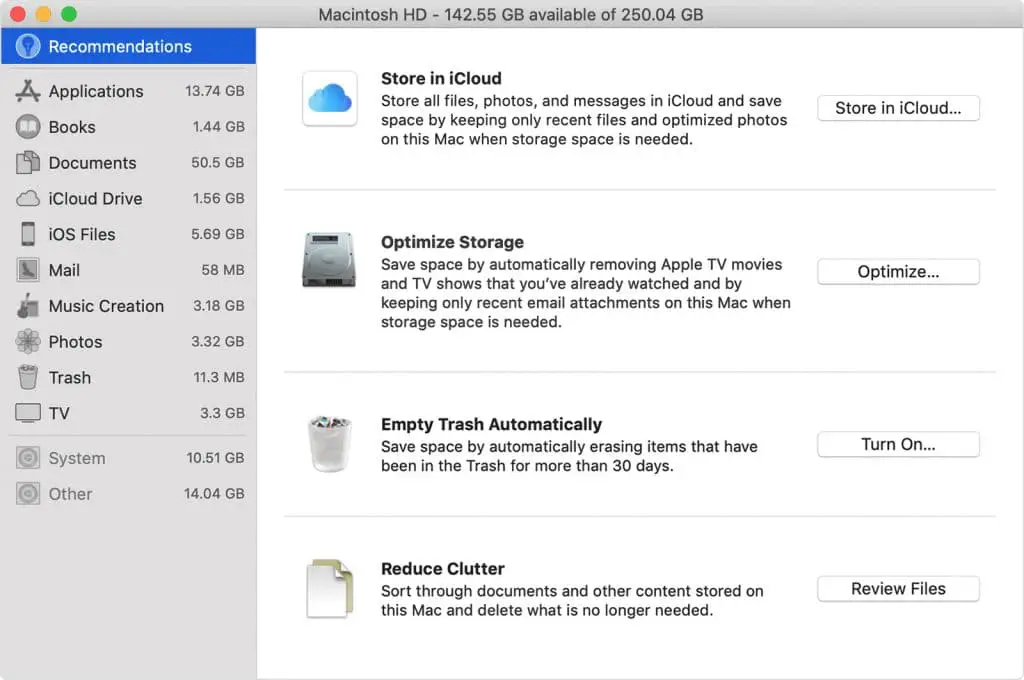
You can use the storage management window to pick out an option one by one and optimize them.
To open the Spotlight Search, click Command + Space and type Storage Management. Press Enter. After that, you can pick an option one by one.
1. iCloud Storage
One of the biggest advantages of having an apple product is that you can store your files on iCloud, a cloud system by the company. You will get only a limited space for free after which you will have to pay.
So, click on Store in iCloud. Here your files will start to sync to the iCloud if you are logged in giving you a good space on your system.
Once done, you can simply remove the files from your system directly now and get enough space. Also, the Storage Management window will show the status as Completed bedside the option.
2. Optimize Storage
Next up you have the option where the system will tend to run a process where your music, videos, movies, TV, etc will be removed automatically if you have watched it.
You can make certain exceptions by vising iTunes so that no important data is lost. With only a simple click it will erase all the heavy files. This is only applicable for iTunes so you need not worry about other files.
3. Empty Trash Automatically
A lot of smartphones also have this particular option that allows the system to immediately remove any items in the trash if kept for more than 30 days.
This will help stop over the cluttering of garbage and free up space if you wish to. Furthermore, you will find a lot of space being saved every month.
4. Reduce Clutter
This particular option allows you to reduce unwanted files and folders from that junk. Instead of going through and forth, and trying to delete files one by one.
Here you can check out space on each of the files. Simply click on any of the options. On the bottom of the window, you will find the info about the space used and are leftover.
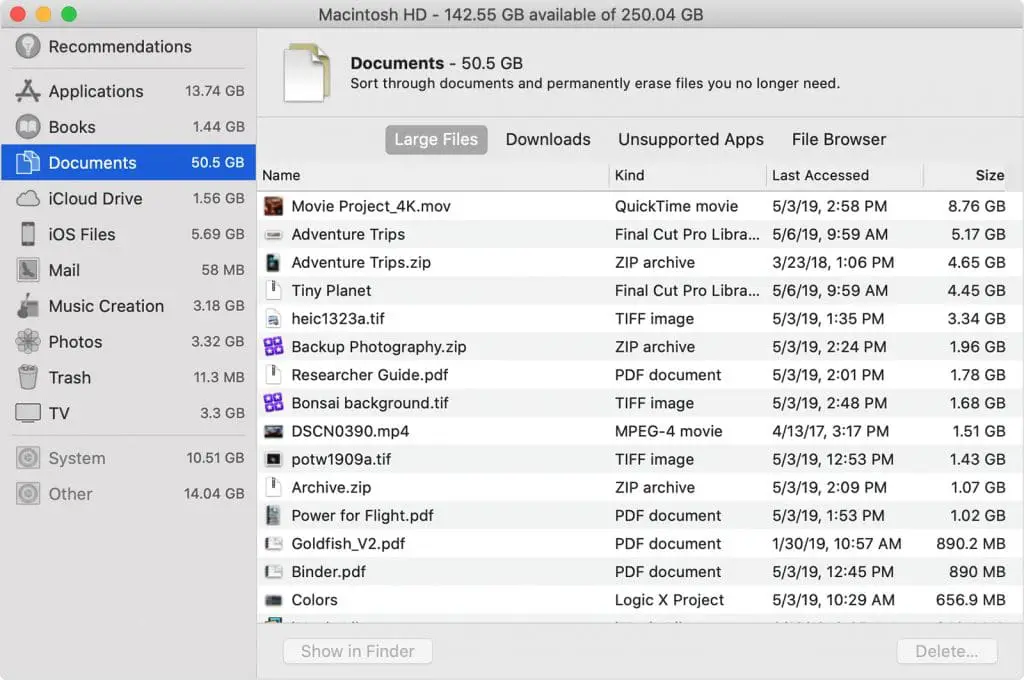
You can choose from multiple categories such as Large files, Download, Unsupported Apps, and File browser. All of these can be put to use to clear out the unwanted files or you can simply use it to sort out the files.
Hopefully using these methods you can get rid of all the files or junk on the system. Moreover, you can even delete the files manually by getting rid of music, videos, movies, etc that you have already watched.
Also, you always have the option to move large files to external storage space, compress the files, and delete the junk mail that also takes up the system space and Cloud storage.
📚FAQ
How do you check and delete Storage on a Mac?
To check and delete storage on a Mac, you can follow these steps:-
Step 1:- Click on the Apple logo in the top left corner of your screen and select “About This Mac”.
Step 2:- In the window that appears, click on the “Storage” tab.
Step 3:- Here, you will see an overview of the storage on your Mac, including how much space is being used and how much is available.
To delete files and free up space:-
Step 1:– Click on the “Manage” button in the Storage window.
Step 2:- This will open the “Storage Management” window, which shows you a breakdown of the types of files taking up space on your Mac.
Step 3:- You can use the various options in the sidebar to view and delete specific types of files, such as large files, documents, or applications.
Step 4:- To delete a file, simply select it and click the “Delete” button.
The “Optimize Storage” function can also automatically delete unneeded files and free up space on your Mac. To achieve this, open the Storage window and select the “Optimize” button.
Finally, you may use the “Erase” button in the Storage box to reformat your disk and destroy all information if you wish to start over completely.
Where is Storage in Mac settings?
To access the Storage settings on a Mac, follow these steps:-
To access the Storage settings on a Mac, follow these steps:-
Step 1:– Click on the Apple menu in the top left corner of the screen.
Step 2:– Select “About This Mac” from the menu.
Step 3:- In the About This Mac window, click on the “Storage” tab.
Alternatively, you can also access the Storage settings by following these steps:
Step 1:– Click on the Apple menu in the top left corner of the screen.
Step 2:- Select “System Preferences” from the menu.
Step 3:– In the System Preferences window, click on the “Apple ID” icon.
Step 4:- Click on the “iCloud” tab.
Step 5:- In the iCloud preferences, click on the “Manage” button.
Step 6:- In the iCloud Drive window, click on the “Options” button next to “iCloud Drive.”
Step 7:– In the iCloud Drive Options window, click on the “Manage” button.
By doing this, you may control the storage on your Mac by using the iCloud Drive Options box.
You may use this window to check your available storage, find out what’s eating up your storage, and learn how to clear some space on your Mac.
How do I clean up my Mac Storage for free?
There are several ways to free up storage on your Mac:-
Remove large or unnecessary files: You can use the “Storage” tab in the About This Mac window to see which files and folders are taking up the most space on your Mac.
If you see any large files or folders that you don’t need, you can delete them to free up space.
Uninstall unused apps: You can use the “Applications” folder in Finder to see a list of all the apps installed on your Mac.
If you see any apps you don’t use or need, you can drag them to the Trash to uninstall them and free up space.
Empty the Trash: When you delete a file or folder on your Mac, it’s moved to the Trash folder.
To permanently delete these items and free up space, you’ll need to empty the Trash. To do this, right-click on the Trash icon in the Dock and select “Empty Trash.”
Enable iCloud Drive: If you have an iCloud account, you can use iCloud Drive to store files and free up space on your Mac. To do this, go to the iCloud preferences, click on the “iCloud” tab, and check the box next to “iCloud Drive.”
Optimize storage: You can use the “Optimize Storage” feature to automatically store infrequently used files in iCloud and free up space on your Mac.
To do this, go to the Storage tab in the About This Mac window, click on the “Manage” button, and then select “Optimize Storage.”
Use a third-party storage optimization tool: There are also several third-party tools available that can help you free up space on your Mac. Some examples include CleanMyMac, DaisyDisk, and AppCleaner.
These tools can help you find and delete large or unnecessary files, uninstall unused apps, and more.
Conclusion
If you already know how to check the storage on Mac, well there are other methods too that you can with just a few steps. Moreover, it is always better to know how to free the space needed to keep the system running.
You can always use iCloud by accusing the system preference to sync all your data directly to it. However, the free space is limited, so make sure you select only those apps that are essential.
Other than this, multiple apps can keep you accounted for the space used on your Mac and alert you if it goes beyond the permissible limit. You may or may not use them depending on how useful will it be to you.
To get a complete performance, make sure to always have an optimum free space for the system to function.

