


This article is a written version of my recently uploaded “Arduino – Sound Sensor (with LED)” YouTube video. I strongly recommend that you check it out.
Sound sensors can be used for a variety of things, one of which can be switched on and off by clapping hands. However, today we will use the sound sensor to connect to a series of LED lights that will jump along with music, clapping or tapping.
This tutorial shows how to use the KY-038 sound sensor with Arduino. It also shows how to control the LED with the help of the Arduino and the sound sensor. We only show the control LED, but by using the same concept, you can control any electronic device.
Collect hardware
Arduino Starter Kit(Buy Now ) in just 37$ with all sensor

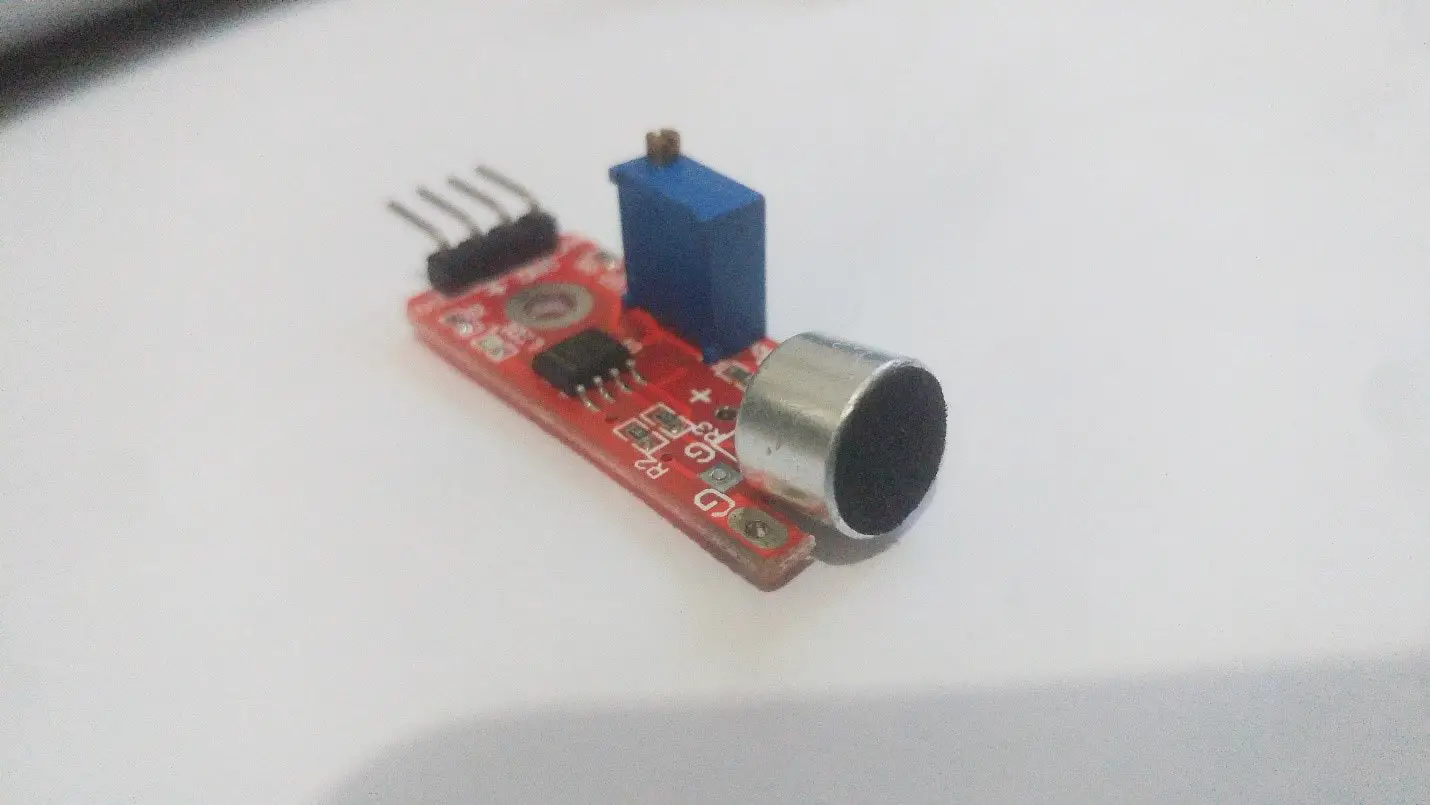

Arduino Sound Detection Sensor
This module allows you to detect when the sound exceeds your chosen set point. The sound is detected by the microphone and fed to the LM393 op amp. The sound level set point is adjusted by the on-board potentiometer. When the sound level exceeds the set value, the LED on the module lights up and outputs a low level.
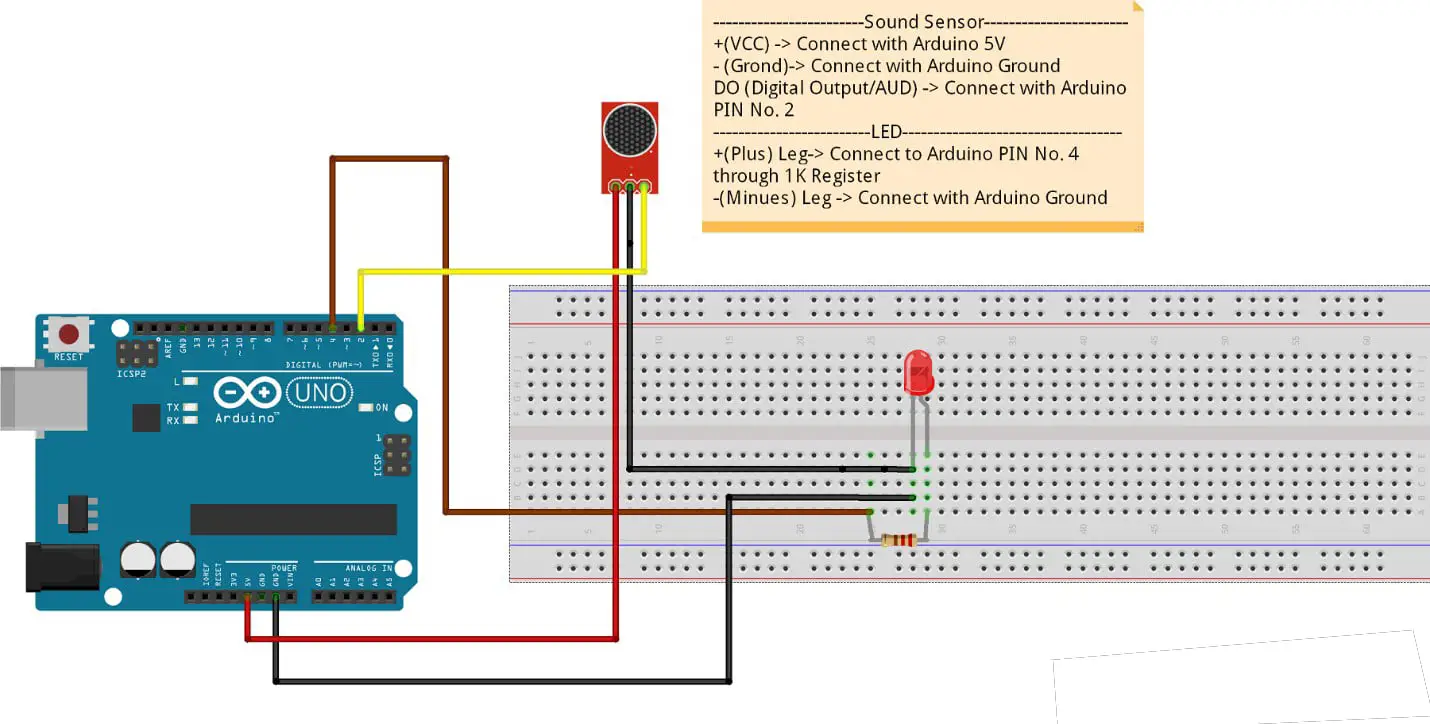
Make the wiring
Download Arduino IDE and Upload the Source code
Source Code
int soundSensor=2;
int LED=4;
boolean LEDStatus=false;
void setup() {
pinMode(soundSensor,INPUT);
pinMode(LED,OUTPUT);
}
void loop() {
int SensorData=digitalRead(soundSensor);
if(SensorData==1){
if(LEDStatus==false){
LEDStatus=true;
digitalWrite(LED,HIGH);
}
else{
LEDStatus=false;
digitalWrite(LED,LOW);
}
}
}
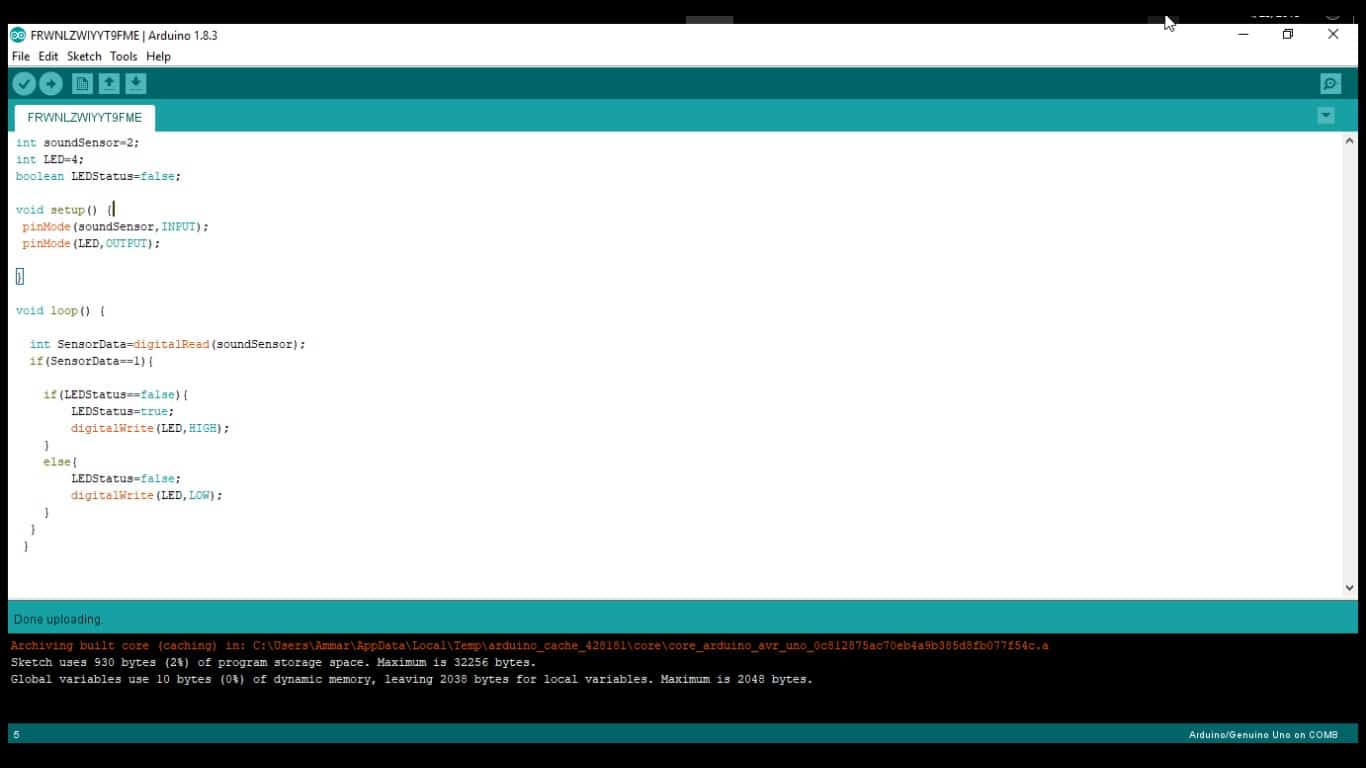
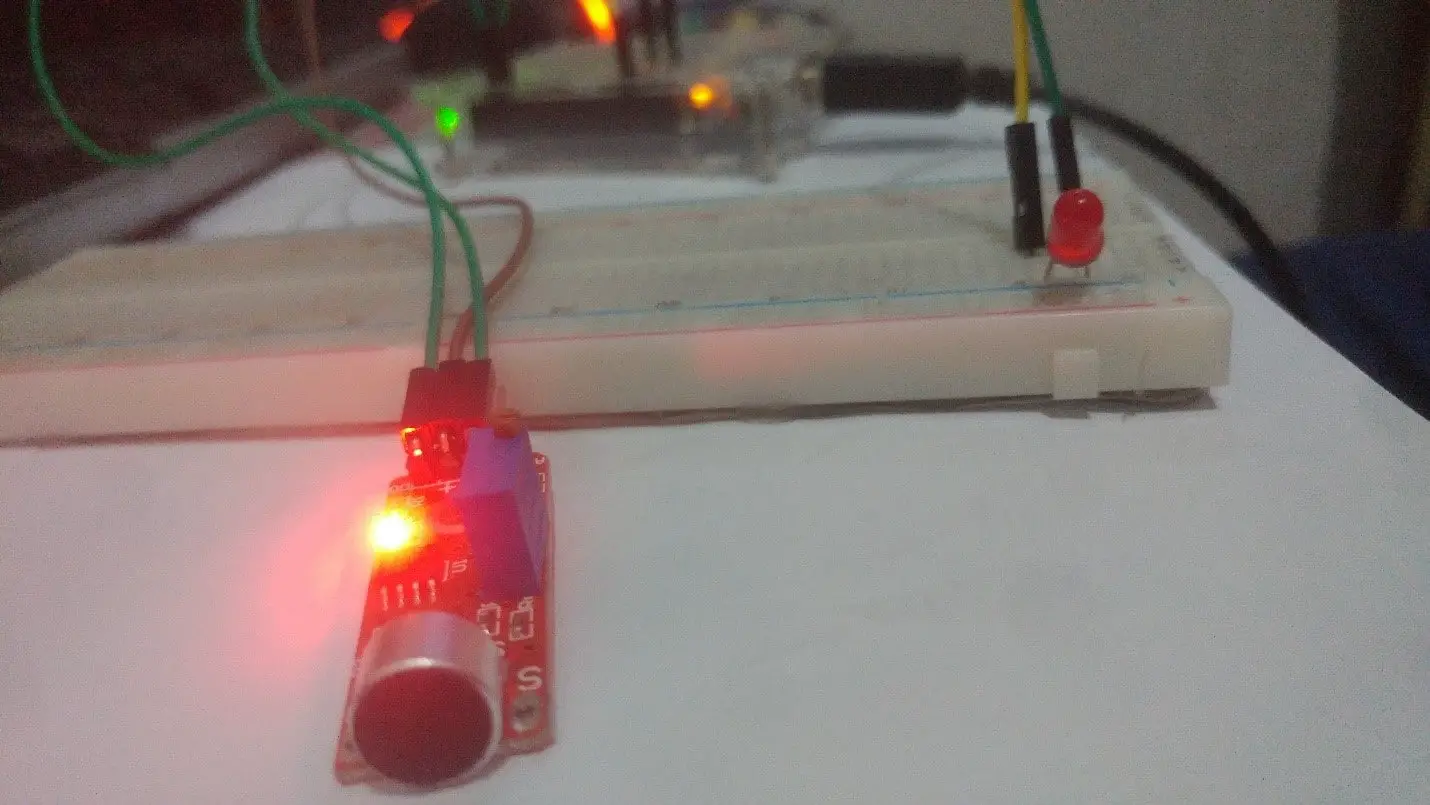
After uploading the code to the Arduino board, if the assembly is correct, a red LED should appear on the sound sensor. When you clapping or make noise, the LED should light up. If this does not work, you can use a flathead screwdriver to adjust the sensitivity at the top of the blue box on the acoustic sensor. The LED should light up once it has finished and clapping or making noise.
You may also like to read these projects


