


In this article, I show you how to properly power the battery pack or Raspberry Pi or Pi 3 at any voltage between 2.9V and 32V. I will use an efficient Pololu step-up/step-down regulator and a toggle switch. This can be done with any Raspberry Pi version.
The use of DC-DC converters allowed us to convert the battery’s power to efficiencies of around 90%. You can use a fixed output DC to DC regulator to replace, but if you want to use it for other projects, it can have an adjustable output.
It’s a bit cheaper here (Pololu Fixed 5v Regulator). This will also allow skipping the step of adjusting the regulator.

According to the resistor divider, the voltage sensor can reduce the voltage to one-fifth of the primary voltage. Since raspberry pie has a working voltage of 3.3V, it is best to enter a voltage less than 16.5V (3.3 x 5 = 16.5V).
The voltage sensor output connector should be connected “+” to 3.3V, “-” to GND, and “S” to the AD output of the ADC. At the other end of the voltage sensor, the anode is connected to VCC and the cathode is connected to GND.

You will learn the super easy way to monitor the power consumption of the Raspberry Pi and its official 7-inch touch-screen display using the USB voltage and current-sense module. Also watch the video and the same method can be used to measure power devices on other USB devices.
Collect Hardware
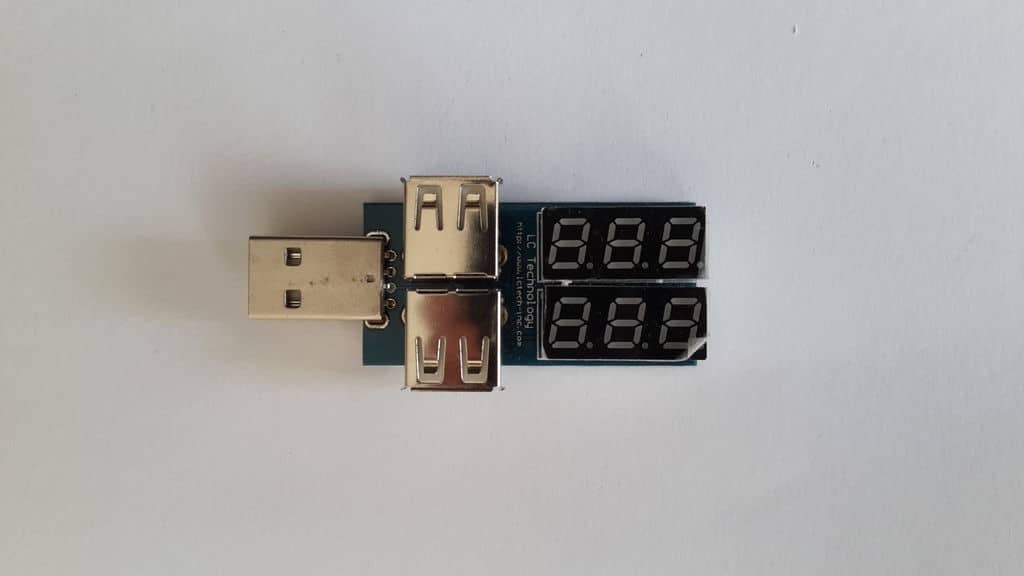
- USB voltage and current detection module (Buy Amazon)
- Raspberry Pi 3 (or other models) (Buy Amazon)
- Raspberry Pi 7 official touch screen (Buy Amazon)
- USB power supply (Buy Amazon)
- 2 USB to micro USB cables (Buy Amazon)
- MicroSD card with Raspberry Pi compatible operating system (Buy Amazon)
For a deeper understanding of how power supplies operate, you can explore this comprehensive guide on how DC/DC power supplies work available at Bravo Electro.
USB current and voltage detection module is very simple to use. First, peel the protective film. After that, I plug in the USB power and connect the Raspberry Pi and its touchscreen to the module.
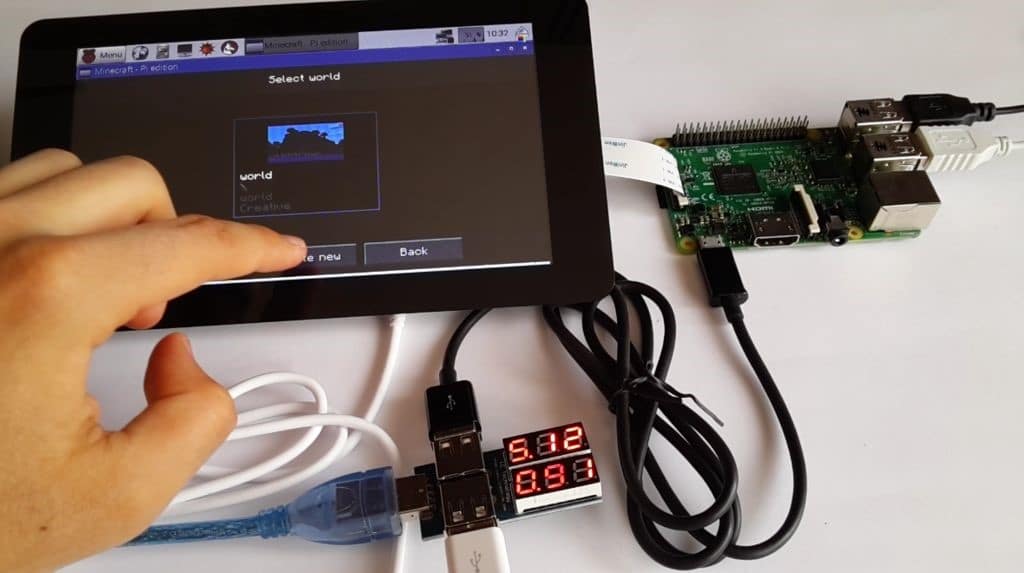
The first line of the USB power detection module shows the voltage. The second line shows the current. The module can carry out current detection in the range of 0 to 3A.
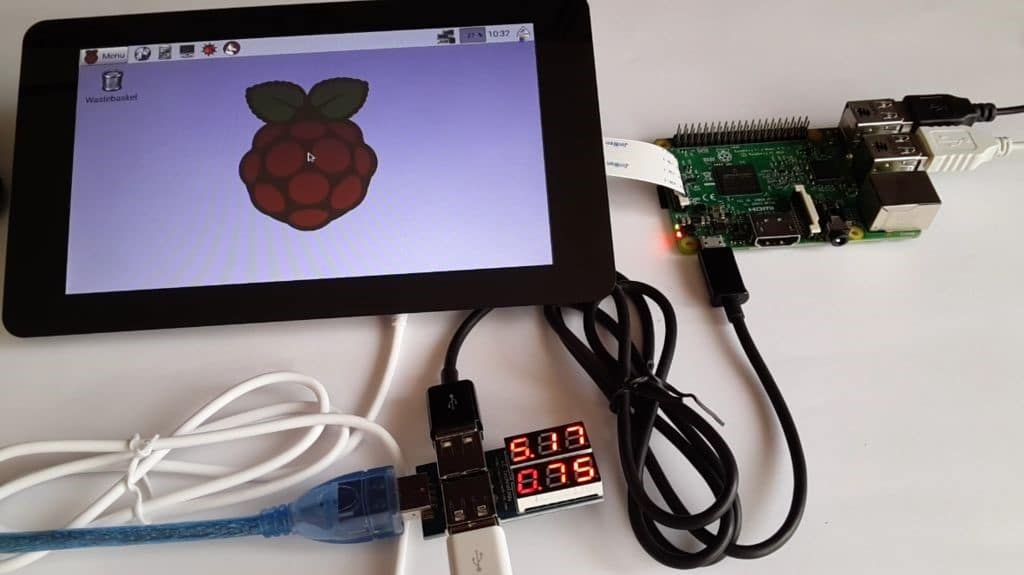
Raspberry Pi works at 5V. The current depends on the load on the board. There’s a heap of Raspberry Pi boots and games or other power-hungry applications that are running.
If you want to see more tutorials and articles, check out the video to learn more and subscribe to my YouTube channel.
it will work just great if you face any problem with then please do comment write below!
Visit similar tutorials on Raspberry Pi
How to Build your own Super Computer with Raspberry Pi 3 Cluster
Build Super Computer with 5$ Raspberry pi zero using Cluster HAT


