


Powershell is one of the most powerful CLI administrative tool available in Windows 10, with PowerShell you are able to perform approx all windows administrative tasks easily in the fast and efficient way. I am also a big lover of PowerShell and I love to use PowerShell in my day-to-day operations in my job.
Step-by-step process to Always Run Powershell as administrator:-
Method1:-
Click on Start and search for “Powershell” and right-click on it and select the “Open File Location” option here.

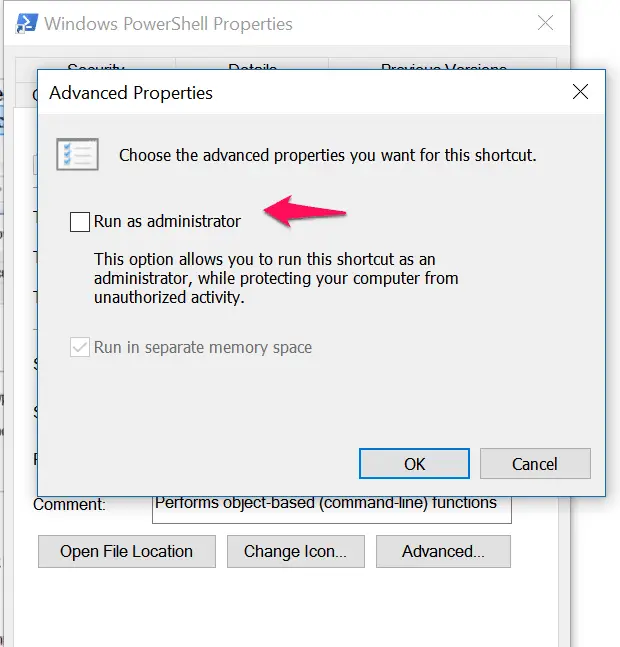
Now Right-click on the “Windows Powershell” and select Properties and in properties click on the “Shortcut” tab and then click on the “Advanced” tab.

And check the “Run as administrator” option. That’s it.
Method 2:-
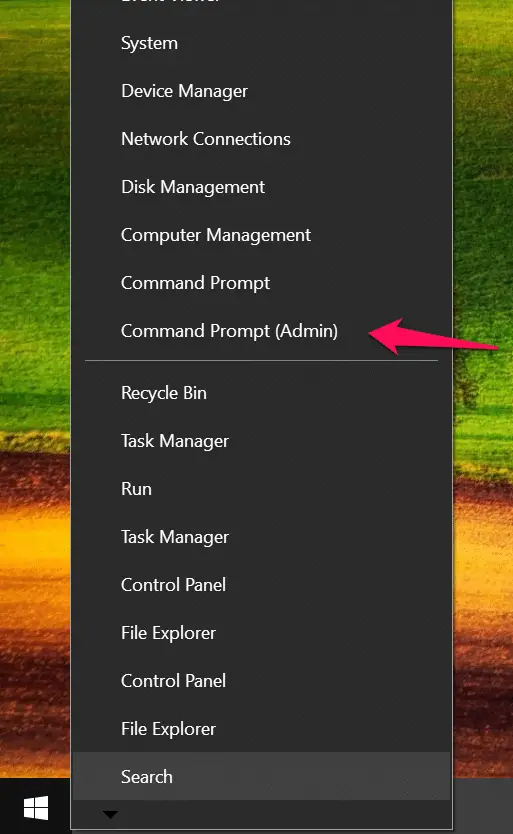
When you right-click on the Start menu, here you have “Command Prompt(admin) ” option.
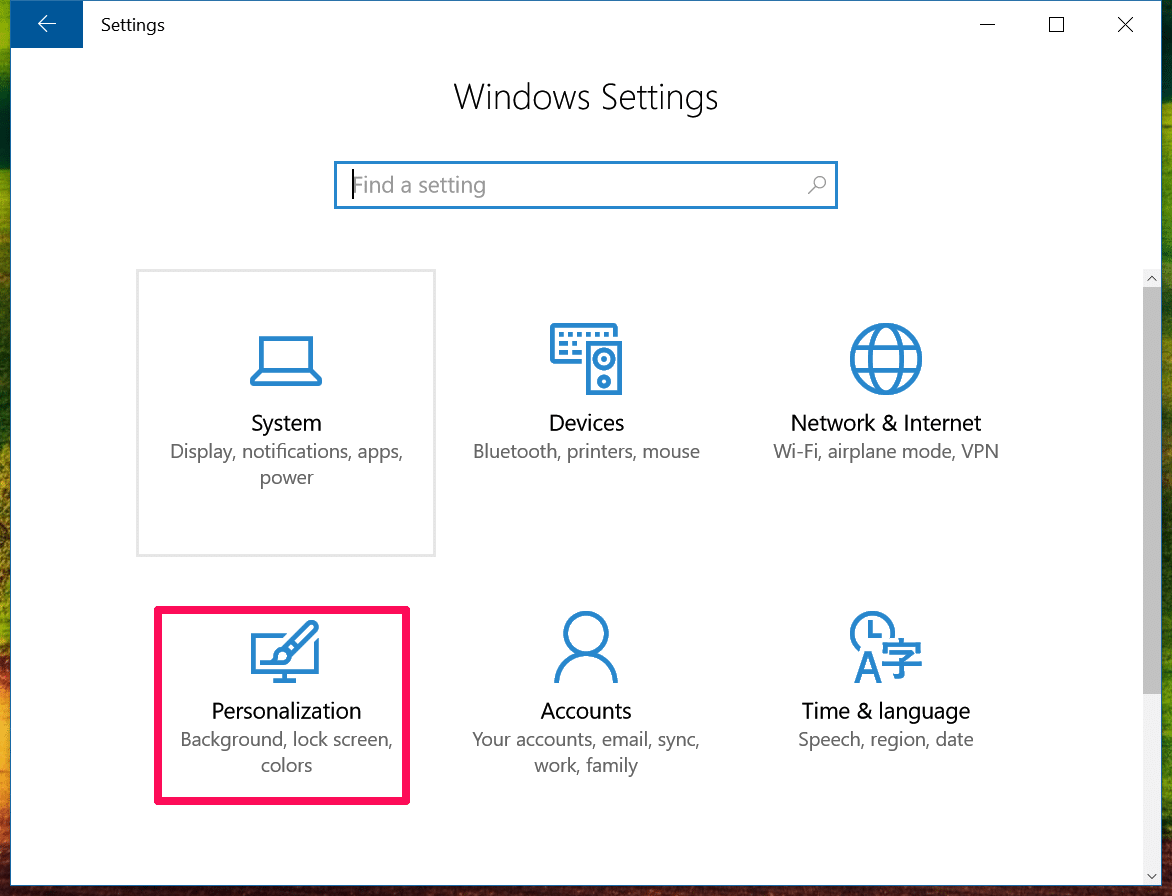
But windows 10 have the option to replace this with Powershell (admin). Click on Start > Settings, select “Personalization” option here.
Click on the “Taskbar” option and Turn on the ” Replace Command Prompt with Windows Powershell” option.
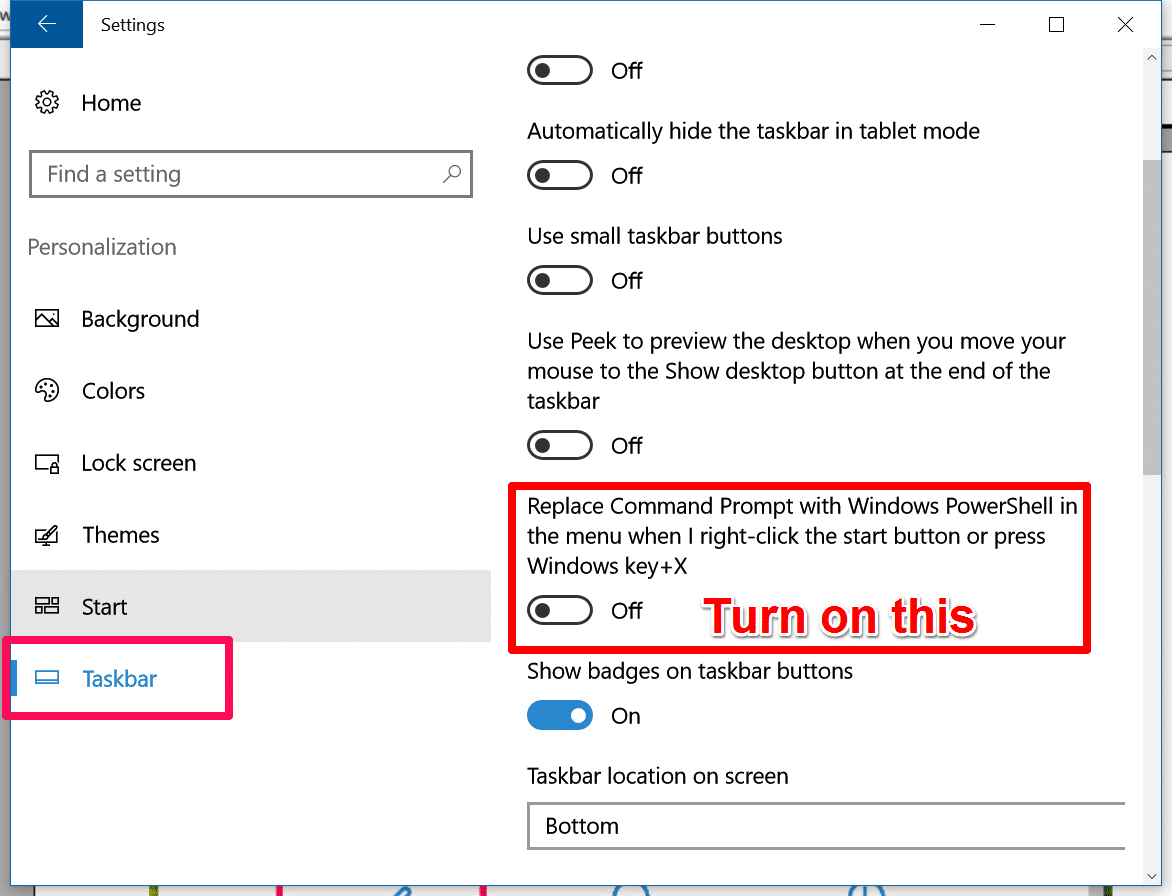
Now you have access to Windows PowerShell (Admin) in Windows + X menu. That’s it.
Hope my article “How to always Run Powershell as an Administrator in Windows 10” helps. If you have any query, feel free to comment.
Video Tutorial:-

Also Check:- How to Take Windows 10 Drivers Backup Using Powershell


