


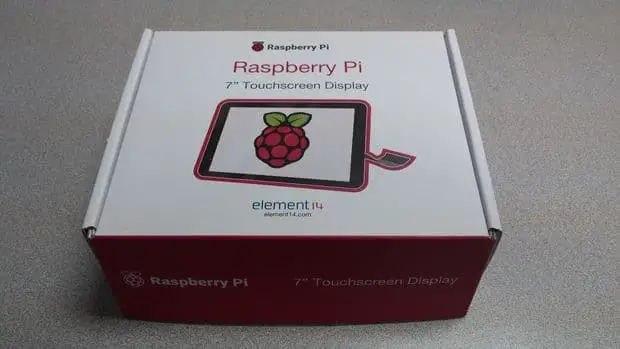
The Raspberry Pi comes with a variety of useful add-ons, ranging from the handy enclosure and the popular Pi Cam module to the HAT to the Pi’s GPIO pin expansion board. But one suite that has proven to be particularly popular is the Raspberry Pi 7-inch touchscreen display.
Although a variety of displays are available for Pi, there are few versatile and flexible products in the official Raspberry Pi products.
However, if you have already ordered one, you may find yourself wondering how to proceed. How do you connect the Raspberry Pi touchscreen to your Raspberry Pi computer?
What’s in your Pi?
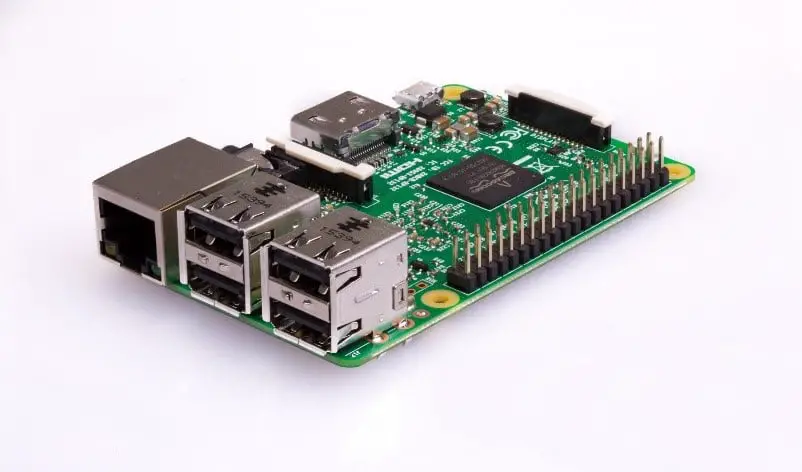
Before continuing (preferably before buying!) You should look at your raspberry pi device. When compatible with all standard boards, the Raspberry Pi touchscreen is having difficulty with Pi Zero because it does not have all of the required connectors.
However, if you have a standard Raspberry Pi model B, B +, 2 or 3, you should be able to use this device’s Raspberry Pi touchscreen.
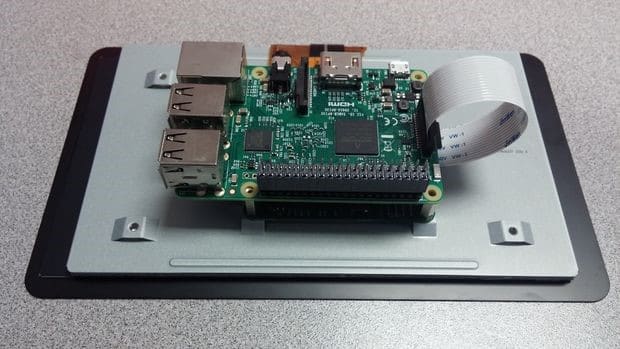
But … there’s a warning. Only Raspberry Pi 2 and Raspberry Pi 3 Revised PCB designs are compatible with mounting screws on the back of the touchscreen. This means you need to take different steps to securely connect (or otherwise) your old Pi board.
Buy 7inch touch Screen-Official LCD
So Let’s Get Started
Note If you are Beginner in Raspberry pi Then I will Suggest you To Have a look on my previous Tutorial How To Setup noobs in raspberry pi
Before assembling the touchscreen, we needed to make sure that our Raspberry Pi had the latest version of Raspbian, and all the software was up-to-date. Connect your Pi to the monitor, plug in your keyboard and mouse, and then direct your Pi to Raspbian. Once started, open the LX terminal and enter the following command, pressing Enter after each command:
sudo apt-get update
sudo apt-get upgrade
sudo apt-get dist-upgrade
Install Touch Screen Keyboard
Before connecting the Pi to the adapter board, you need to configure it to use the touch screen.
Connect your Pi to the keyboard and monitor.
Open the terminal and type:
sudo apt-get install matchbox keyboard
Restart your pi:
sudo shutdown -r now
The keyboard can be found by clicking Menu -> Accessories -> Keyboard.
If you do not see “Keyboard” in the Accessories menu after rebooting, or if you want to make the Desktop icon,
Open terminal:
CD desktop
nano keyboard .sh
This will open GNU nano:
#! / Bin / celebration
Matchbox keyboard
In the terminal: (make the shortcut icon executable command)
chmod + x keyboard.sh
Configuring the Touchscreen
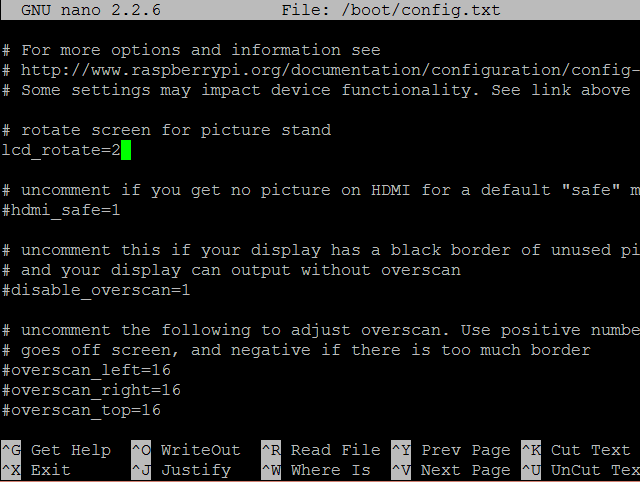
In some cases — particularly if you’re using the display with a stand — you might want to rotate the display so it stays at the correct orientation. Do this over SSH using
sudo nano /boot/config.txt
At the top of the file, enter a new line:
lcd_rotate=2
Assemble the Hardware
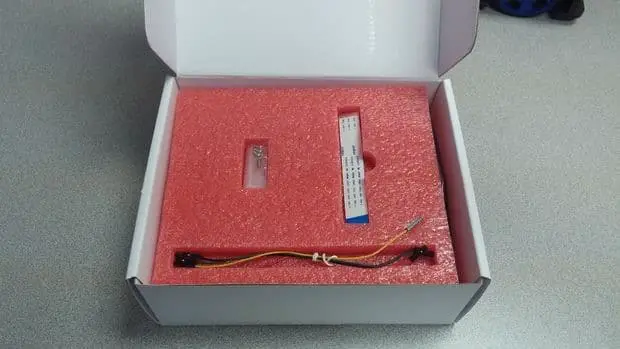
In this package, you will get several things,
Package includes:
DSI Ribbon cable
4 x Jumper wires
4 x Screws (used to mount Pi board to the Adapter board)
Setting up
Connect Jumper Wires
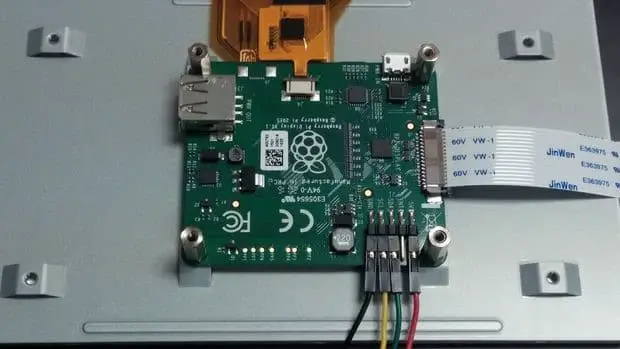
The kit includes 4 jumper wires. Insert the wires into pins correct pins on the board.
Note(You can use different colors than what I chose, however the color will need to match up with the correct pin on the Pi board in later steps.)
GND (Black)
5V (Red)
SCL (Yellow)
SDA (Green)
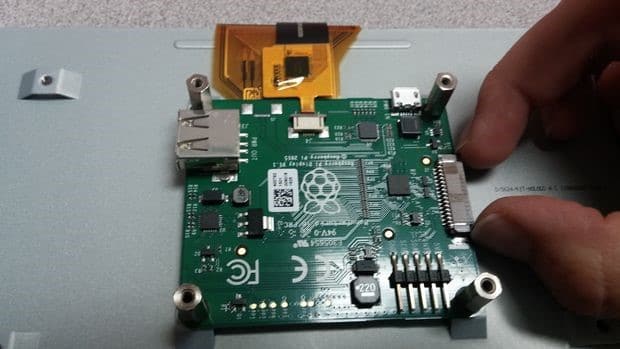
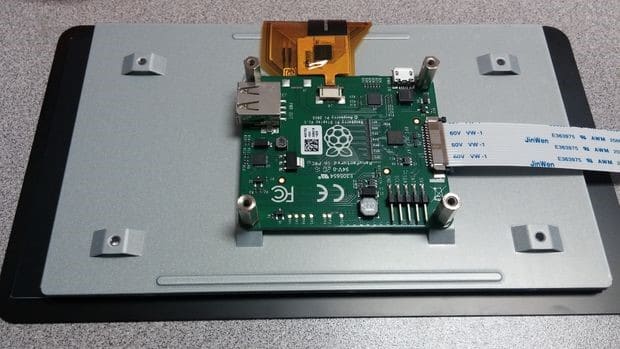
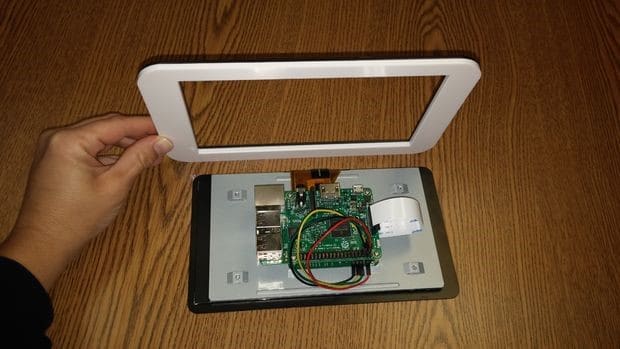
Attach the Raspberry Pi with Ribbon Cable

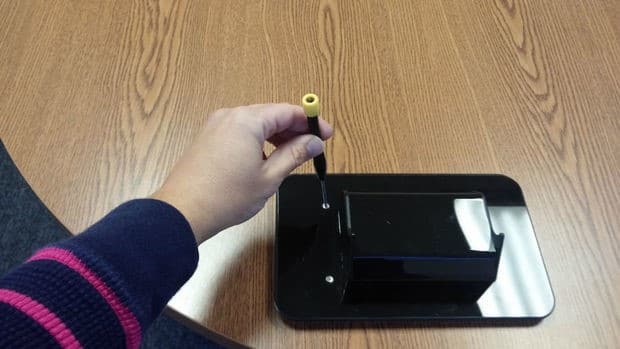
Place in the Case
PowerUP
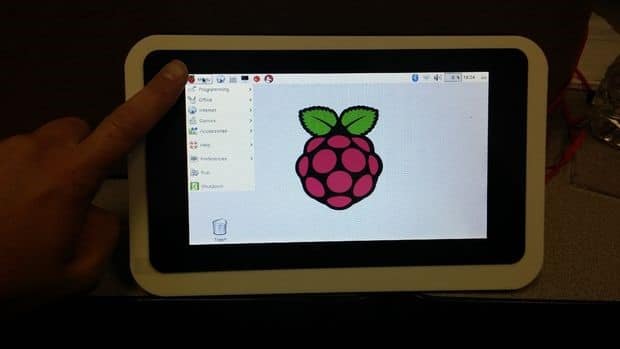
Done
That is, it so this will detect the LCD although you can run anything also you case use GPIO pins of raspberry, it will work just great if you face any problem with then please do comment write below! Also if you need more information I will suggest you to please have a visit in official Website of Raspberrypi.org

Visit similar tutorials on Raspberry Pi
How to Build your own Super Computer with Raspberry Pi 3 Cluster
Build Super Computer with 5$ Raspberry pi zero using Cluster HAT


