If you sign into Chrome using your Google account details, you can see the pages you have open on other devices, thanks to its excellent History tool.
Now you can take this a step further by installing the free Clipboard History 2 add-on, which lets you share any text you copy to your clipboard with any computer that runs Chrome, whether it’s Windows, Chrome OS, MacOS or Linux.
Step1:- Sign into Chrome using a Google account, then install the Clipboard History 2 add-on.
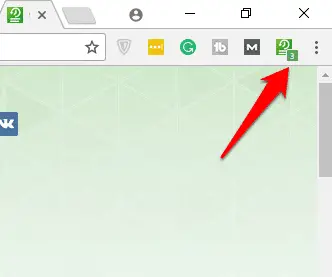
A clipboard icon will appear next to the address bar. You only need to install it once, because it should install automatically on your other computers when you next sign into Chrome on them.
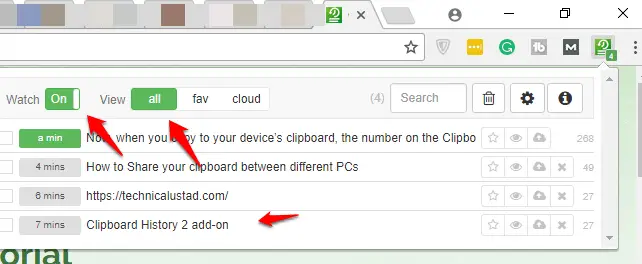
Step2:- Now, when you copy to your device’s clipboard, the number on the Clipboard History icon increases.
Click this for a full list of the items you have saved to the clipboard, as well as details of how long they’ve been there and how many text characters they contain.
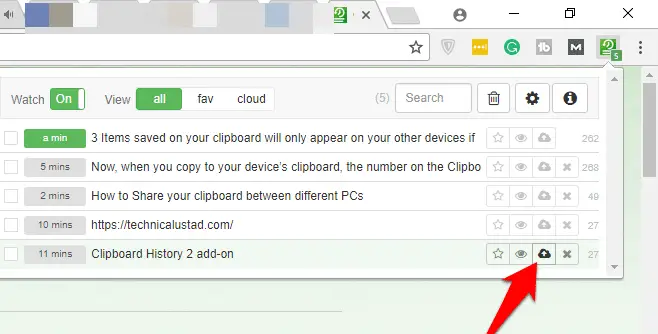
Step3:- Items saved on your clipboard will only appear on your other devices if you click the ‘Send to cloud’ button.
This uploads the information to Chrome’s cloud storage. Within a couple of minutes, your saved clips will appear in the lists on your other devices.
Note:– I have written a post for people looking for the Windows 10 clipboard history?, do read it If you are interested.
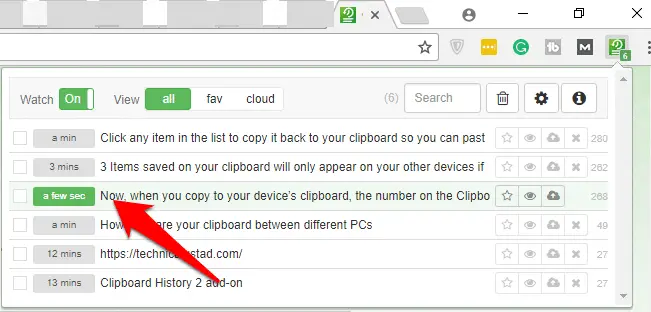
Step4:– Click any item in the list to copy it back to your clipboard so you can paste it into another document.
Copying a clip turns its time icon green and resets the time to ‘a few seconds’ to show when it was last used. You can switch to any other application and paste it as normal.
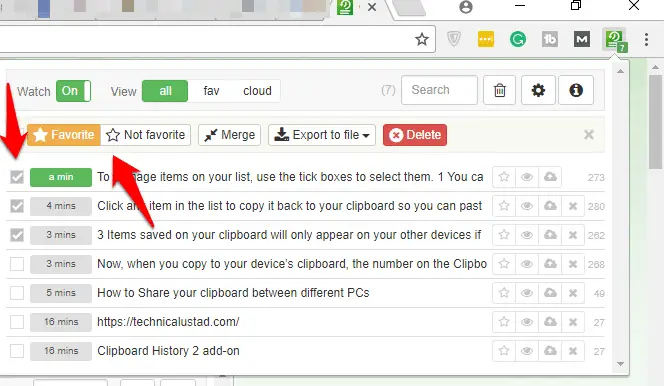
Step5:- To manage items on your list, use the tick boxes to select them.
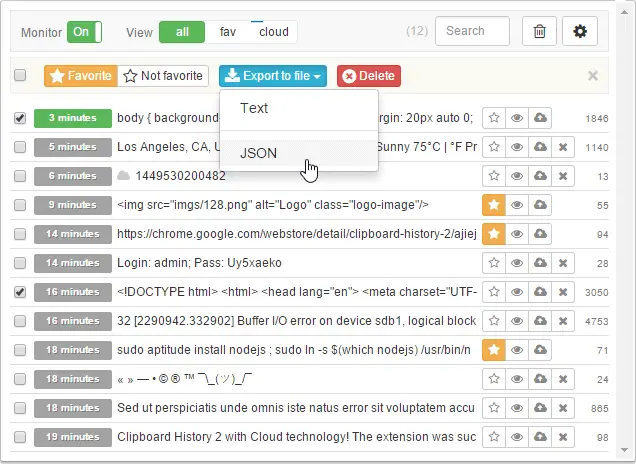
You can then add them to a ‘Favorite’ list, export one or more items to a text file or remove them completely.
The icon buttons also let you add to favorites, view the full text and delete clippings.
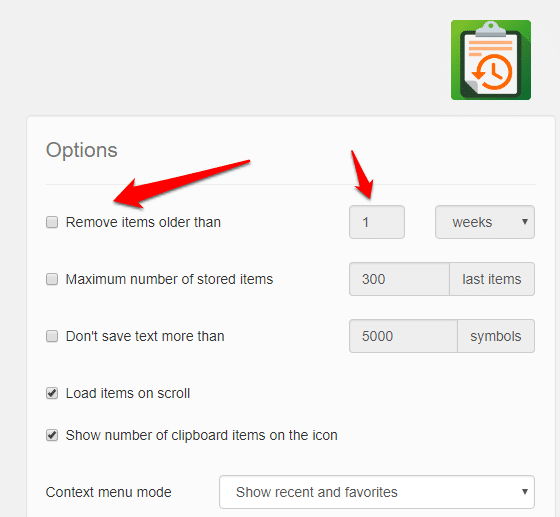
Step6:- To configure the settings, click the Clipboard History icon and choose Options.
Here, you can decide how long items remain in your clipboard list (the default is to keep them forever), choose how to sort items and import the text file you exported in Step 5.
Step7:- Multiple actions and export to a file
To work with several items at once just select them and the multiple-action panel will appear.
You may also like to read these articles


