


When trying to improve performance in Windows 10, people try a bunch of upgrades, but there is usually one fix that is not often used: the Windows Superfetch. This feature remains one of the lesser talked about features that I feel should be given a better audience.
This article will serve as a knowledge base for the Superfetch feature. I will explain how it works and walk you through the process of disabling these features.
What is Windows Superfetch?
Official Windows Superfetch is described as a service that “maintains and improves system performance over time,” but this does not really say much.
However, one can deduce from the name that it is designed to make some process super fast. That will be correct as SuperFetch is designed is to make your computer experience faster. This feature remains in the background evaluating how much RAM you use and what apps are used most frequently.
With the information that it gathers, It preloads your computer on startup with the commonly used apps on the memory. This simply means whenever you need these apps they get to lunch very fast.
However preloading memory with the commonly used apps means the entire unused memory of the computer is used up. This may sound scary, but it really is not because, once you need to load up a new app that you usually do not use, Superfetch releases memory to accommodate the new app.
Should you use Windows Superfetch?
If I were to take a guess, I will say you are already running Windows Superfetch. This feature is mainly important. With a modern computer having average specifications at least, This feature will run smoothly and you may not know it.
Unfortunately, there are a few problems that can arise using Windows Superfetch.
- It is continuously gulping resources (CPU, and RAM) since it is always running.
- It could reduce startup speed since it takes some time in preloading data on the memory.
- SuperFetch relocates the loading to an earlier time and does not eliminate the need to load apps into RAM.
- When running on an SSD, there may not be any need for superfetch.
For the above reasons, this feature while it has its advantages also could come with some cons and may need to be disabled. If the question on your mind is if it is safe to disable this feature, the answer is yes. It is safe and would not pose any grave side effects.
How to disable Windows Superfetch feature
If you opt to disable this feature, there are 4 ways of getting the job done.
- Using the Services App
- Using the Registry Editor
- Using the Command Prompt
- Using the Windows PowerShell
Using the Services App
Start the Services app by opening the Start Menu and searching for services. Then launch the Services app.
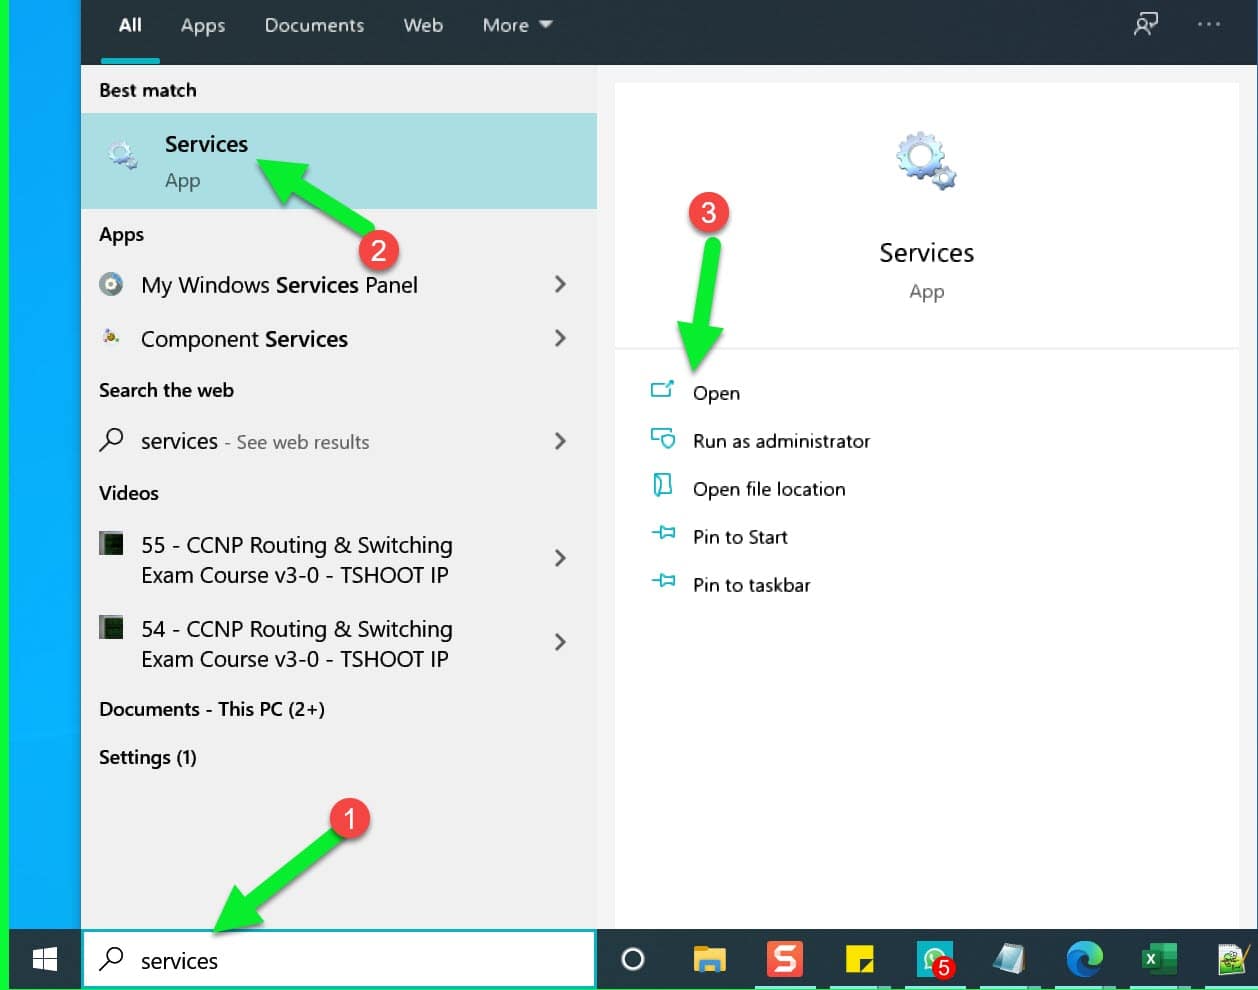
Alternatively, you can open the Run prompt by pressing hotkey key + R, then type services.msc and click OK.
Scroll down to superfetch, right click on it and choose the stop option.

Next, you have to prevent Superfetch from running automatically. right click on Superfetch and select the properties option. Under the startup label, select disable from the dropdown list.
Using the Registry Editor
Just like you did in the first option, Open the Start Menu, search for regedit, then select it from the results. One could alternatively, open the Run prompt by pressing Windows key + R, then type regedit and click OK.
Read our detailed guide on Windows 10 Registry Tweaks.
Navigate: HKEY_LOCAL_MACHINE / SYSTEM / CurrentControlSet / Control / Session Manager / MemoryManagement / PrefetchParameters

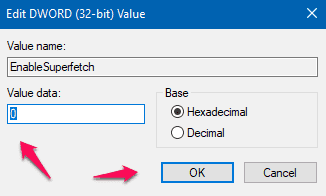
Right-click on EnableSuperfetch in the right panel and select Modify… to bring up the key editor. To disable SuperFetch, change Value Data to 0 and click OK.
Enable or Disable SuperFetch in Command Prompt
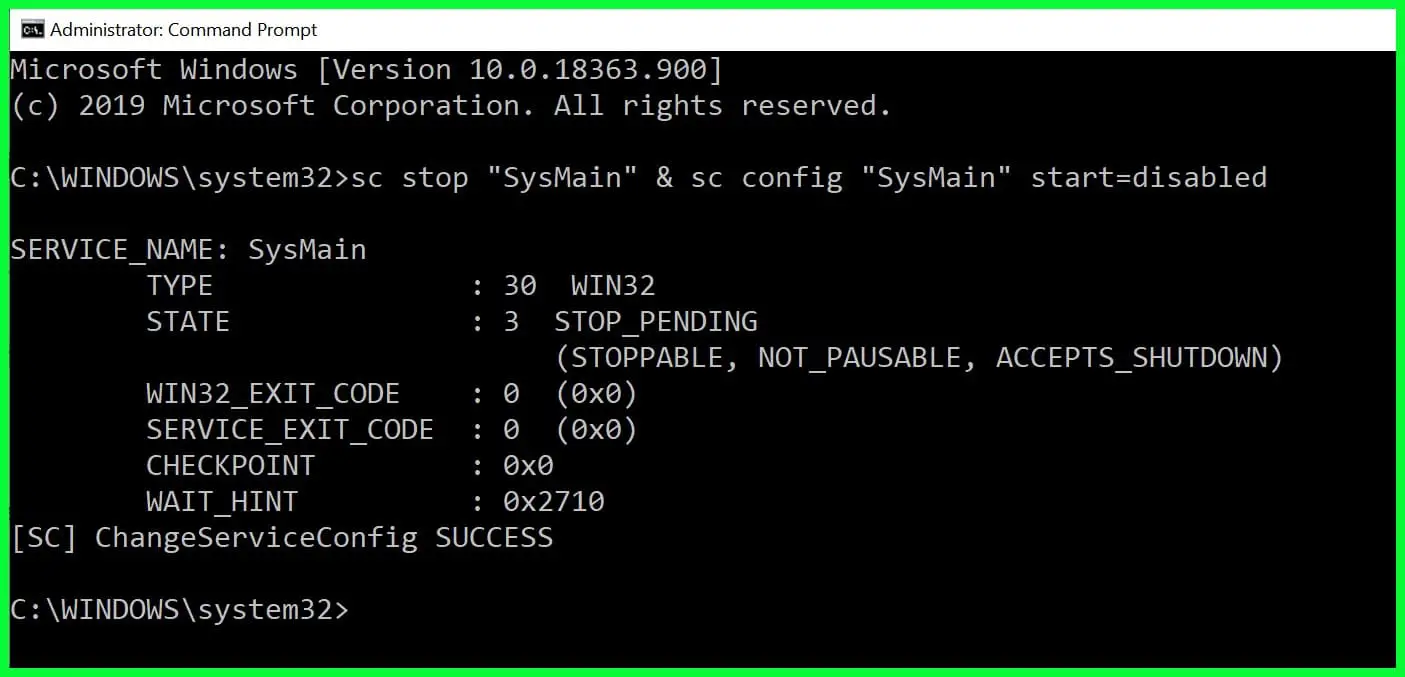
Open an elevated command prompt ( Right-click on the Start menu and select “Command prompt ( as admin ) option ) and enter the below command to Disable.
sc stop “SysMain” & sc config “SysMain” start=disabled
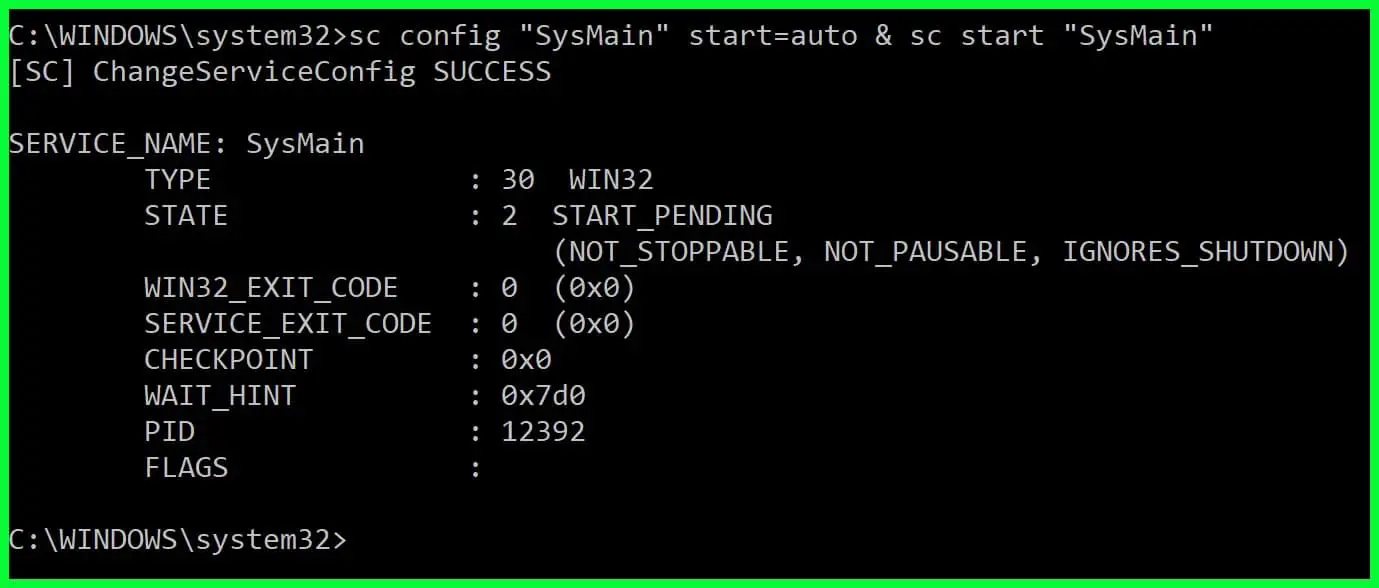
if you want to enable again just use below command
sc config “SysMain” start=auto & sc start “SysMain”
Enable or Disable SuperFetch in PowerShell
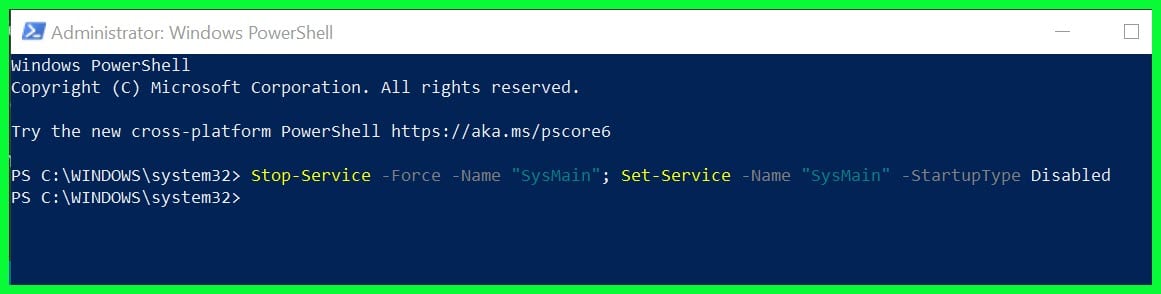
You can also disable Windows SuperFetch Services through PowerShell also, Open the Windows PowerShell with admin rights and enter the below command.
Stop-Service -Force -Name “SysMain”; Set-Service -Name “SysMain” -StartupType Disabled
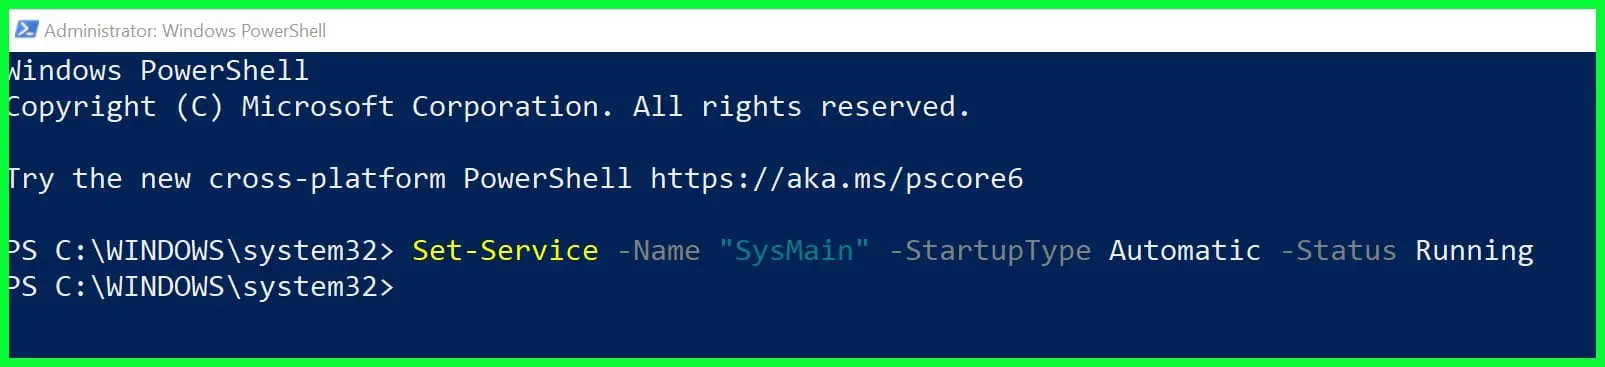
To Re-enable it again, enter the below command
Set-Service -Name “SysMain” -StartupType Automatic -Status Running
Read Our Detailed Guide on Getting Started with Windows PowerShell
Conclusion
Note that SuperFetch is not the same thing as Prefetch, which is the preloading memory manager that was introduced back in Windows XP.
In fact, SuperFetch is the successor to Prefetch. The difference is that Prefetch did not analyze usage patterns over time and adjust its preloading parameters accordingly.


