


Ever since my childhood, I have been fond of photography. With time I got more involved in different techniques and accessories related to photography. A monopod is a modern accessory used in the process of photography. It is camera assistance with one-stand only. It is also known as unipod.
They come in different heights and are usually collapsible. It has different numbers of collapsible categories. 3 section and 4 section monopods are the most popular. You can find monopods with more sections too. The collapsing height of a monopod depends on its sections. More sections mean smaller lengths.
For me, tripods are hard to carry everywhere. I personally take my monopod with me whenever it is not practical to carry a tripod. Most sports journalists cover the games with the help of their best monopods. It is best for long telephoto lenses as it can carry the weight of the lenses. When you are taking a long shot hand holding the camera is not a wise idea. A monopod will provide stability during those long shots.
PURPOSE OF A MONOPOD
My camera luggage is heavy. Complete gear with a DSLR and lens weigh 5 to 10 pounds. It might not sound much but if you are holding it for an afternoon then you will get my point. With long lenses, it gets more difficult. Some setups weigh over 15 pounds.
Camera equipment weight influences your shoot too. Taking a few pictures with a heavy set up is not much of a bigger issue. I never had an issue with one or two pictures. But covering a whole event was difficult for me.
Carrying even a few pounds for a long event is very hectic. Similarly, what if you are waiting for a bird to land or covering a sports game, you need your camera ready at all times. This is where a monopod is handy. Unless you are built like Dwayne Johnson a monopod is your only solution.
A tripod covers a lot of space and lessens your mobility. If you are trying to capture the movement of a running player on the field, it will be difficult to react promptly if your camera is stuck on a tripod. This is where monopods come in. With one leg they carry the weight of the camera only.
You can react at once with a monopod to capture moving objects. It will also be easier to carry the whole equipment throughout the event or a game. You will still feel your arms at the end of the afternoon. Setting up a monopod is very easy.
Without any need to readjust you can carry your monopod anywhere. Wildlife and sports journalists prefer monopods for this reason. To cover my long events I just sport my camera horizontally and monopod supports it vertically.
HOW TO USE A MONOPOD
There are three important points when it comes to the use of a monopod.
PICKING THE RIGHT POSITION
The right position is very important in this whole process.
TRIPOD FORMATION
To pick the right position your legs and your monopod should form a tripod. The camera should be above your eye level a little. Your feet should be expanded in a comfortable position. Now face your subject by placing your monopod in between your legs. Bend it toward you to level with the viewfinder and grip it steadily. This stance is useful in soft surfaces.
STEADY YOUR MONOPOD WITH THIGH
With your feet expanded, face your subject and place monopod behind one of your feet. Rod of the monopod should rest on inside of your thigh. Keep moving the monopod and your foot until monopod is right in front of you. This position works on both soft and hard ground.
STEADY YOUR MONOPOD WITH FOOT
This position is also known as Archer Stance. With your feet apart at shoulder width, position your left foot forward a bit. The right foot should point to the right a little. Position the bottom of the monopod safely against the inner side of your right foot. Adjust top unless it is in the right position for you. This position is suitable for slippery surfaces.
STABILIZER POUCH
You can place your monopod on your utility belt by adding a pouch in front.
EFFECTIVE USE OF MONOPOD
For effective use, I follow these steps.
PROPER HOLDING
Clasp the rod with your left hand and use the right hand to operate the camera. To reduce side movement fold your elbows into your body.
PUSH TO THE GROUND
To stabilize the shot push monopod to the ground. Put downward pressure with your left hand, this will stabilize your camera during a shoot. It just requires a minimum pressure to place the monopod safely to the ground. You will need more pressure if your camera and equipment is heavy.
HEAD ATTACHMENT
If your monopod is kneeling at an angle, you will need a head attachment to angle your camera. A swivel is sufficient if monopod is required to be pivoted left and right. You might need to purchase the head separately if your monopod did not come with the head.
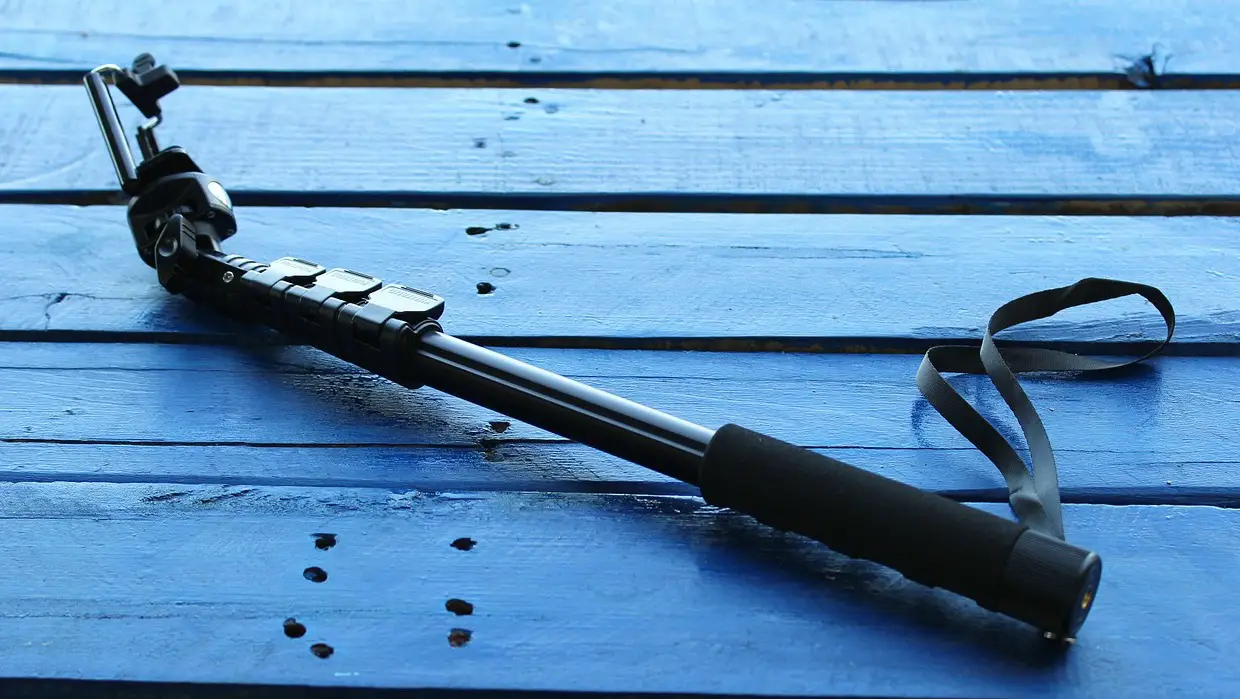
WRIST STRAP
To carry monopod a wrist strap is attached to them. You can also use this strap during shooting. Strap will help you to control the movement of the camera on the head and push the monopod into the ground.
WHEN TO USE MONOPODS
It is also important to know when the right time to use a monopod is.
HEAVY EQUIPMENT
A monopod can reduce your exhaustion when you are using a heavy camera or lenses. Especially when your shoot is long and takes a lot of time in between then monopod is the best.
SHORTAGE OF TIME
When you do not have sufficient time during your shoot then monopod can help you to complete your task in less time without compromising on quality.
CROWDED CONDITION
A monopod is best when you are in a crowded place and cannot set up a tripod somewhere.
HIGH UP SHOTS
If you are looking to get a high up shoot. Place a timer on your camera and hold your monopod with two hands and take the shoot.
