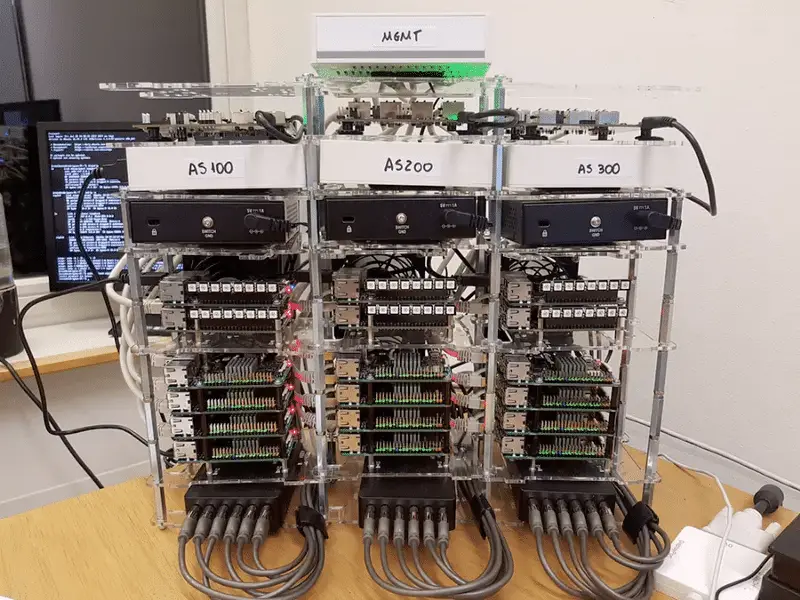
In my previous article I just cover cluster computer with raspberry pi 3 (How to Build your own Super Computer with Raspberry Pi 3 Cluster) and build a cheap supercomputer with it So in this article, I will show you how can we make cluster computer with raspberry pi zero which is small tiny size cheap computer which is available for the price of just 5 dollars.
Why Cluster Computing?
Why use a cluster instead of a single computer? There are actually two reasons: performance and fault tolerance. The initial reason for Beowulf’s cluster development was to provide cost-effective computing power for scientific applications, that is, to address the need for applications that require better performance than single (commodity) processors or cost-effective multiprocessors. An application may require more computing power for a number of reasons, but the following three are the most common:
Real-time constraints, that is calculated in a certain period of time to complete the requirements. The weather forecast is an example. The other is to process the experimentally produced data; the data must be processed (or stored) at least as fast as generated.
Throughput. Science or engineering simulation may require many calculations. A cluster can provide resources to handle many related simulations. On the other hand, a single simulation requires a lot of computing power, so that a single processor takes days or even years to complete the calculation.
An example of throughput using a Linux Beowulf cluster is Google [13], which uses more than 15,000 commercial PCs with fault-tolerant software to provide high-performance Web search services.
Some of the most challenging applications require a lot of data as part of the simulation. A cluster provides an efficient way to provide applications with even a few terabytes (1012 bytes) of program memory.
Should you build or buy a single board computer cluster?
Since in the 1990s, the move from shared memory computing to distributed cluster computing. Computers are rapidly getting faster and it is easy to pick up “last year’s mode” with cheap basement prices. Therefore, many people, especially the scarce scholars, began to build the cluster from last year’s commodity hardware and The Beowulf Cluster was born.
Today, many calculations on these beige box clusters are made in the cloud. The way most people do is if they need more calculations then just have to start some virtual machines on AWS.
However, in spite of this, there are still people outside the Amazon complex, some of whom are using single-board computers such as raspberry pie.
Behaviors are known as “thorns” are slow, but help expose the code to latency and network reliability issues. Real-world conditions that are hard to test in the cloud.
In this Cluster, we are going to use Cluster Hat
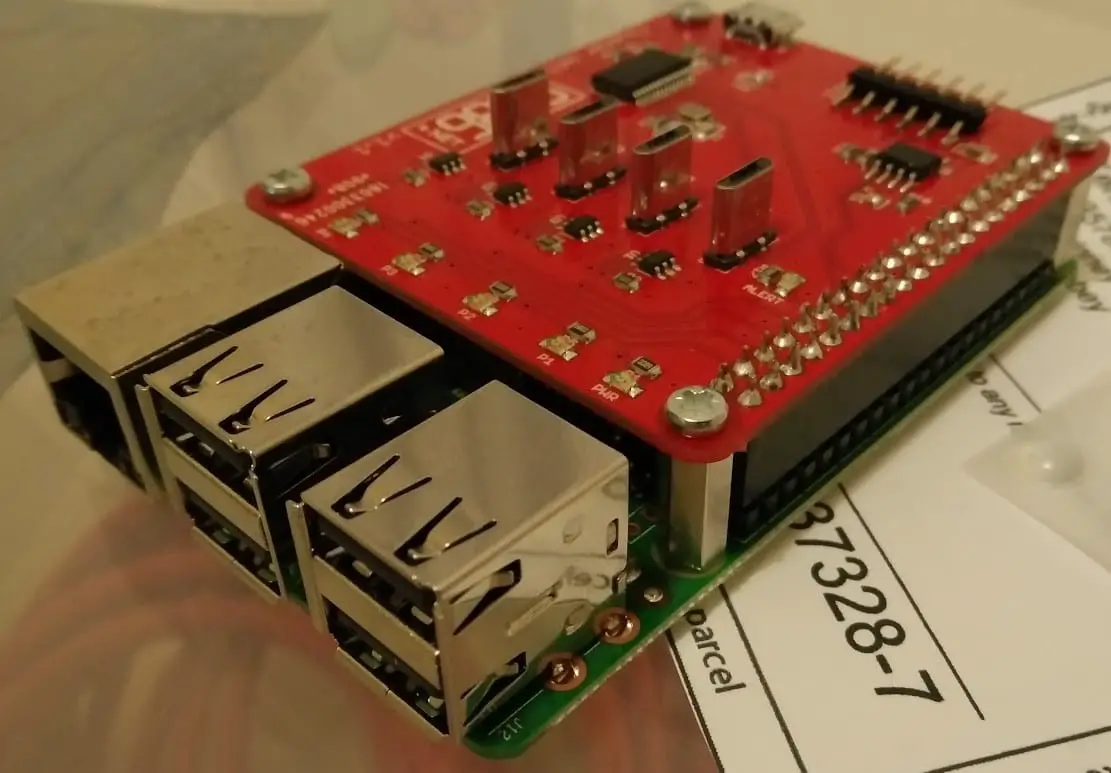
ClusterHAT is a clever solution for building cluster computing problems. Learning distributed computing is a challenge, and this little hardware suite is the answer.
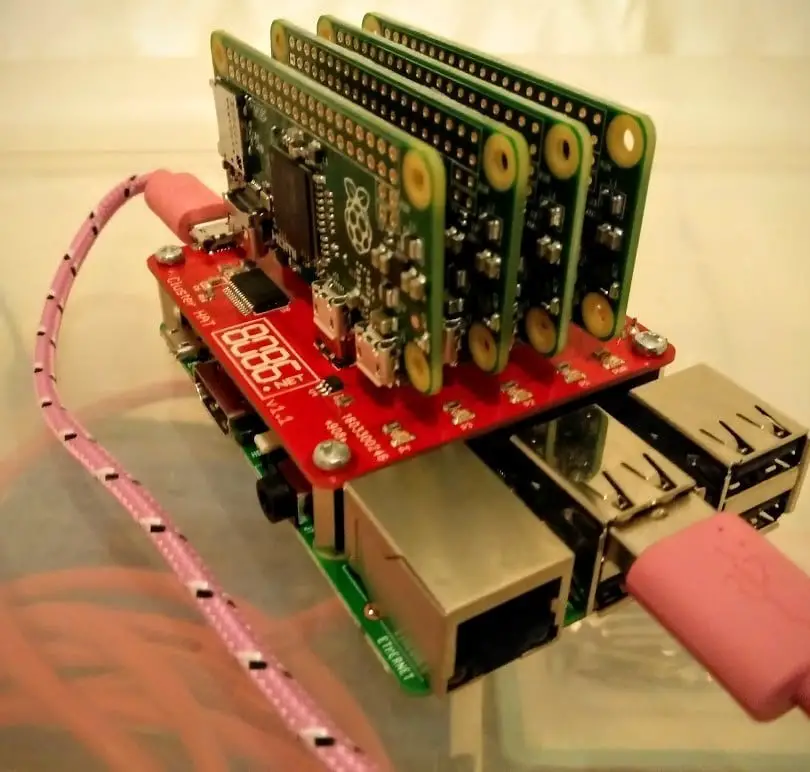
Our ClusterHAT reviews how to build a cluster computer using the Raspberry Pi and four Pi zeros.
This article was posted by Lucy Hattersley at MagPi – Official Raspberry School Issue 55. Click here to download a free copy.
Being able to program a cluster computer is one of the most watched technologies in big data.
A cluster is a group of computers that are networked together and used as a single system. Computers (or “nodes”) plan to work on the same task, controlled by the host computer.
So let’s get Started
Collect Hardware
Where do we get Cluster HAT? (Buy Here) Buy On Amazon
ClusterHAT package contains following things:
- 1x ClusterHAT PCB*
- 4x 12mm M2.5 standoff
- 8x 6mm M2.5 screw
- 4x stick on foot
- USB Cable*
The circuit board is very strong; it is not troublesome to insert pi zero point. The package also comes with four brackets for securely connecting the circuit board to pi.
A short miniature USB cable is also provided as long as power is applied to the back of the USB and hat plugged into the PI. I’ve put together a small video showing the boot up, take a look:
Put the things together
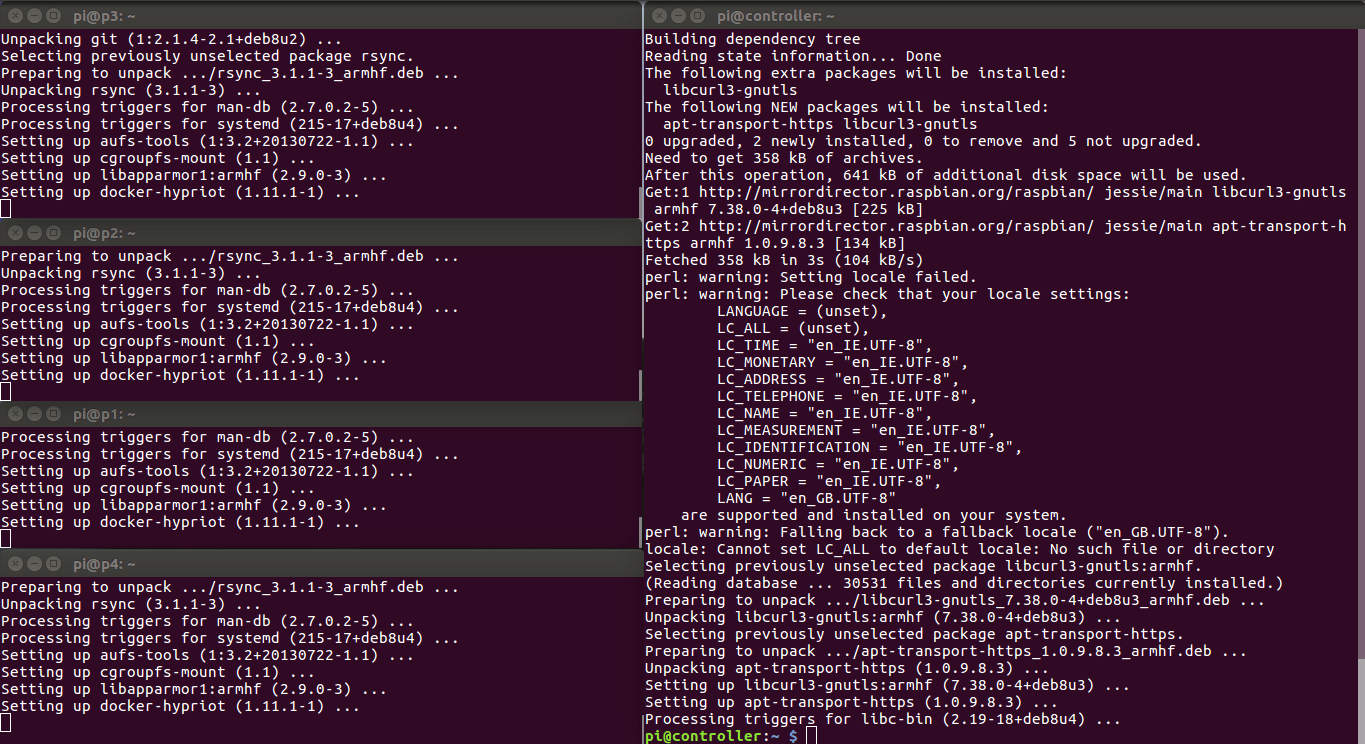
So I’ve used all PI’s online downloadable images from the Clusterhat website. Then I think the dock is a good addition, but I think v1.12 would be more suitable for the local community, so I’m now compiling an arm binary.
So after this what you have to do just follow my previous article as I describe in how to setup raspberry pi 3 clusters just follow the link here How to Build Super Computer With Raspberry pi 3 Cluster Computer
So after the setup then you can ssh into each Pi:
$ ssh pi@192.168.1.10
Computers
| Node | Use | IP |
| 00 | Redis, Hydra-router, Hydra-mcp | 192.168.1.10 |
| 01 | Monitor, constats | 192.168.1.11 |
| 02 | ClusterHat | 192.168.1.12 |
| 03 | Zero 1 | 192.168.1.13 |
| 04 | Zero 2 | 192.168.1.14 |
| 05 | Zero 3 | 192.168.1.15 |
| 06 | Zero 4, pilights | 192.168.1.16 |
ClusterHat Setup
Although they all picked up the DHCP address I found that this may be a problem over time, so I’ve added a static (secondary) IP to each PI, making it a bit portable and ensuring the service is not subject to IP changes Impact.
I’ve added the fo sudo vim /etc/network/interfaces
allow-hotplug usb0:0
iface usb0:0 inet static
address 10.0.1.1 #increment by 1 as you go, pi zero 1 = 10.0.1.2 and so on.
netmask 255.255.255.0
network 10.0.1.0
broadcast 10.0.1.255llowing each pi to add IP 1.
With this place, I can set up various clusters without DHCP bothering me if the lease is reset.
If you are interested in buying one, visit the manufacturer’s website @ Called Cluster Hat website here https://www.clusterhat.com/
Hope my article “Build Super Computer with 5$ Raspberry pi zero using Cluster HAT” helps you to “Build Super Computer with Raspberry pi zero using Cluster HAT“.If you have any query, feel free to comment.


