


In this project, you will create a simple circuit with Arduino and PIR motion sensors that can detect motion. The BUZZER will light when motion is detected.
Introduce PIR motion sensor
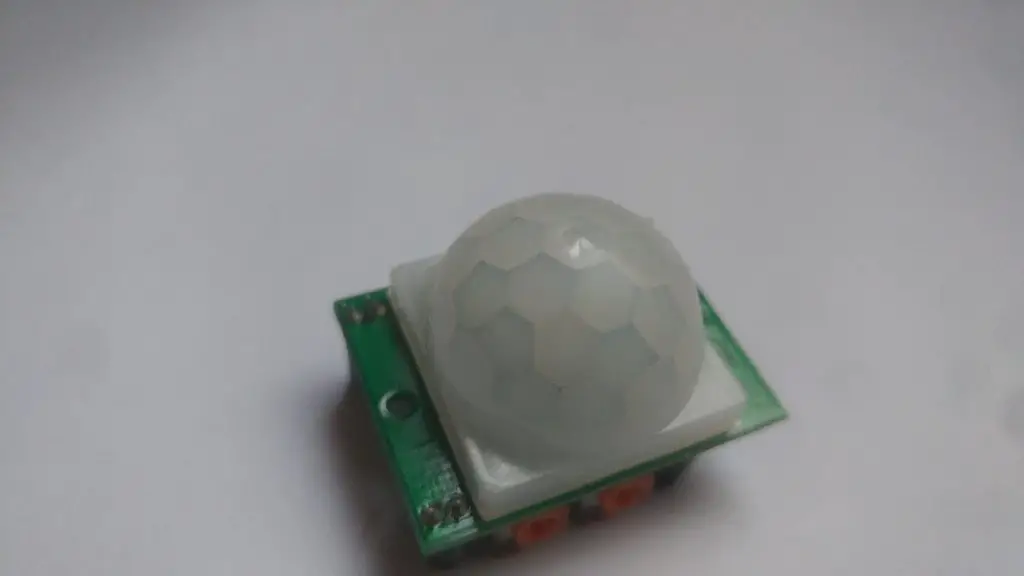
PIR motion sensors are ideal for detecting motion. PIR stands for “passive infrared.” Basically, a PIR motion sensor measures infrared light from objects in its field of view.
Therefore, it can detect motion based on changes in infrared light in the environment. It is ideal to detect whether a person enters or leaves the sensor range.
The sensor in the figure above has two built-in potentiometers to adjust the delay time (left potentiometer) and sensitivity (right potentiometer).
Collect Hardware
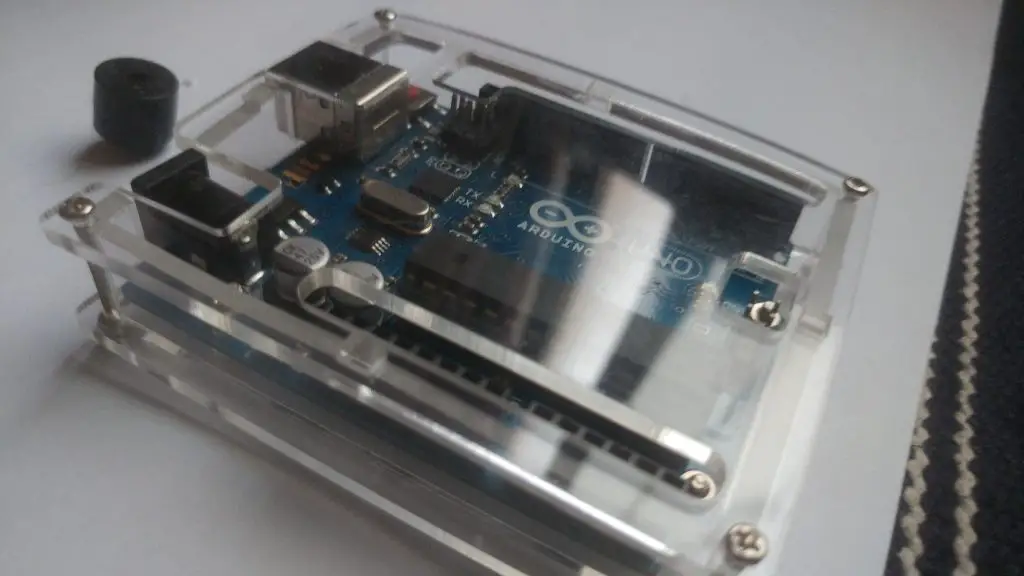
- Arduino UNO View on Amazon
- PIR Motion Sensor View on Amazon
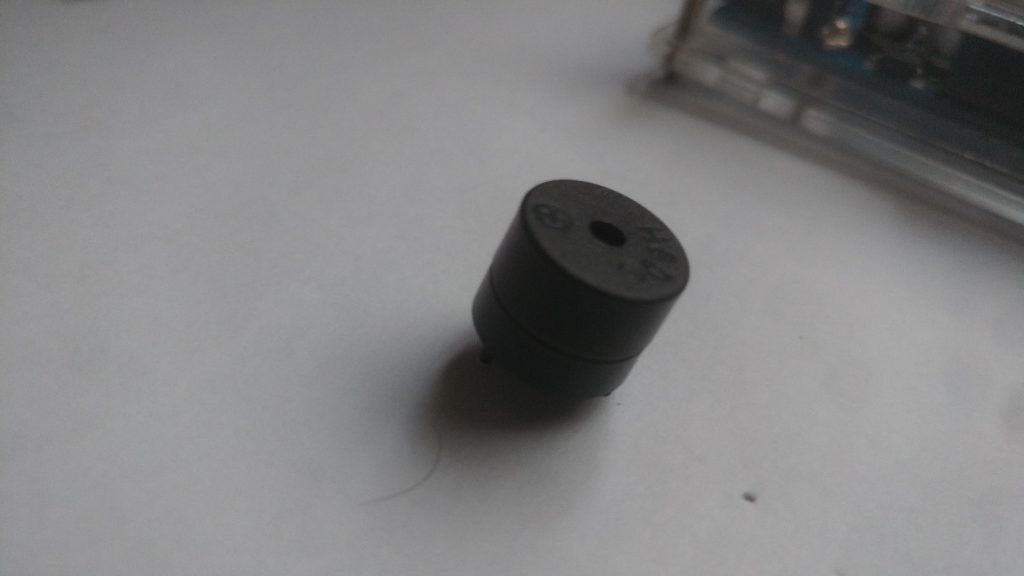
- Buzzer View on Amazon
Pins
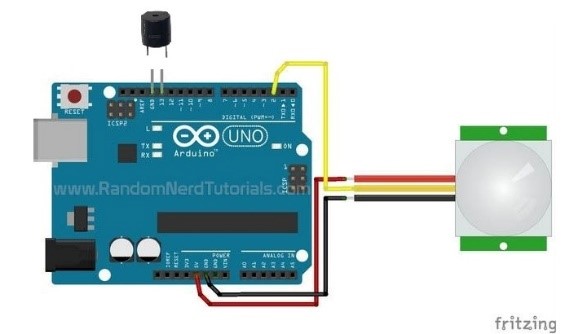
Connecting the PIR motion sensor to the Arduino is simple – the sensor has only 3 pins.
- GND – Ground
- OUT – Connect to Arduino Digital Pin
- 5V – Connected to 5V
- Required parts
This is the required part of this project
- 1x PIR Motion Sensor (HC-SR501)
- Arduino UNO – Read the Best Arduino Starter Kit
- 1 BUZZER
- Jumper cable
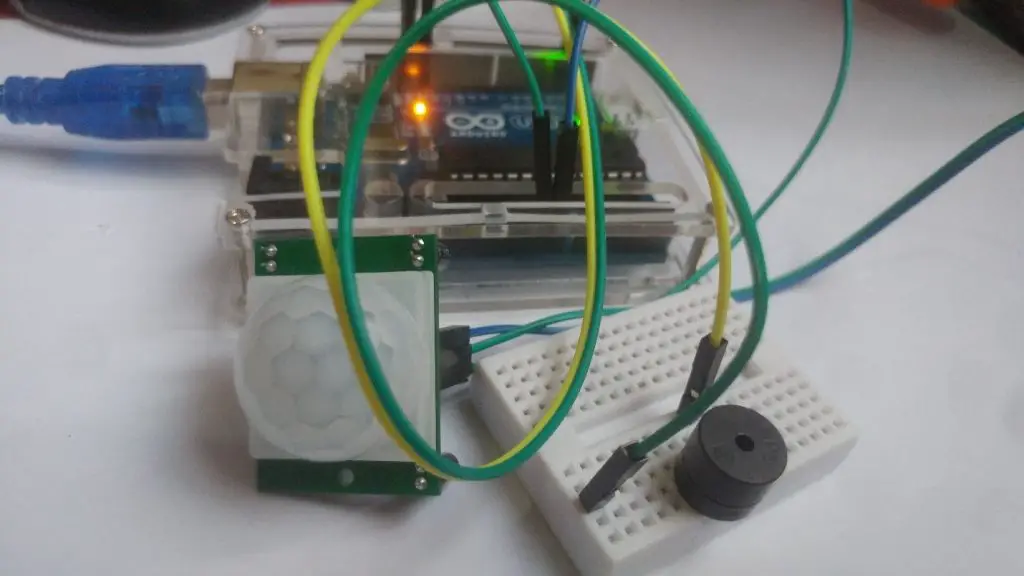
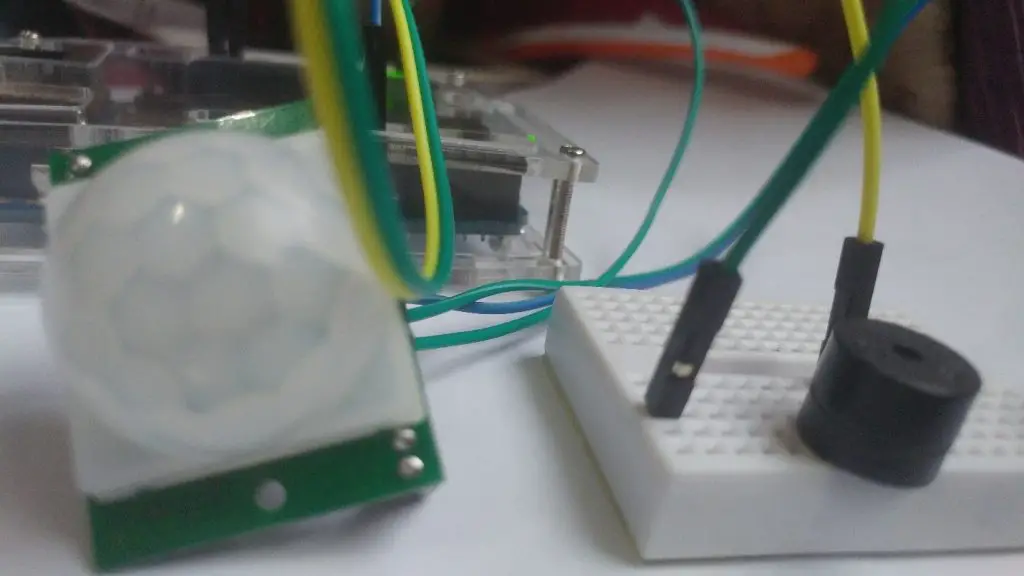
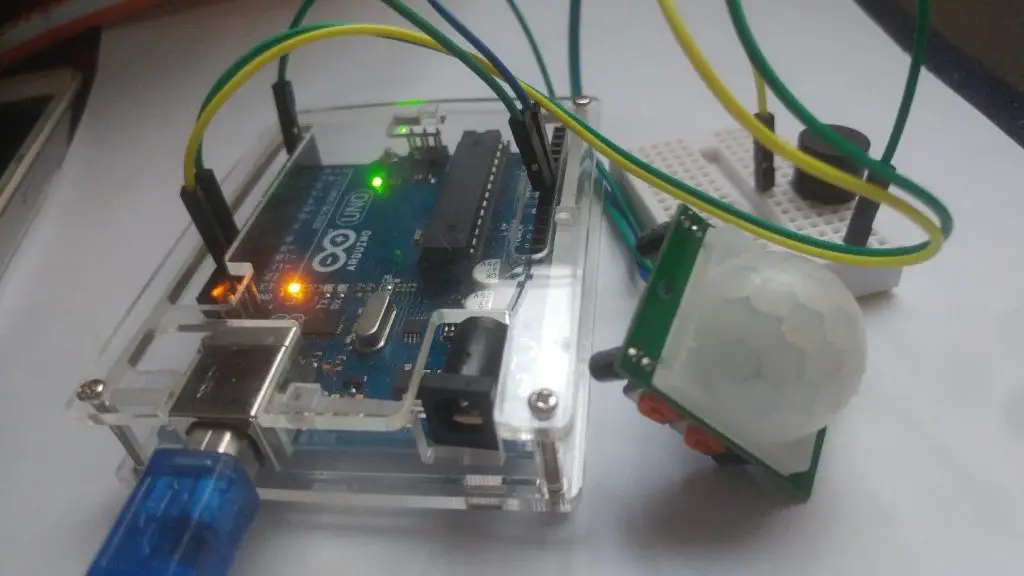
Schematic
Follow the schematic below to assemble all components.
Upload Source Code
int Buzzer = 13; // the pin that the BUZZER is atteched to
int sensor = 2; // the pin that the sensor is atteched to
int state = LOW; // by default, no motion detected
int val = 0; // variable to store the sensor status (value)
void setup() {
pinMode(Buzzer, OUTPUT); // initalize BUZZER as an output
pinMode(sensor, INPUT); // initialize sensor as an input
Serial.begin(9600); // initialize serial
}
void loop(){
val = digitalRead(sensor); // read sensor value
if (val == HIGH) { // check if the sensor is HIGH
digitalWrite(Buzzer, HIGH); // turn BUZZER ON
delay(100); // delay 100 milliseconds
if (state == LOW) {
Serial.println(“Motion detected!”);
state = HIGH; // update variable state to HIGH
}
}
else {
digitalWrite(Buzzer, LOW); // turn BUZZER OFF
delay(200); // delay 200 milliseconds
if (state == HIGH){
Serial.println(“Motion stopped!”);
state = LOW; // update variable state to LOW
}
}
}
Conclusion
This article shows a simple example of how to use the PIR motion sensor on the Arduino. You can now use PIR motion sensors in more advanced projects. For example, you can build a Night Security Light project.
You may also like to read these awesome projects
How to Build Race Game with Arduino and Nokia LCD module
How To Build Radar with Arduino using HC-SR04 and SG90 Servo


