


In this tutorial, I will utilize the excellent features of the Raspberry Pi to create a moisture sensor for the plant pots. You can monitor sensors locally with the led or remotely over the internet, and receive a daily e-mail if the Moisture is below a specified level.
Along the way I will:-
- Connect using breadboard and read the value of the analog sensor via SPI
- The sensor is well formatted in the console
- Raspberry Pi send email with sensor read
- Easily monitor sensors and some history books on the web
Today, I will show you how to use the humidity sensor and raspberry pi to send you an e-mail notification when your plant needs watering! If you’ve forgotten your houseplant, it’s really useful, but for people with very green fingers, you can, of course, double it!
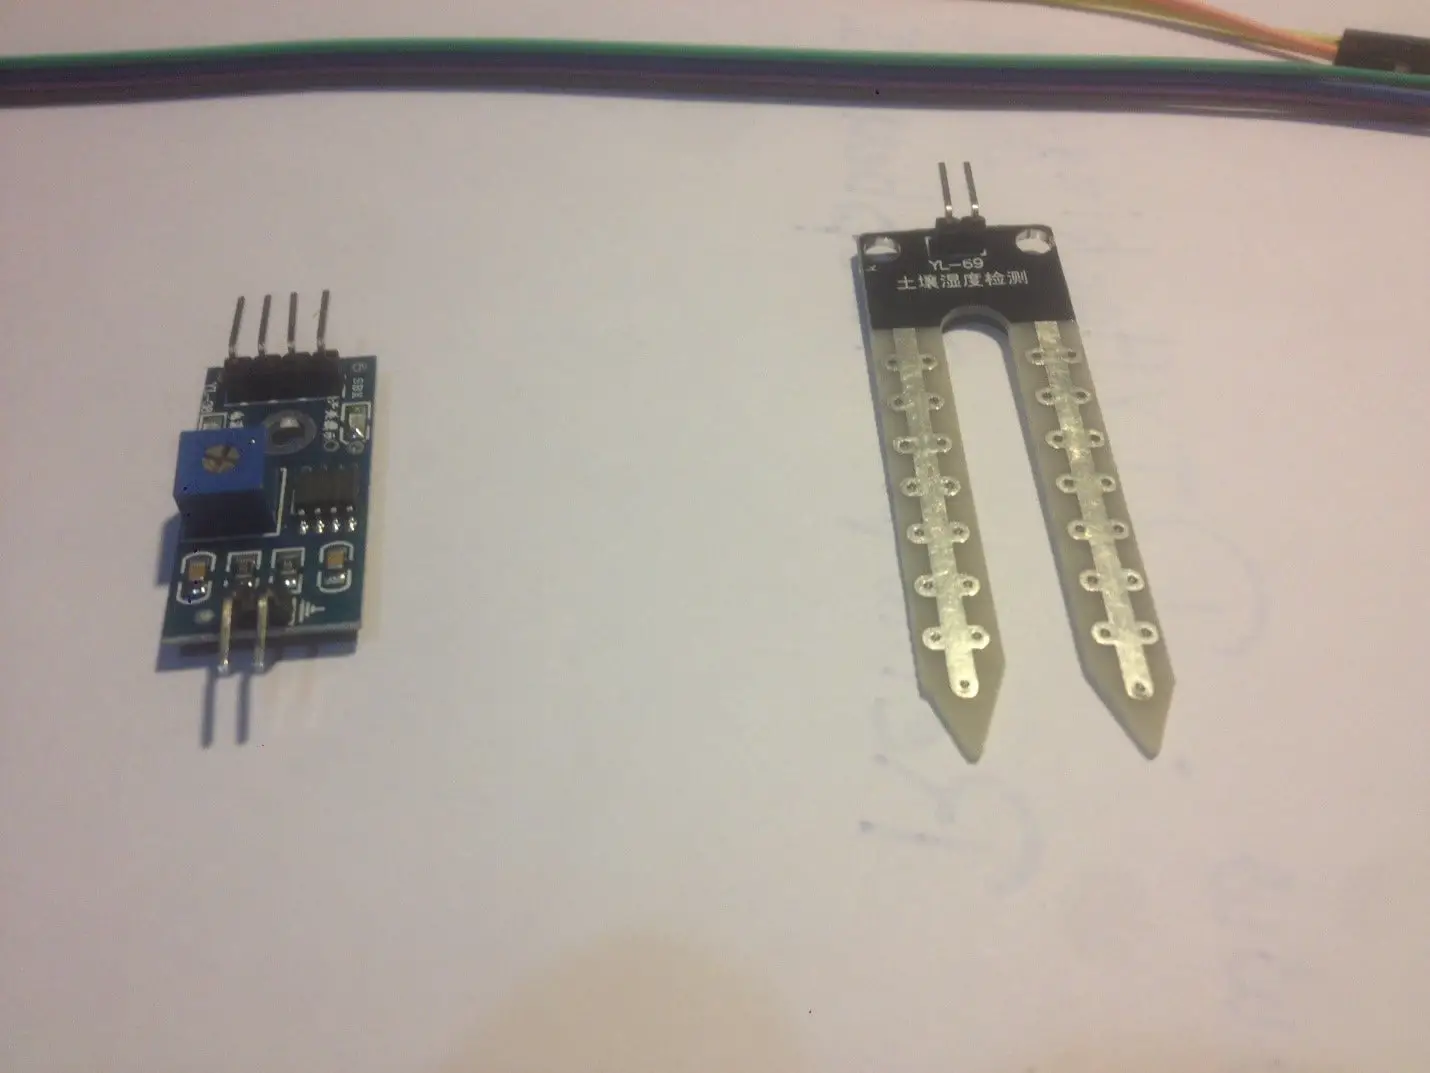
The sensor board itself has both analog and digital outputs. The analog output gives a variable voltage reading so that you can estimate the soil’s water content (use some math!). When the soil moisture content exceeds a certain value, the digital output gives you a simple “on” or “off.”
This value can be set or calibrated using an adjustable onboard potentiometer. In this case, we just want to know “yes, the factory has enough water” or “no, the factory needs watering!” So we will use the digital output. So in this we can set up the notification of the sensor.
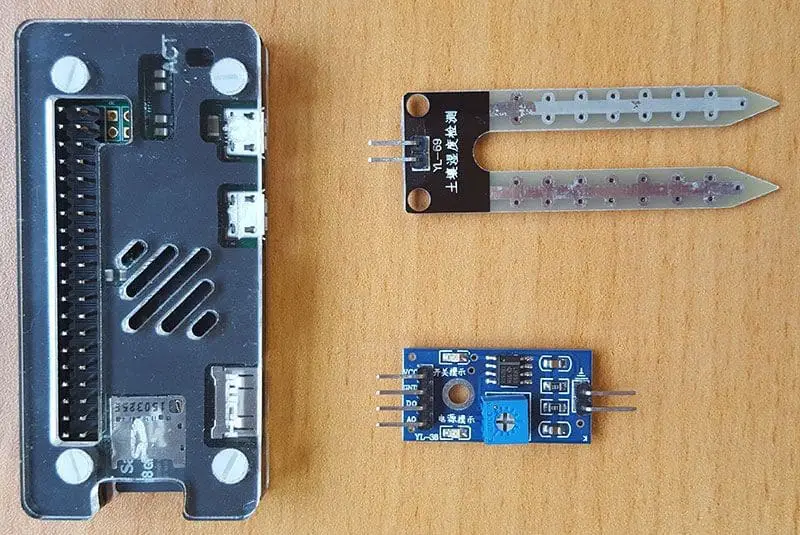
Collect the Hardware to Build Smart Garden with Raspberry Pi
- Raspberry Pi (any mode is ok, we’ll use a zero for this demo) Buy Now
- Humidity Sensor Buy Now
- Paste probes together (we will use a factory)
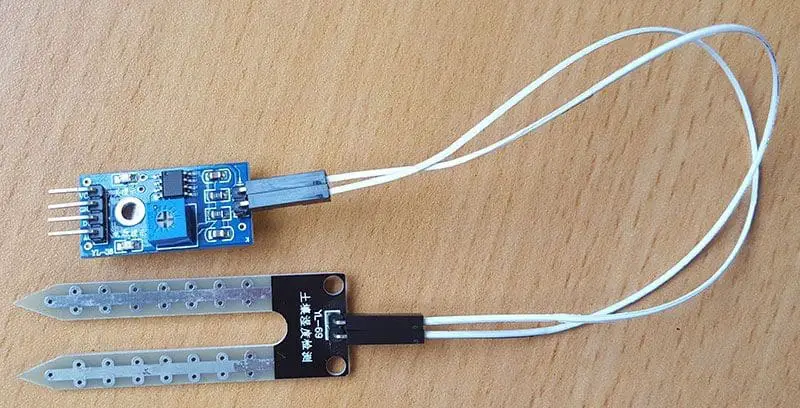
Let’s connect the probe to the sensor. Just connect the two pins on the probe to the sensor side with only 2 pins. It does not matter which direction the wire is going to.
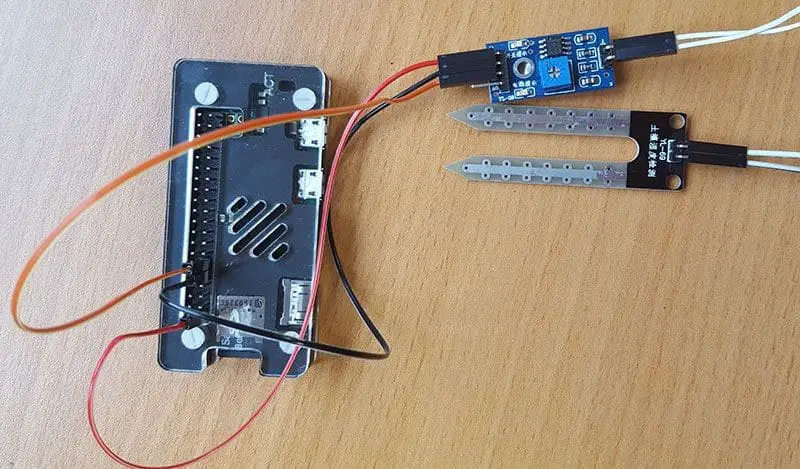
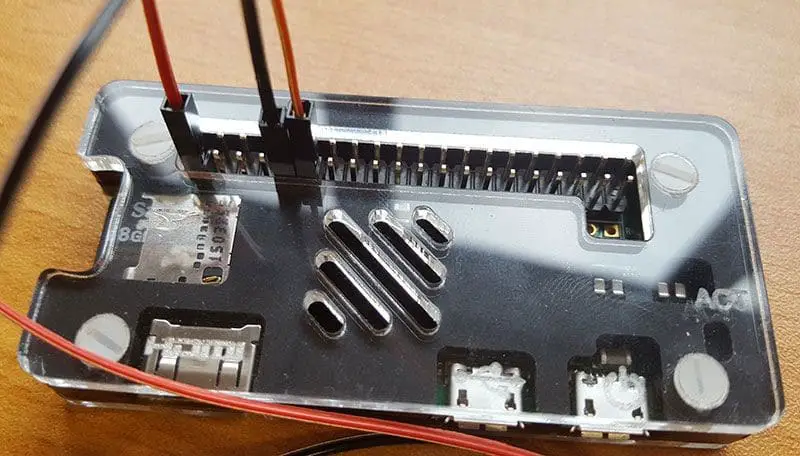
Now let’s connect the sensor to Raspberry Pi.
VCC -> 3v3 (pin 1)
GND -> GND (Pin 9)
D0 -> GPIO 17 (Pin 11)
Now that everything is connected, we can open Raspberry Pi. Without writing any code, we can test to see our humidity sensor working. When power is applied, you should see the power light is on (4 pins down and the power light is on the right).
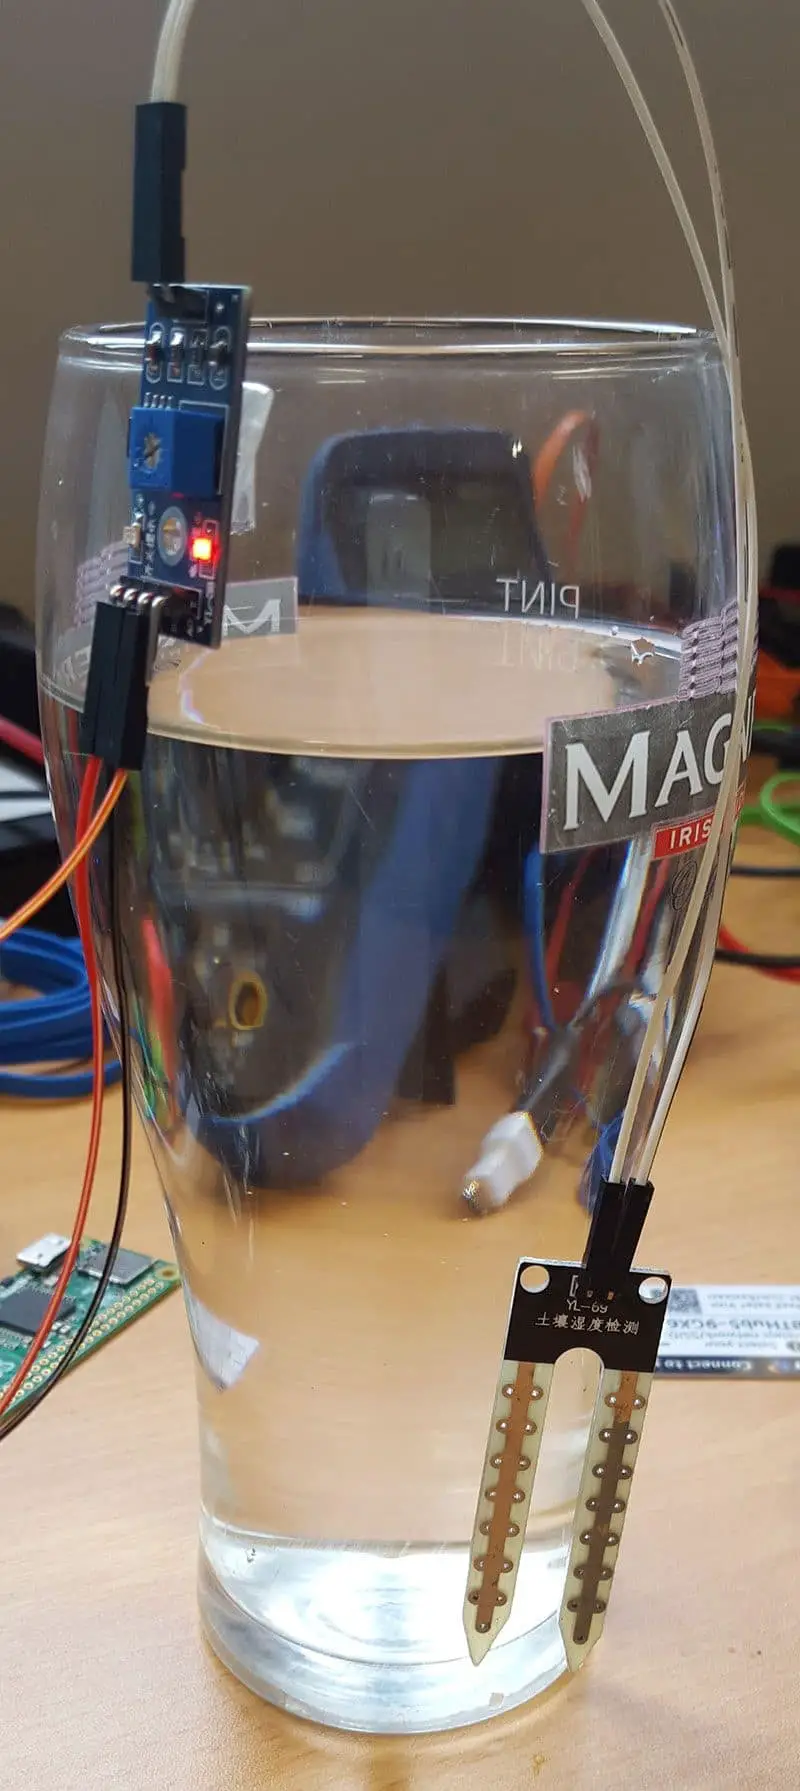
If the detection light is off, you can adjust the potentiometer on the sensor so that you can change the detection threshold (this applies only to the digital output signal)
Now we can see that our sensor is working and it’s time to calibrate for your specific use.
In this example, we want to monitor the moisture content of our plant pots. So let’s set the checkpoint to a level so that if it falls we’ll be notified that our pots are too dry and need watering. The plants here are a little dry on the side, but right now, if it gets dry it needs to be watered.
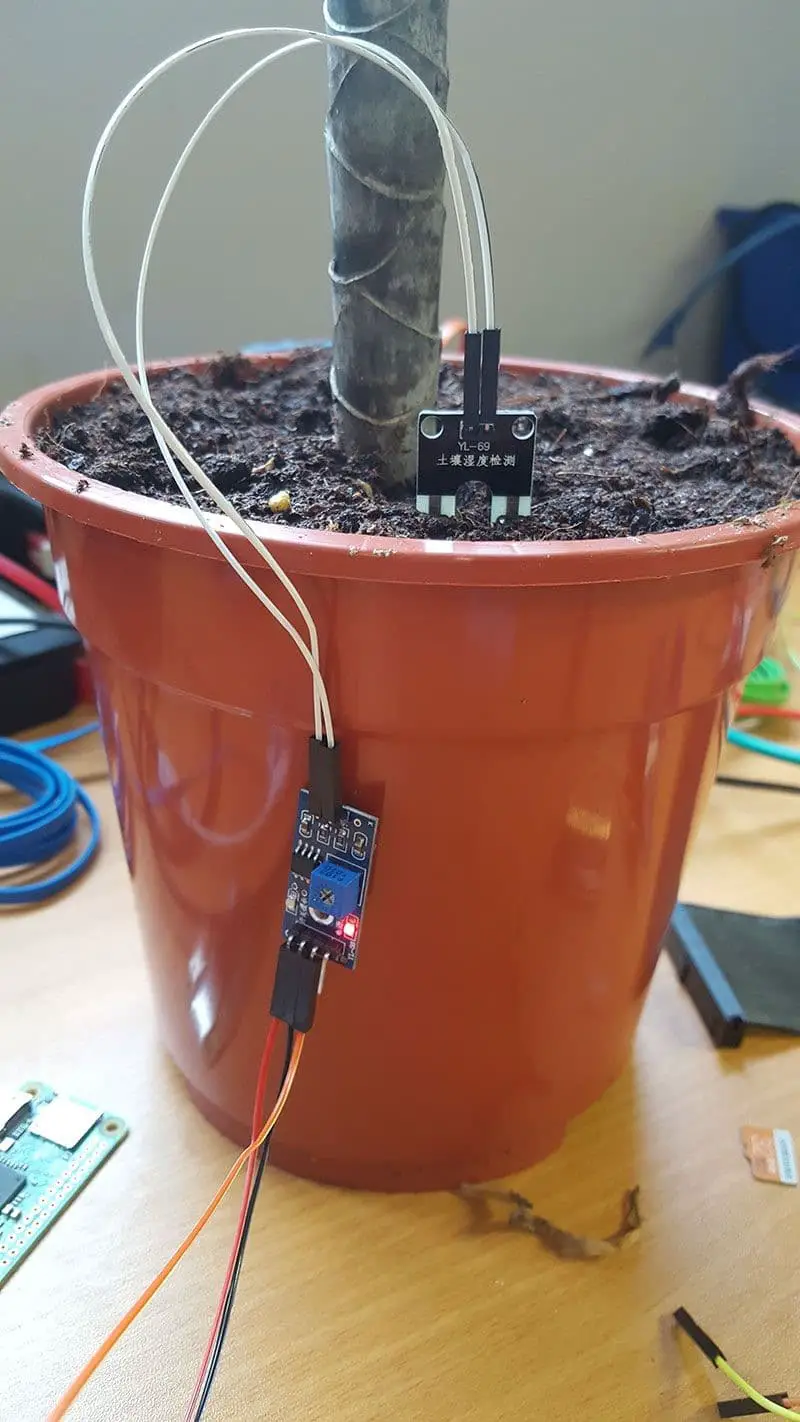
I need to adjust the potentiometer until the test light is on. Once I reach the checkpoint, I will stop turning the potentiometer. In this way, the detection light goes off when the humidity
the level is reduced by a small amount.
This is the sensor now calibrated, now it’s time to write some code with the sensor’s digital output!
If you want to do this directly on the Raspberry Pi, you can clone git like this:
Run Python code
#!/usr/bin/python
Start by importing the libraries we want to use
import RPi.GPIO as GPIO # This is the GPIO library we need to use the GPIO pins on the Raspberry Pi
import smtplib # This is the SMTP library we need to send the email notification
import time # This is the time library, we need this so we can use the sleep function
Define some variables to be used later on in our script
You might not need the username and password variable depends if you are using a provider or if you have your raspberry pi setup to send emails
If you have setup your raspberry pi to send emails, then you will probably want to use ‘localhost’ for your smtp_host
smtp_username = “enter_username_here” # This is the username used to login to your SMTP provider
smtp_password = “enter_password_here” # This is the password used to login to your SMTP provider
smtp_host = “enter_host_here” # This is the host of the SMTP provider
smtp_port = 25 # This is the port that your SMTP provider uses
smtp_sender = “sender@email.com” # This is the FROM email address
smtp_receivers = [‘receiver@email.com’] # This is the TO email address
The next two variables use triple quotes, these allow us to preserve the line breaks in the string.
This is the message that will be sent when NO moisture is detected
message_dead = “””From: Sender Name <sender@email.com>
To: Receiver Name <receiver@email.com>
Subject: Moisture Sensor Notification
Warning, no moisture detected! Plant death imminent!!! :'(
“””
This is the message that will be sent when moisture IS detected again
message_alive = “””From: Sender Name <sender@email.com>
To: Receiver Name <receiver@email.com>
Subject: Moisture Sensor Notification
Panic over! Plant has water again 🙂
“””
This is our send email function
def sendEmail(smtp_message):
try:
smtpObj = smtplib.SMTP(smtp_host, smtp_port)
smtpObj.login(smtp_username, smtp_password) # If you don’t need to login to your smtp provider, simply remove this line
smtpObj.sendmail(smtp_sender, smtp_receivers, smtp_message)
print “Successfully sent email”
except smtplib.SMTPException:
print “Error: unable to send email”
This is our callback function, this function will be called every time there is a change on the specified GPIO channel, in this example we are using 17
def callback(channel):
if GPIO.input(channel):
print “LED off”
sendEmail(message_dead)
else:
print “LED on”
sendEmail(message_alive)
Set our GPIO numbering to BCM
GPIO.setmode(GPIO.BCM)
Define the GPIO pin that we have our digital output from our sensor connected to
channel = 17
Set the GPIO pin to an input
GPIO.setup(channel, GPIO.IN)
This line tells our script to keep an eye on our gpio pin and let us know when the pin goes HIGH or LOW
GPIO.add_event_detect(channel, GPIO.BOTH, bouncetime=300)
This line asigns a function to the GPIO pin so that when the above line tells us there is a change on the pin, run this function
GPIO.add_event_callback(channel, callback)
This is an infinte loop to keep our script running
while True:
This line simply tells our script to wait 0.1 of a second, this is so the script doesnt hog all of the CPU
time.sleep(0.1)
Now we need to make some changes in the script, so open the script in the editor:
Nano moisture.py
Read the comments in the script and edit the various variables that have been defined.
To run the script, simply run the following command from the directory where the script is located:
sudo python moisture.py
So, if you have set all the variables and your potentiometer is set to the correct value, your raspberry pie will now be emailed to you when your plant’s water is dry!
To test, simply set your potentiometer to high and check your inbox!


