


Do you love the lock screen wallpapers added by Windows 10? Windows Spotlight adds a fresh new lock screen everytime you log on and sign in. Not only a cool background image, it displays a tip or a suggestion and sometimes a fun fact too.
Sometimes it may happen that your lock screen is stuck on the same image that you have already seen. Now, there can be a number of reasons why you can’t see a new image. And unfortunately, Windows 10 doesn’t allow you to reset it too. But it is possible to fix it. Keep reading and you will be ready to receive a new Windows Spotlight experience.
To get the fresh new images from Bing, follow the methods given below:
Method 1: Reset Windows Spotlight
This method is useful if your Windows Spotlight is stuck on the same image or if it is not working at all.
- Press Windows key + I keys on your keyboard. The Settings App will open up.
- Click on Personalization.
- Select Lock Screen from the left panel.
- In Background section, if Windows Spotlight is selected then change it to Picture or Slideshow.
- Now press Windows + R keys on your keyboard to open the Run Command window.
- Type the following path and hit enter.
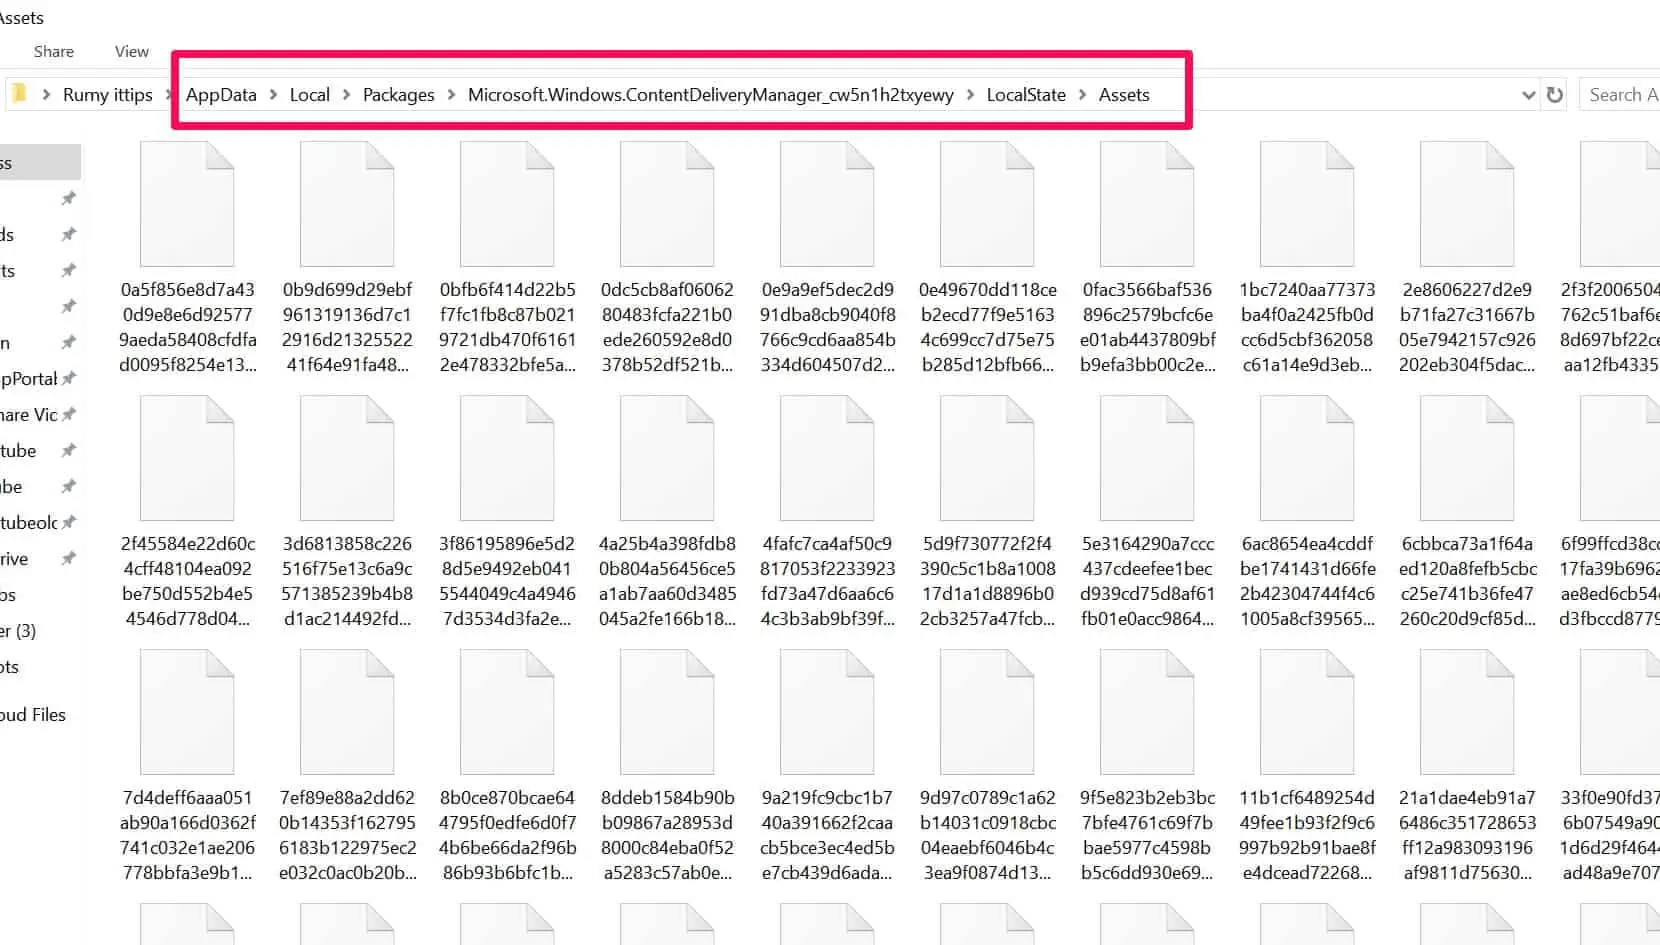
%USERPROFILE%/AppData\Local\Packages\Microsoft.Windows.ContentDeliveryManager_cw5n1h2txyewy\LocalState\Assets

- Press Ctrl + A to select all the files, then press and hold shift & hit delete to delete all the files.
- Perform steps 5 & 6 but enter the following command
%USERPROFILE%/AppData\Local\Packages\Microsoft.Windows.ContentDeliveryManager_cw5n1h2txyewy\Settings
Select both the files present there and rename them to settings.dat.bak and roaming.dat.bak.
- Restart your machine.
- Go to the Settings App again.
- Click on personalization and select Lock screen from the left panel.
- In Background section now select Windows Spotlight.
Now make sure that your machine is connected to a good internet connection before testing the above-applied changes.
To test whether the applied changes are working or not, lock your machine by pressing Windows key + L. You should have got a fresh new image by now. If yes, then perform the step 8 from the procedure above and delete both the files which you renamed i.e., settings.dat.bak and roaming.dat.bak files.
If you are still facing the issue of an old image after certain tries, then you may try another method given below.
How to Fix Windows Spotlight not working
Method 2: Alternate Fix to Reset Windows Spotlight using Windows PowerShell
- Press Windows key + I keys on your keyboard. The Settings App will open up.
- Click on Personalization.
- Select Lock Screen from the left panel.
- In the Background section, if Windows Spotlight is not selected then change to it.
- Press Windows key + X to open Quick Link Menu.
- Select Windows PowerShell (Admin). If PowerShell is not present then select Command Prompt (Admin).

7.Enter the following command and hit enter. This will reset your machine’s Windows
Spotlight.Get-AppxPackage -allusers ContentDeliveryManager | foreach {Add-AppxPackage “$($_.InstallLocation)\appxmanifest.xml” -DisableDevelopmentMode -register }
8.Now restart your machine and you are good to go.
Now again make sure that your machine is connected to a good internet connection before testing the above-applied changes.
To test whether the applied changes are working or not, lock your machine by pressing Windows key + L. You should have got a fresh new image by now.
Make sure that to get a fresh image whenever you log on, keep your machine connected to the internet. This is the only way new images from Bing will end up on your lock screen.
You may also like to read these related posts


