


Orange Pi Zero is the same single board computer as computers of the Raspberry Pi family. You can install an operating system on it and use it as a game console, as a basis for your DIY project or as a smart home server.
- It is very compact (size is only 46 x 48mm);
- It supports connection via Wi-Fi and Ethernet;
- It has a powerful Allwinner H2 + processor;
- It is compatible with Linux, stably working on Armbian;
- It supports GPIO;
- It is one of the cheapest single-board computers in Russia;
Unlike other computers of the Orange Pi line, as well as from the more popular Raspberry Pi, our Orange Pi Zero board does not have an HDMI connector, so all settings must be made over the network.

To install the system we need:-
– Orange Pi Zero microcomputer. On sale, there are 2 versions with different amounts of RAM (512MB and 256MB), but on both versions, the operating system is installed in the same way;
– Micro SD memory card. I use a 16GB card;
– Power supply 5 Volt 2 Ampere (with less current, the board will not work) with a micro USB connector;
We also need a network Ethernet cable, a computer, access to your Internet router.
Collect Hardware Requirements
- Orange pi zero (view on Amazon)
- Micro SD card (view on Amazon)

System installation
In Orange Pi Zero, like in most single-board computers, the operating system is installed on a memory card. In the case of the Orange Pi, the Zero is a Micro SD card.
Therefore, to run our microcomputer, you need to download the operating system, write it to a memory card, insert the card into the microcomputer and connect the power.
There are a large number of operating systems for Orange Pi Zero, including Android. The list of all available operating systems is on the official site .
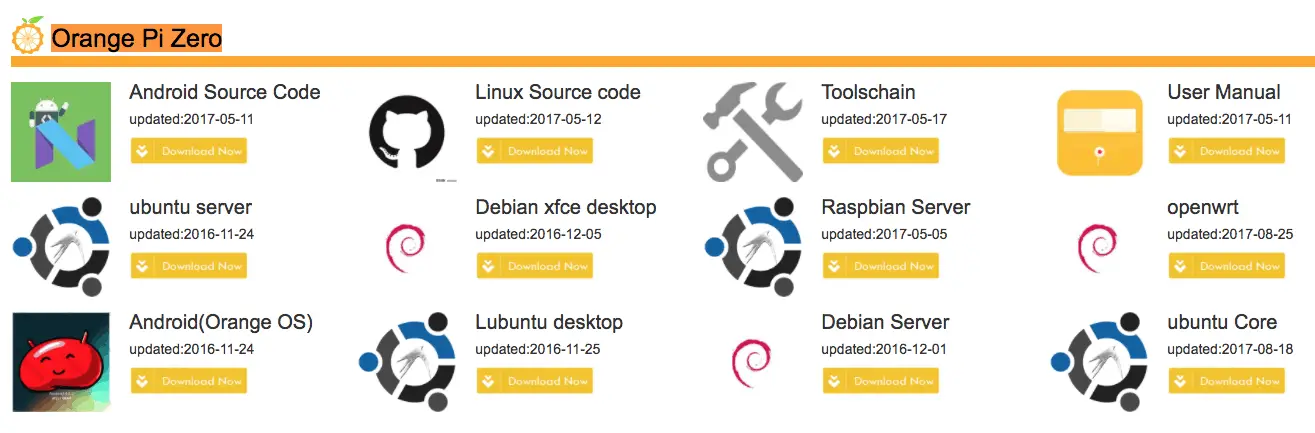
We will install Armbian – the most popular and reliable operating system for Orange Pi. To do this, go to the official website of the system developer and download the latest stable version.

A file archive of about 200MB in size is downloaded. You need to unpack it with the archiver in any folder convenient for you.
As a result, you will receive a folder with files, one of which will be a file with the extension .img. This is the file with our operating system. In my case, this file was called Armbian_X.XX_Orangepizero_Ubuntu_xenial_default_X.Xxxx.img.
Now we need to insert a blank Micro SD card into our computer, format it into the FAT32 file system and copy the file onto it in a special way by our operating system
if you dont know how to format and install the iso file with win32 disk imager Please visit this link and follow the just installation method.
Related Post How to Take a Screenshot on the Raspberry Pi (Raspbian )
The first launch of Orange Pi Zero
The operating system was successfully copied to the memory card and you can proceed to the first launch of our microcomputer:
– Insert the Micro SD card slot on the Orange Pi;
– Connect the Ethernet cable of the Orange Pi to the empty socket of our home router;
– Connect the power supply to the Orange Pi;

The LEDs on the Ethernet connector start flashing, the green LED on the Orange Pi board lights up, then the red one starts flashing. The operating system is installed, you can start the configuration.

In this article I describe the easiest way to configure – through a home router. Since if you have internet at home, then most likely there will be a free network connector at the router. Also, this method practically does not require additional devices, installation of drivers and additional programs on your desktop computer.
If you have no router or network cable at home, you can connect to Orange Pi Zero from your computer via a USB-to-Serial adapter. But this method is much more complicated.
In order to remotely connect to your Orange Pi Zero card over the network, you must first find out its network IP address. To do this, you need to connect to our home router: on your computer, open any browser and enter 192.168.1.1 in the address bar.
The router management page should open. If the page does not open, then the address is incorrect and you need to look at it on your router. On the page that opens, enter the username and password. Usually they are either written on the body of the router, or a standard pair is used – the username is admin, the password is admin.
After you go to the router’s management page, in the settings you need to find the DHCP tab. This page displays all devices on the network along with their IP addresses.
Opposite the orangepi zero device we will see its IP address, in our case it is 192.168.1.13. We will write it down.
Now we know the Orange Pi IP address and we can connect to it via the network. Please note that most likely the default access settings on the router are configured so that the computers connected to it over the wire and computers connected to it via Wi-Fi will be on different subnets and will not be able to communicate normally with each other. It is best if your computer is connected to the router with a network cable just like Orange Pi.
If Windows is installed on your main computer, you need to download PuTTY . We will start it, and all you need to do is enter the IP address of our Orange Pi Zero in the “Host Name” line and 22 in the “Port” field. Press the “Open” button, the connection is made.

In the terminal we will type:
ssh root@192.168.x.x
Enter the password:
1234
This means that we are connected via ssh to our Orange Pi (which is located at 192.168.1.47) as root. On both Windows and MacOs, you will see the same screen:

As soon as we logged in, Orange pi will offer to change the root password from 1234 to another. You must first enter a valid password, then 2 times a new one. We will do it and do not forget to write down passwords!
Then the system will immediately offer to make a new user, call it pi and enter the password. This password is also recorded.
Then there will be a few questions – name, place of work, telephone. You can not fill in anything, but simply press Enter until the line is displayed, where you need to confirm the correctness of data entry. Type Y and presses Enter.

After that, the system will write that you must reboot to complete the configuration. We will write reboot and press Enter. The terminal is disconnected from the remote computer. Orange Pi is rebooting. The red and green LEDs will flash for a few seconds. Then both will go out, then the green LED will flash and after about a minute it will be lit permanently. The initial installation of the system is ready.
System Setup
Now you need to tune our board so that it was convenient to work with it. We will connect to Orange Pi Zero via ssh. Under Windows, open PuTTY and connect as if for the first time, only now enter the username pi and the password from it. Under Mac OS, open the terminal and enter:
ssh pi@192.168.1.47
Enter the password from user pi and press Enter.
This line means that you have successfully connected to the orangepizero computer as user pi. If we see this line, then everything is in order, we can move on.
To check the available free space, enter:
$ df -h
Configure wireless Wi-Fi connection:
Since Orange Pi Zero will be the heart of our smart home or DIY project, it will be more convenient to use not a wired connection, but a wireless connection, especially since the Zero model has an integrated Wi-Fi module. If there is a built-in module, then the connection can be configured via the command nmtui-connect. Enter:
sudi nmtui-connect SSID_NAME
Where SSID_NAME is the name of your home Wi-Fi network. In the opened pink window, enter the password from your wi-fi network:
Connecting appears in the command line and the pink window closes! Now you can disconnect the Ethernet wire and connect to our board via Wi-Fi.
Please note that after you disconnected the power cord and Orange Pi connected to your router via Wi-Fi, the Orange Pi IP address will change. You need to log in to DHCP again in the settings of the router and see what IP address your microcomputer has become. In order to change the IP address no longer occurs, we need to set a static IP address for our card.
Setting a static IP address:
For many Linux-based operating systems, the IP address is configured via the ifconfig command and editing the / etc / network / interfaces file. But Armbian for Orange Pi Zero has Network Manager installed, which will help us quickly set up a static IP address.
Connect via ssh as user pi.
ssh pi@192.168.1.50
And enter the password from user pi. We will connect to the address 192.168.1.50, because our DHCP server has assigned a new ip address to the new wi-fi connection.
Launch Network Manager:
sudo nmtui
And again we will enter the password from user pi.
A window with a pink background will open in which we will need to select “Edit a connection” using the arrows on the keyboard and press Enter:

We will choose the interface for which we want to register a static IP address. Use the arrows to choose our wi-fi network and press Enter. In our case, the wi-fi network is called “Winterfell”.

The network settings window will open. Use the arrows to scroll down until we will find ourselves in front of the “IPv4 CONFIGURATION” header, press Enter, select “Manual” and press Enter again.

Now click the right arrow, go to the <Show> sign and press Enter.
In the opened fields, enter the IP address that you want to assign to your Orange Pi (in our case it is 192.168.1.200) and the IP address of the access point (the address of your router where you initially looked at the list of devices on the network, in our case it is 192.168. 1.1), the same address (192.168.1.1) is entered for the DNS server:
Select at the very bottom <OK> and press Enter.
Reboot the system. And in a few minutes it will already be available at the new permanent IP address.
sudo reboot

Congratulations! You set up your computer on Orange Pi Zero, it is completely ready for work!


