


You’ve probably wondered how I always create these great screenshots from the Raspbian Linux desktop. Well, most of the time it’s from my laptop, which connects to VNC on the Raspberry Pi.
Since lately I experiment almost exclusively with the GPIO interface but I prefer to work directly on the Raspberry Pi with the connected mouse, keyboard and screen. With a simple program, you can easily create screenshots from the command line. I’ll show you how it works.
Take a Screenshot on the Raspberry Pi
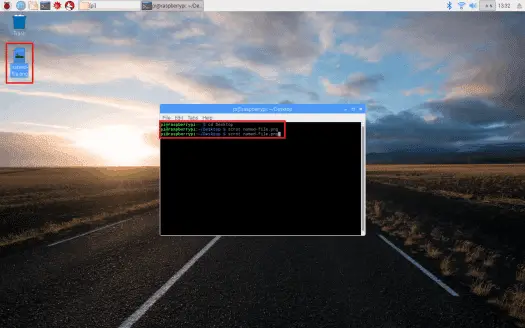
A very simple and efficient tool is Scrot, It is very minimalistic, but thanks to numerous parameters it offers enough scope to shoot optimal screenshots. My favorite feature is the auto-trigger, which saves the image after a countdown, but more on that later. The program is installed as follows:

sudo apt-get install scrot
Would have thought that would be so easy? Scrot works from a graphical desktop, so we can use it on the Raspberry Pi ideally in our LXDE in an LX-terminal. We can now create a screenshot with the following command:
$scrot
Not very spectacular, a current screenshot is created in the current directory. The format is * .png and the file name is the current timestamp. Numerous parameters allow us to optimize the creation of the screenshot.
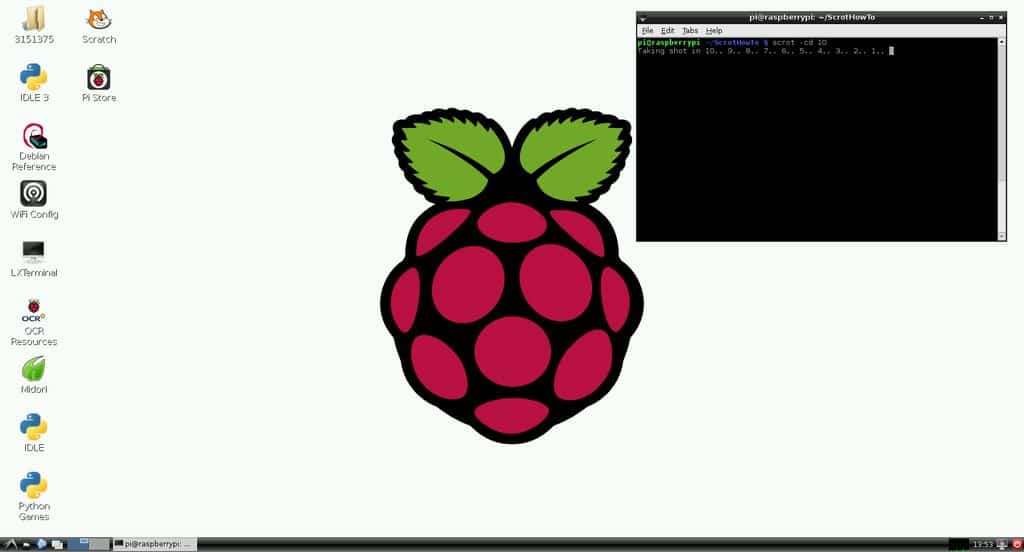
My current favorite is the following command:
scrot -cd 5 screenshot.png
The screenshot is saved under the specified file name. In addition, the parameters cause the screenshot to be created only after a delay of -d (delay) of 5 seconds. The parameter -c also displays this delay as a countdown. Ideal to make a window of his choice.
Specify where screenshots are saved with the command
scrot /home/pi/Desktop/example.png
where, for example, “/home/pi/Desktop/” is the file path and “example.png” is the screenshot. Now “example.png” will be saved on the Pi’s Desktop. Note that the command
Other Scrot Commands
I’ve reviewed some basic Scrot features, but there are more features that can be enabled with other command line options. These, in addition to commands already reviewed, include
-h Display additional help
-v Get the current version
-d X Add a delay of X seconds to the capture
-c Add a countdown to a delayed capture
-s Allow user to specific capture area with the mouse
-u Capture the current active window
-q X Specify the image quality percentage X (default 75)
-t X Create a thumbnail version at a specified percentage size X
-e Specify a command to run after the image is capture
Remember you can also mix and match commands.
Conclusion
The command line tool scrot is very easy to use and ideal for quickly taking a few screenshots of the Linux desktop. Sure, there are far better tools that copy and save individual windows or small sections, but who is looking for a quick and straightforward solution that is just right with scrot. The tool works fine on the Raspberry Pi.


