


Infrared remote control is one of the easiest ways to interact with electronic devices. So, in almost every home there are several such devices: a TV, a stereo system, a video player, an air conditioner.
But the most interesting application of the infrared remote control is a remote robot. Actually, in this lesson, we will try to implement this method of control using the popular controller Arduino Uno.

IR remote control
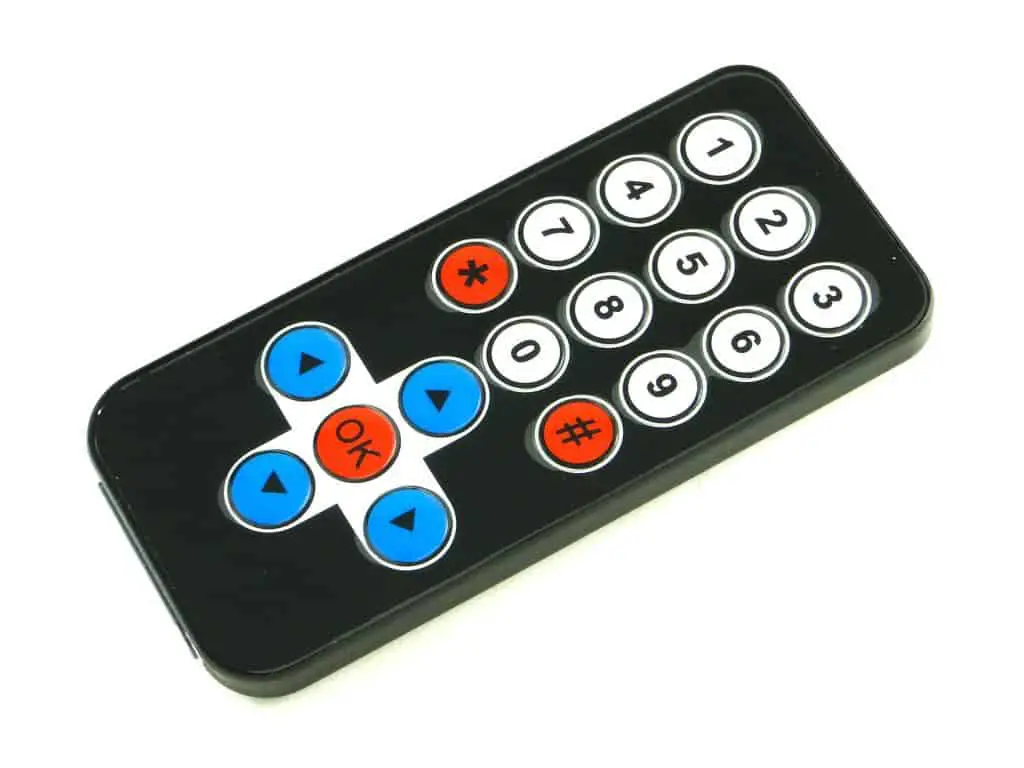
What do you need to teach a robot to listen to an infrared (IR) remote? First, we need the remote itself. You can use a regular TV remote, or you can purchase a miniature remote from a car radio. Such consoles are often used to control robots.
There are 10 numeric buttons and 11 buttons for manipulating music: volume, rewind, play, stop, etc. For our purposes, more than enough.
IR sensor
Secondly, to receive the signal from the remote, we need a special IR sensor. In general, we can detect infrared radiation with a conventional photodiode/phototransistor, but unlike it, our IR sensor only perceives an infrared signal at a frequency of 38 kHz (sometimes 40 kHz). This property allows the sensor to ignore a lot of extraneous light noise from the lighting lamps and the sun.
For this lesson we will use the popular VS1838B IR sensor, which has the following characteristics:
carrier frequency: 38 kHz;
supply voltage: 2.7 – 5.5 V;
current consumption: 50 μA.
Other sensors can be used, for example, TSOP4838, TSOP1736, SFH506.
Related Post How to Program Esp32 with Arduino IDE with C++
Needed Hardware to Control Arduino with a TV Remote
- Arduino Uno (View on Amazon)
- IR Reciever (View on Amazon)
- Ordinary TV Remote (View on Amazon)

Connection
The sensor has three terminals (three legs). If you look at the sensor from the side of the receiver of the IR signal, as shown in the figure,
then the left will be – output to the controller,
in the center – negative power contact (ground),
and to the right is a positive power contact (2.7 – 5.5V).
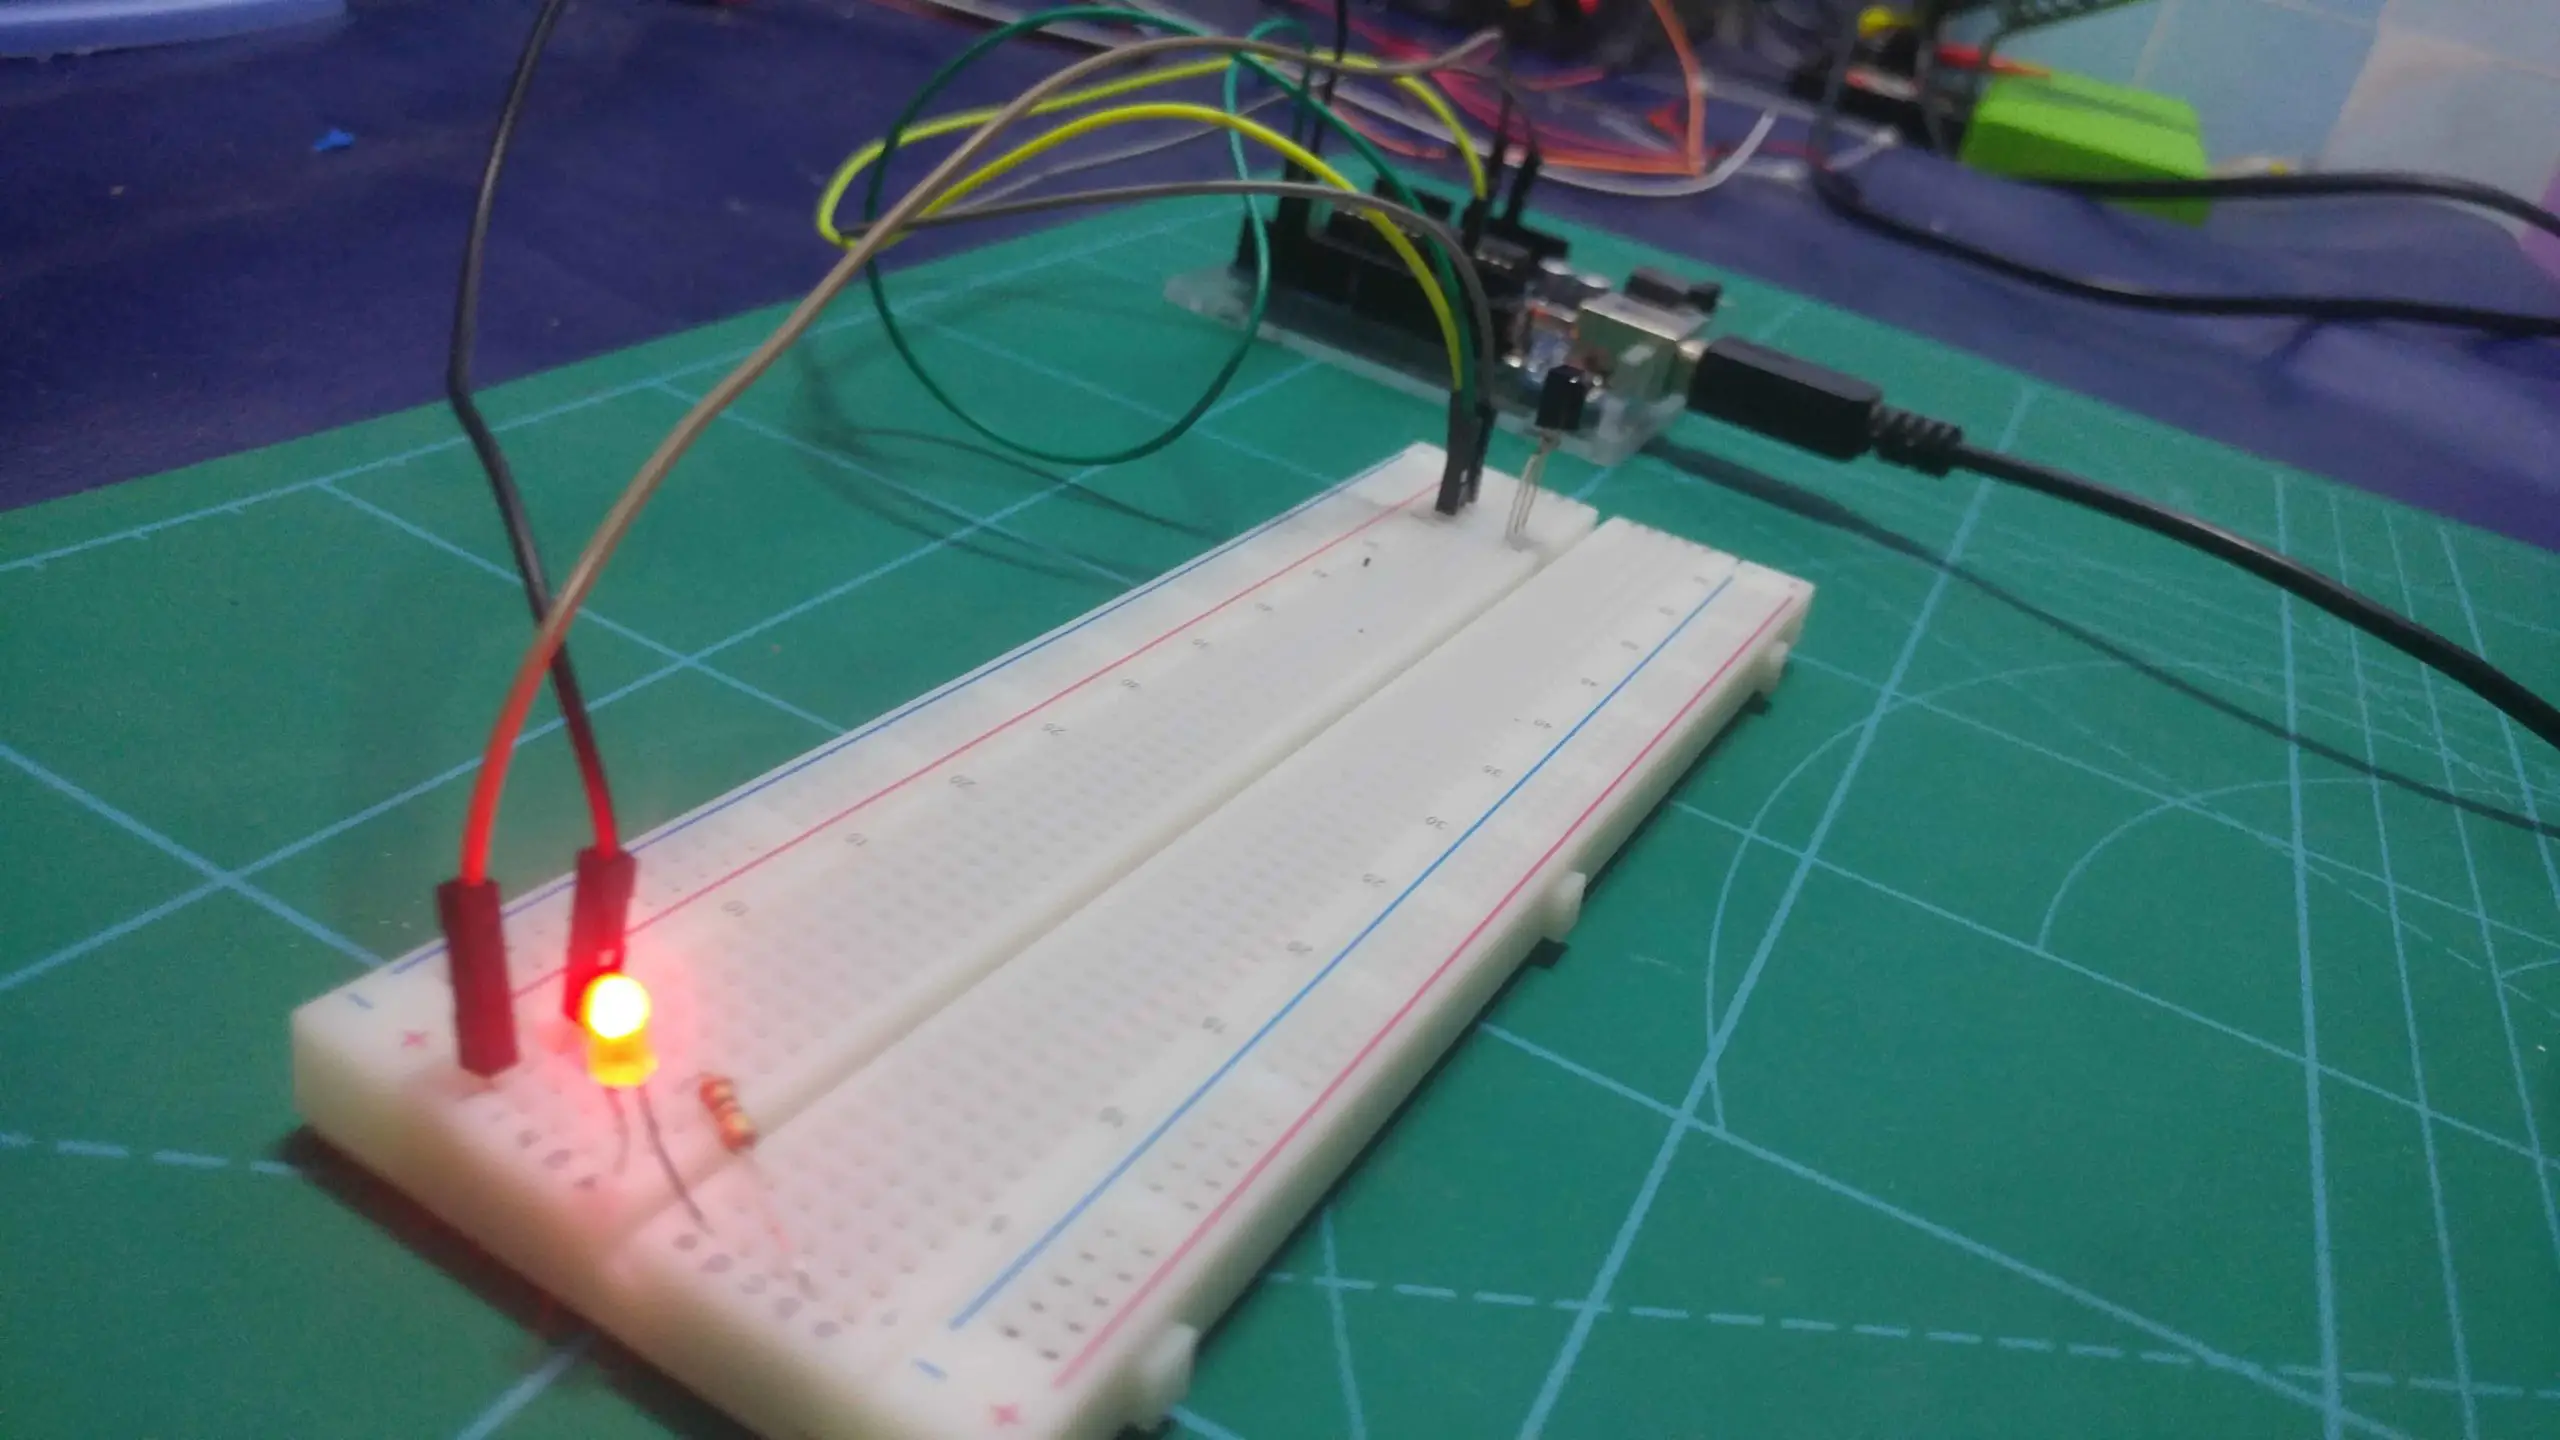
Schematic diagram of the connection

Appearance layout

Program
Having connected the IR sensor, we will write a program for Arduino Uno. To do this, we use the standard library IRremote, which is designed just to simplify work with the reception and transmission of IR signals. With the help of this library, we will receive commands from the console, and for a start, simply output them to the serial monitor window. This program is useful to us in order to understand what code each button gives.
#include “IRremote.h”
IRrecv irrecv (2); // specify the output to which the receiver is connected
decode_results results;
void setup () {
Serial.begin (9600); // set the speed of the COM port
irrecv.enableIRIn (); // start receiving
}
void loop () {
if (irrecv.decode (& results)) {// if the data came
Serial.println (results.value, HEX); // print the data
irrecv.resume (); // accept the following command
}
}
We load the program on Arduino. After that, we try to receive commands from the console. Open the serial port monitor (Ctrl + Shift + M), pick up the remote, and direct it to the sensor. Pressing different buttons, we observe codes corresponding to these buttons in the monitor window.
The problem with downloading the program
In some cases, when trying to download a program to the controller, an error may appear:
TDK2
To fix it, just delete two files from the library folder. We go in the conductor. Go to the folder where the Arduino IDE application is installed (most likely it is “C: \ Program Files (x86) \ Arduino”). Then in the folder with the library:
… \ Arduino \ libraries \ RobotIRremote
, and delete the files: IRremoteTools.cpp and IRremoteTools.h. Then, we restart the Arduino IDE, and again try to download the program to the controller.
Control the LED with the IR remote
Now that we know which codes correspond to the buttons on the remote, we try to program the controller to turn on and off the LED when we press the volume buttons. To do this, we need codes (may vary, depending on the remote):
- FFA857 – increase the volume;
- FFE01F – Volume Down.
As an LED, we use the built-in LED at pin 13, so the wiring diagram will remain the same. So, the program:
#include “IRremote.h”
IRrecv irrecv (2); // specify the output to which the receiver is connected
decode_results results;
void setup () {
irrecv.enableIRIn (); // start receiving
}
void loop () {
if (irrecv.decode (& results)) {// if the data came
switch (results.value) {
case 0xFFA857:
digitalWrite (13, HIGH);
break;
case 0xFFE01F:
digitalWrite (13, LOW);
break;
}
irrecv.resume (); // accept the following command
}
}
We load on Arduino and we test. We press vol + – the LED lights up. Click VOL- – goes out. Now, knowing how it all works, instead of the LED, you can control the motors of the robot, or other homemade microelectronic devices!


