


In this guide, I will explain how to get readings from the MPU9250 and convert these raw readings into usable angles. I will also show how to read some of the information in the datasheets for these devices. The theory and principals below can be applied to any digital Accelerometer, just some minor modifications need to be made. Eg register values, sensitivity level…
The code can be found here;
https://github.com/cityofeden/cosmic/tree/master/Sensors/MPU%209250
I just Developed this code for Cosmic IoT / https://cosmiciot.io Created using the EDEN Distributed Network / https://cityofeden.io Distributed with MIT Open License.
A note about Gyros and Accelerometers
When using the MPU9250 to calculate angles, readings from both the gyro and accelerometer are needed, which are then combined. This is because using either on their own will result in inaccurate readings.
Here is why;
Gyros – A gyro measures the rate of rotation, which has to be tracked over time to calculate the current angle. This tracking causes the gyro to drift. However, gyros are good at measuring quick sharp movements.
Accelerometers – Accelerometers are used to sense both static (e.g. gravity) and dynamic (e.g. sudden starts/stops) acceleration. They don’t need to be tracked like a gyro and can measure the current angle at any given time. Accelerometers, however, are very noisy and are only useful for tracking angles over a long period of time.
Let’s Get Start
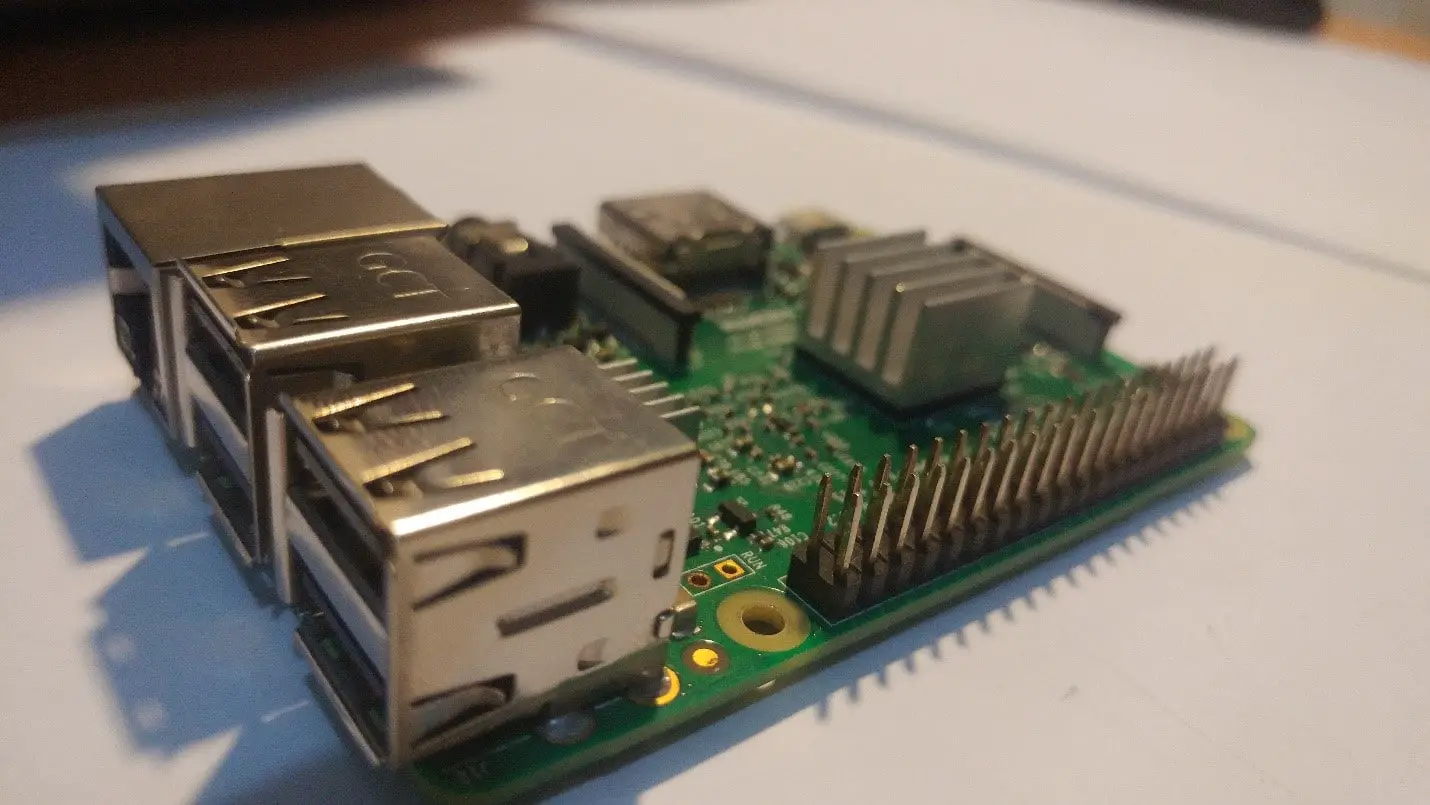
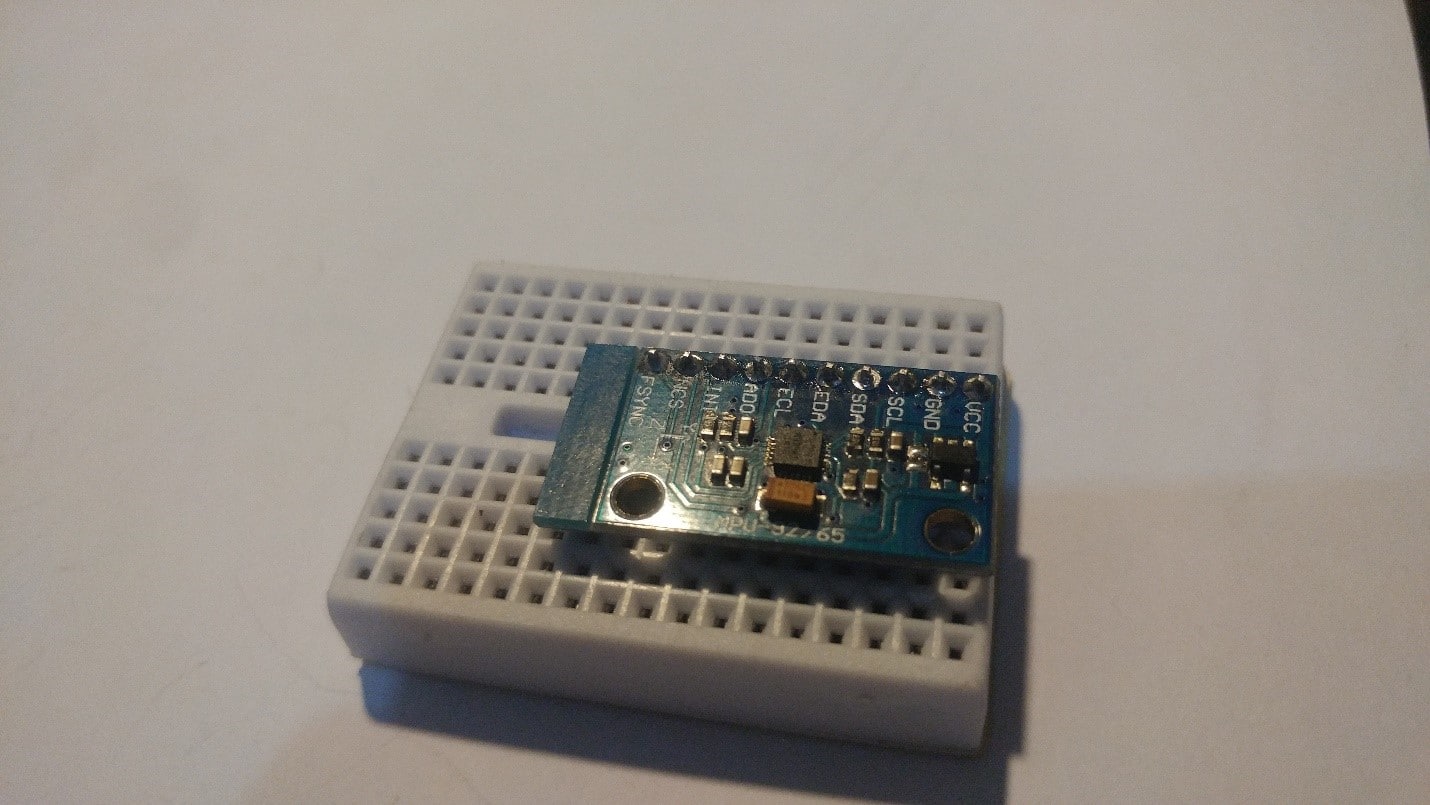
Collect Hardware
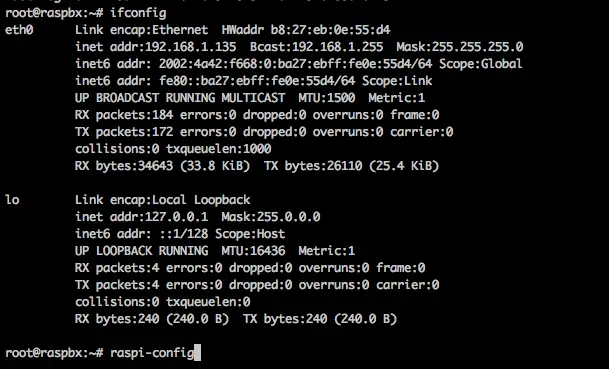
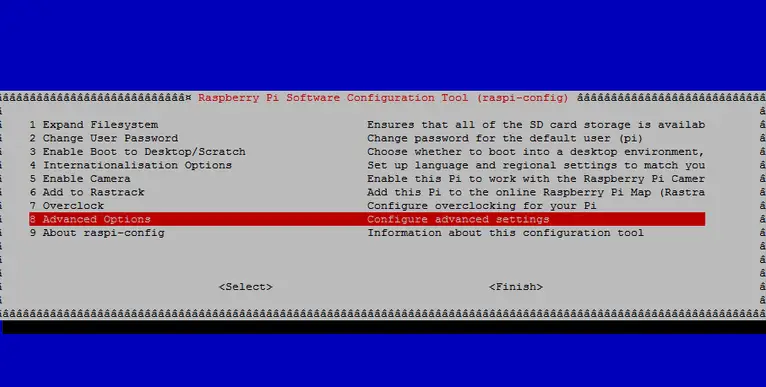
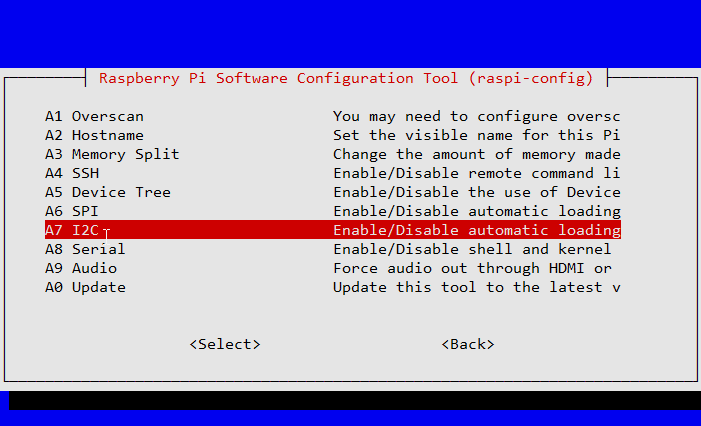
Enable your I2C Communication
Type Raspi-config in a terminal and follow the procedure as I mention below in the images.
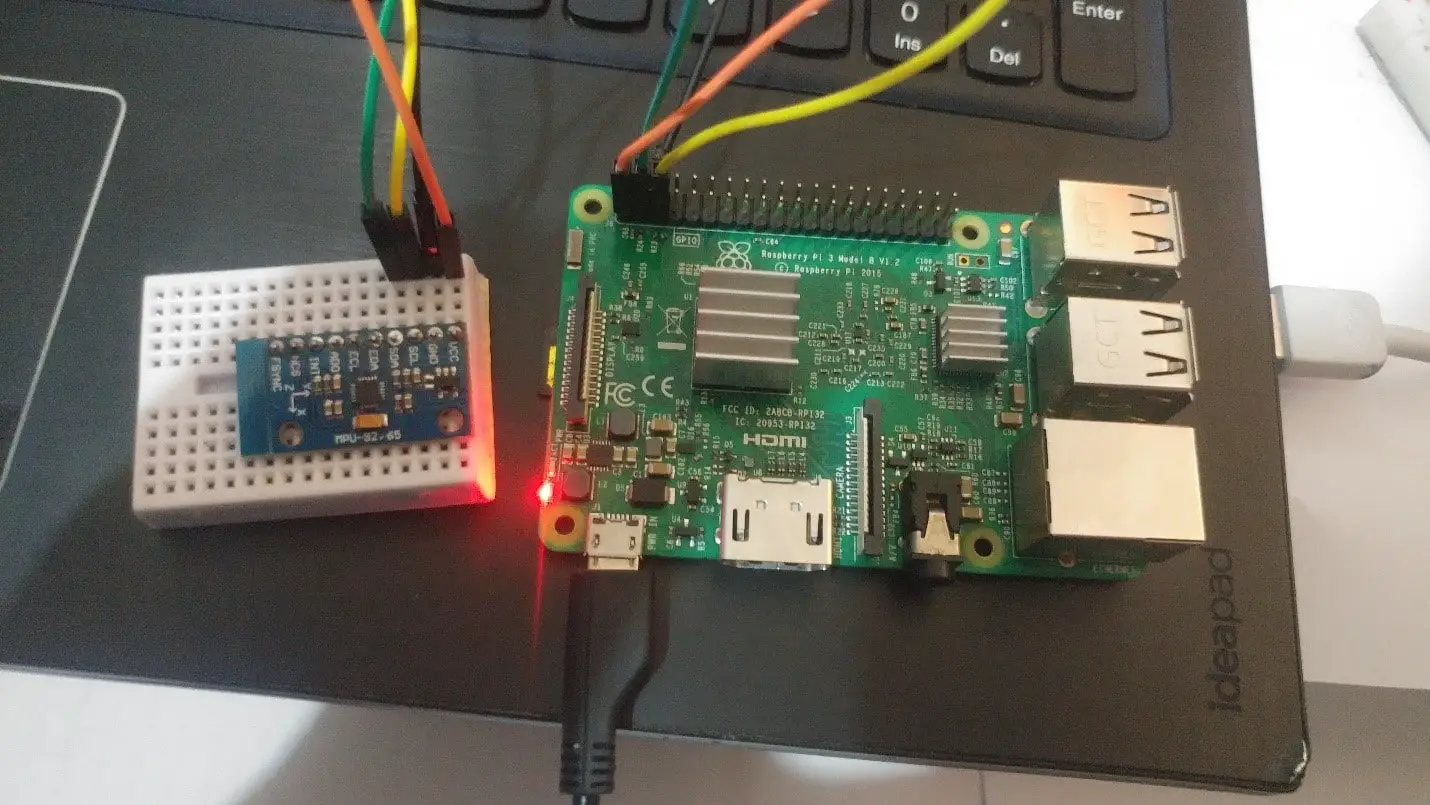
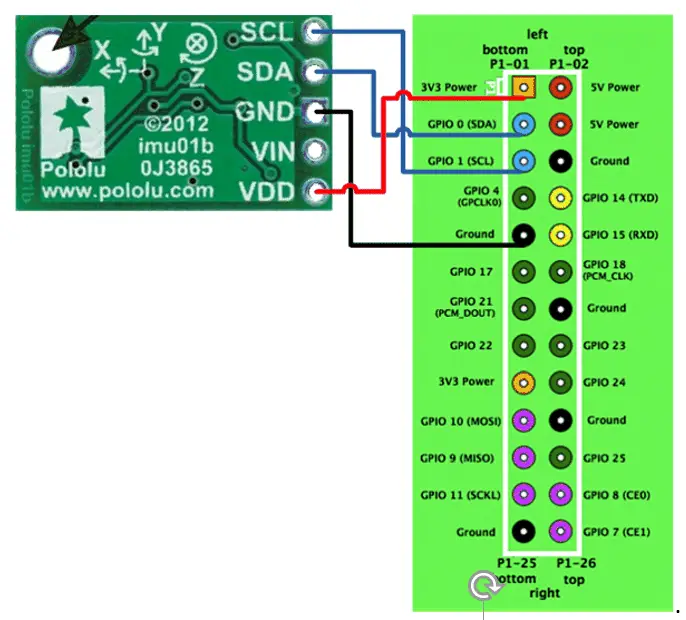
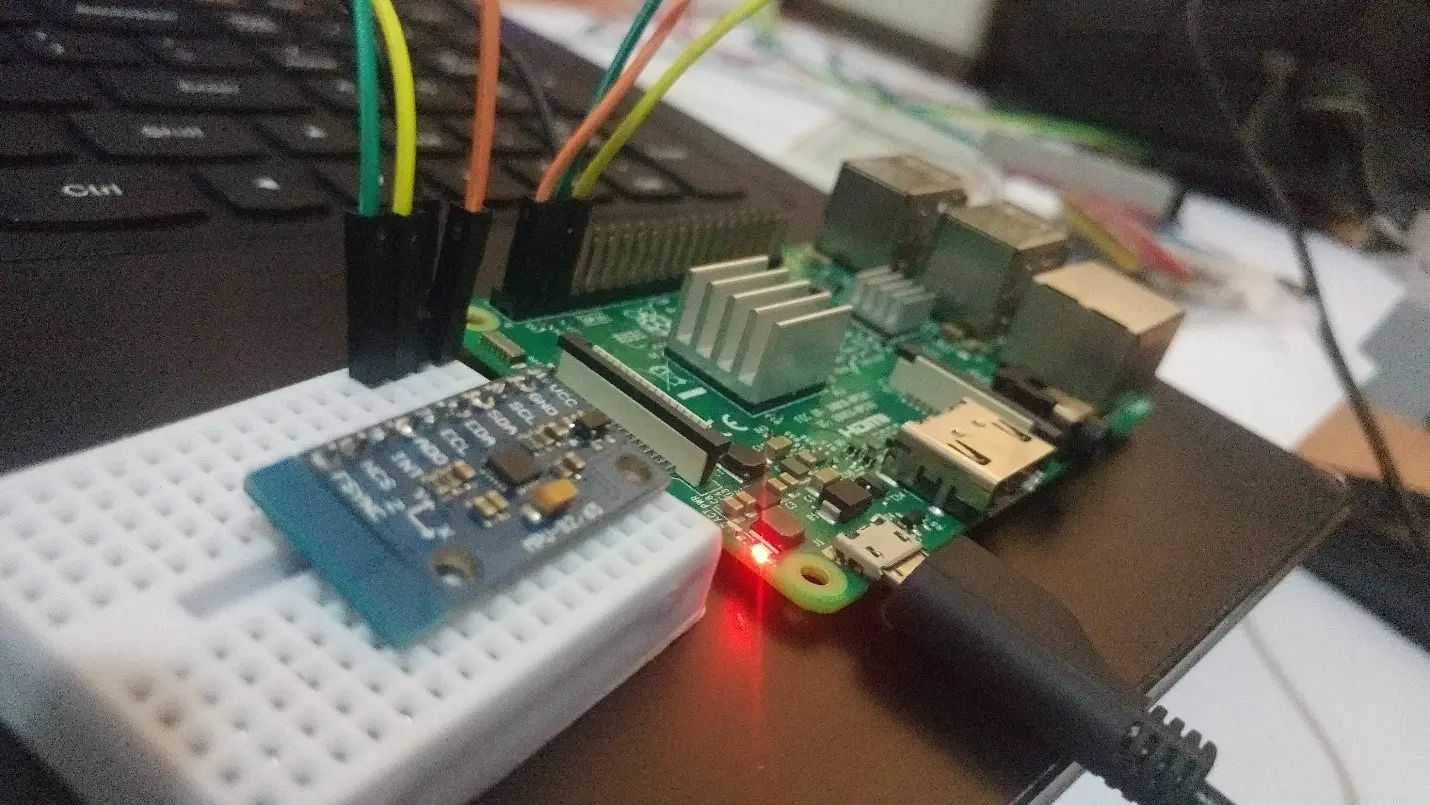
Make the wiring
mpu9250 Raspberry Pi
SDA———————>SDA
SCL———————>SCL
VCC———————>3 V
Gnd———————>GND
Download Source files.
Go to Terminal Write following commands and download the source code
Git clone https://github.com/cityofeden/cosmic/tree/master/Sensors/MPU%209250
After the download go to MPU9250 Directory
cd mpu9250
After Reaching in the Directory Write the commands as I mention below
sudo pip install FaBo9Axis_MPU9250
Python program
import FaBo9Axis_MPU9250
import time
import sys
mpu9250 = FaBo9Axis_MPU9250.MPU9250()
try:
while True:
accel = mpu9250.readAccel()
print ” ax = ” , ( accel[‘x’] )
print ” ay = ” , ( accel[‘y’] )
print ” az = ” , ( accel[‘z’] )
gyro = mpu9250.readGyro()
print ” gx = ” , ( gyro[‘x’] )
print ” gy = ” , ( gyro[‘y’] )
print ” gz = ” , ( gyro[‘z’] )
mag = mpu9250.readMagnet()
print ” mx = ” , ( mag[‘x’] )
print ” my = ” , ( mag[‘y’] )
print ” mz = ” , ( mag[‘z’] )
time.sleep(0.1)
except KeyboardInterrupt:
sys.exit()
After the installation of a library just run the python script by typing the command
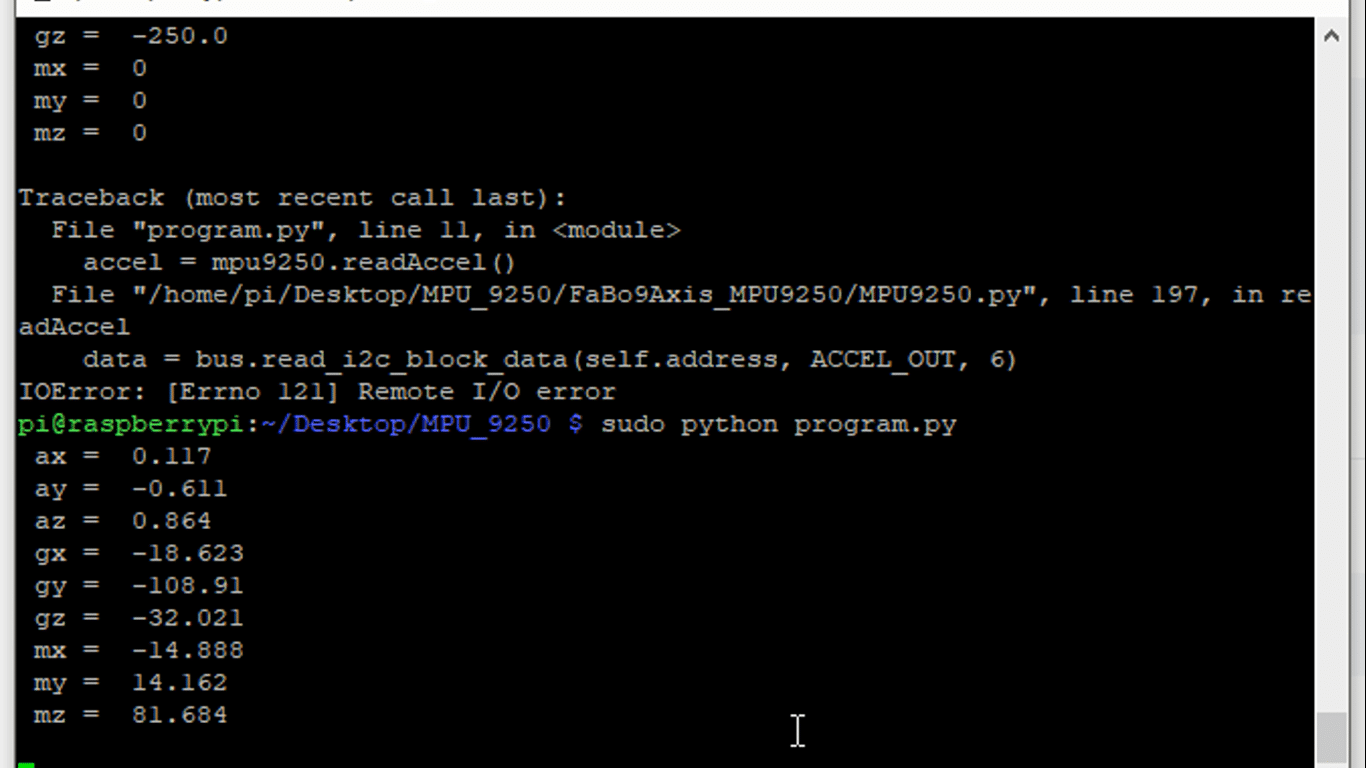
sudo python program.py
So it will show the 9-Axis sensor data on the screen with the speed of 0.1sec
You may also like to read these articles
How to Build DIY Laptop with Raspberry Pi using Pi-Top Kit
How to Build Attendance system with Raspberry Pi using RFID Module


