In this tutorial, I will guide you to the full Raspberry Pi NOOB until a few days ago, I feel the most concise, the least steps need to let the Raspberry Pi automatically start for the live 320 kbps stereo service mp3 in seconds after startup to Sonos. This is also the best way to listen to your carousel in Sonos’s entire house.
Project Requirements
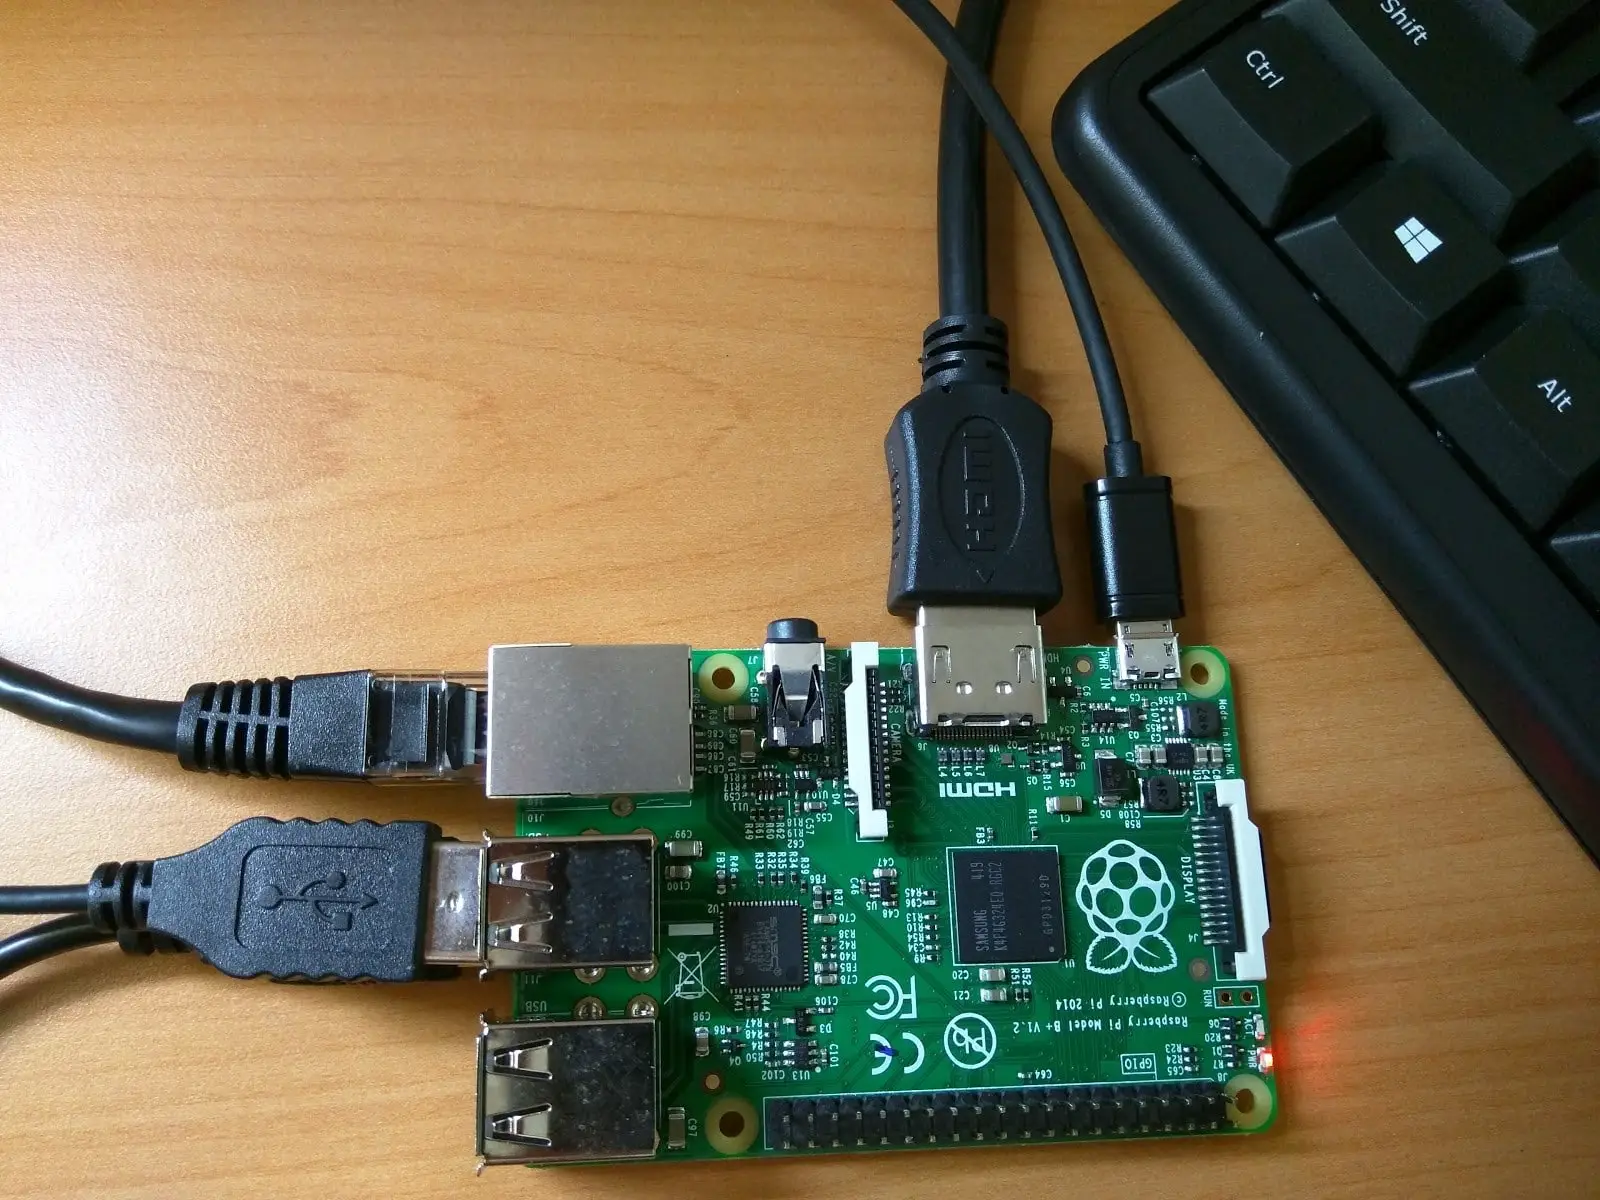
- Raspberry Pi and Raspbian installation,
- USB sound card with an input device,
- DarkIce captures audio from audio input and sends it to Icecast2.
- Icecast2 publishes audio streams.
Read Install an operating system on your RasPi Using Noobs
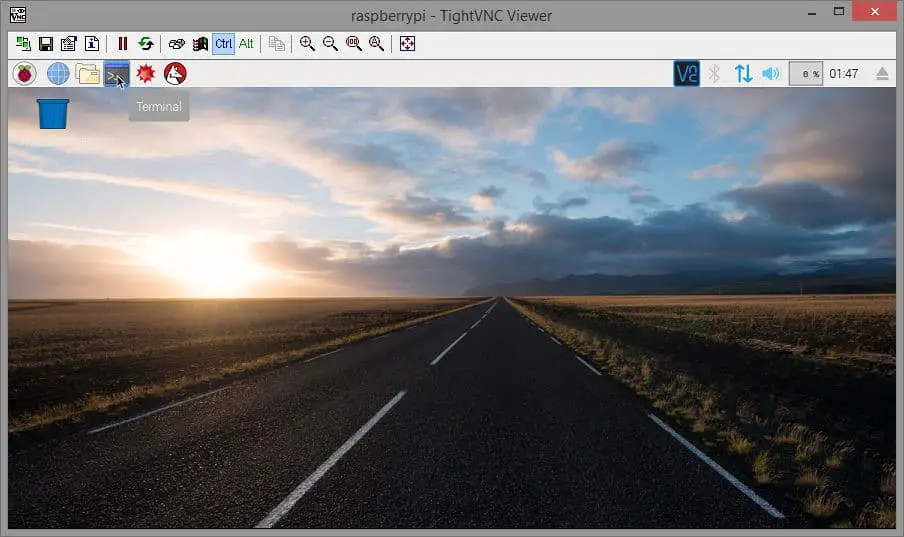
After the restart, the Raspbian desktop will appear. The first thing we need to do is set a root password. Click on the terminal icon in the upper left corner of the screen, then type “sudo passwd root” (without the quotation marks) and press Enter. Enter “Raspberry” (without quotation marks) as the password, press Enter, then enter it again and press Enter to confirm. By the way, the command “sudo” stands for “superuser” and allows you to execute commands as superuser (ie root user).
Compile and install DarkIce
The default darkice package does not have mp3 support. So the very popular codec is mp3 ,So I jusr decided to build my own darkice package with mp3 support.
Let’s run
$ sudo apt-get update
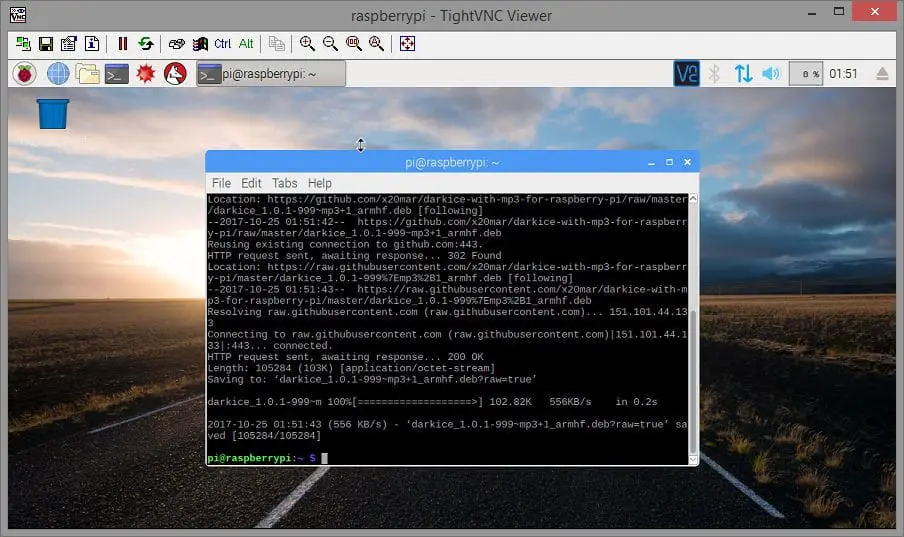
Add a deb-src repository to your sources list at /pi/home:
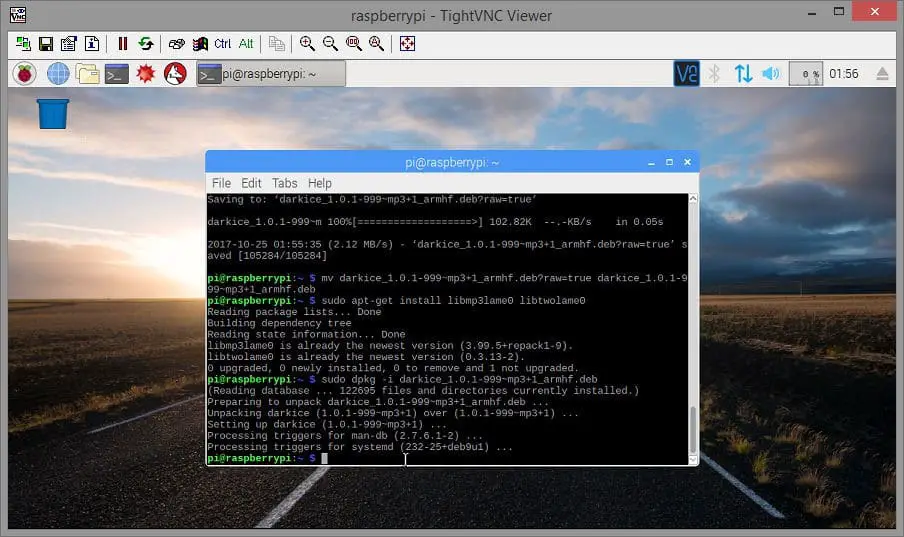
$ mv darkice_1.0.1-999~mp3+1_armhf.deb?raw=true darkice_1.0.1-999~mp3+1_armhf.deb
$ sudo apt-get install libmp3lame0 libtwolame0
$ sudo dpkg -i darkice_1.0.1-999~mp3+1_armhf.deb
After the installation
create a config file for darkice by typing this command
sudo nano darkice.cfg
After it Copy and paste the code as it is
[general]
duration = 0 # duration in s, 0 forever
bufferSecs = 1 # buffer, in seconds
reconnect = yes # reconnect if disconnected
[input]
device = plughw:1,0 # Soundcard device for the audio input
sampleRate = 44100 # sample rate 11025, 22050 or 44100
bitsPerSample = 16 # bits
channel = 2 # 2 = stereo
[icecast2-0]
bitrateMode = cbr # constant bit rate (‘cbr’ constant, ‘abr’ average)
#quality = 1.0 # 1.0 is best quality (use only with vbr)
format = mp3 # format. Choose ‘vorbis’ for OGG Vorbis
bitrate = 320 # bitrate
server = localhost # or IP
port = 8000 # port for IceCast2 access
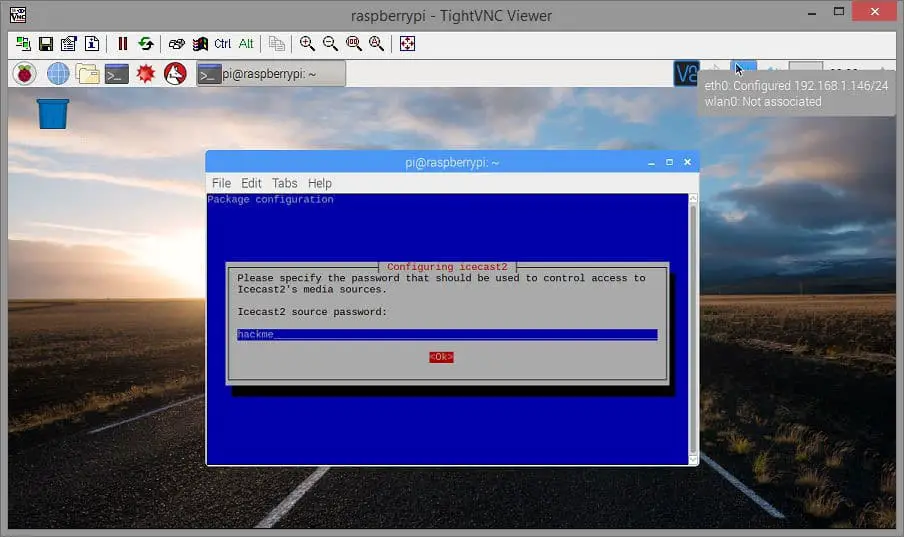
password = hackme # source password for the IceCast2 server
mountPoint = rapi.mp3 # mount point on the IceCast2 server .mp3 or .ogg
name = Raspberry Pi
After this step create new shell file with name of darkice.sh by typing this command
$ sudo nano darkice.sh
After it and copy and paste mention text below
#!/bin/bashsudo /usr/bin/darkice -c /home/pi/darkice.cfg
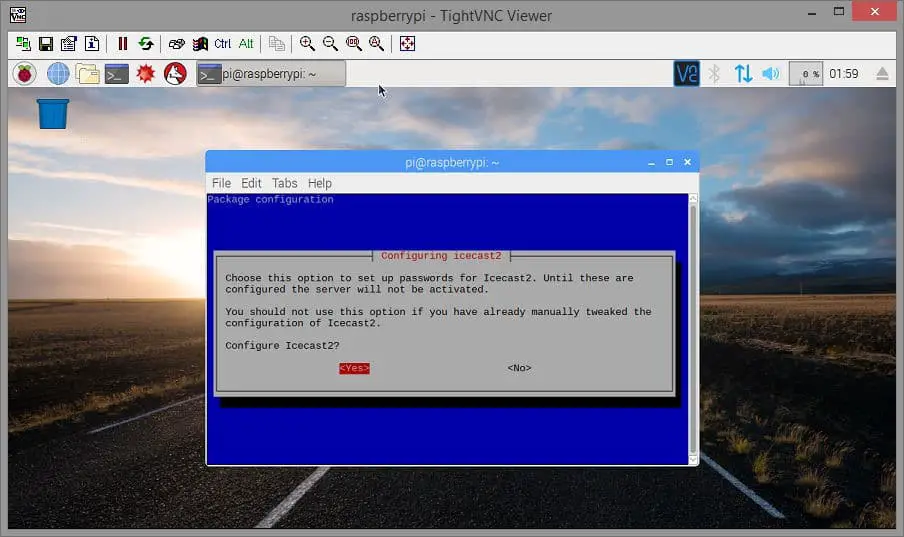
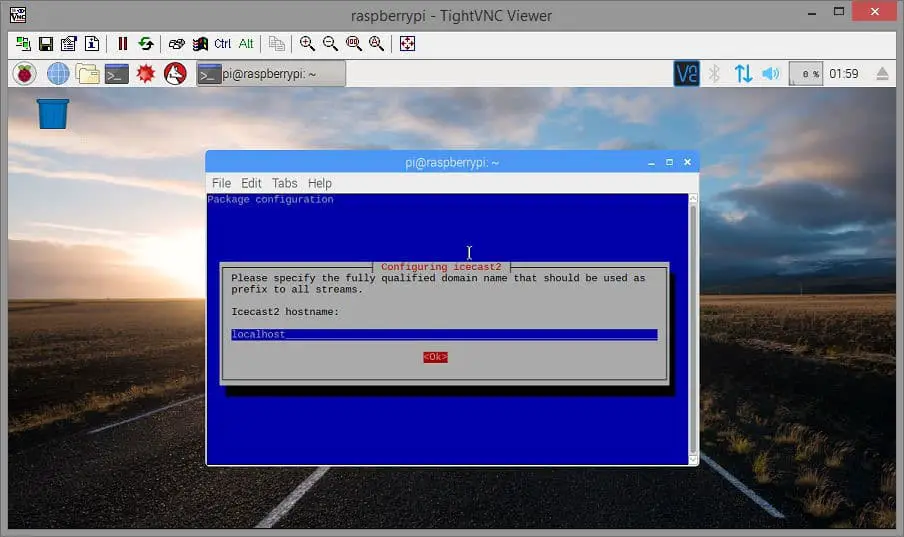
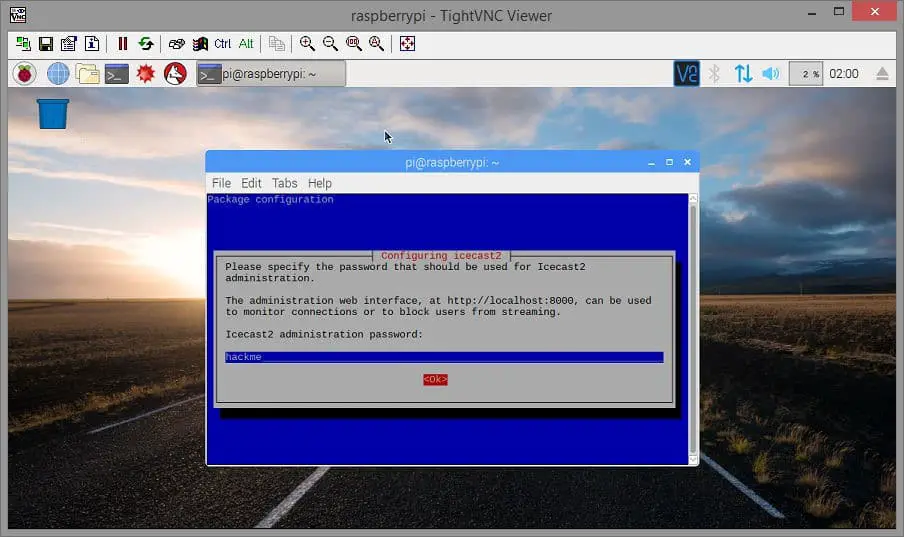
Follow these necessary steps to activate the Icecast2 server.
$ sudo apt-get install icecast2

Next we have to start the Icecast2 server service by typing this command “sudo service icecast2 start” and hit enter.
$ sudo chmod 777 /home/pi/darkice.sh
$ sudo service icecast2 start
Also if you want to run the darkice and icecast2 on the boot you can also add this program in Crontab by doing the further steps
$ select-editor
$ crontab –e
Select nano at the position of 2
$ @reboot sleep 10 && sudo /home/pi/darkice.sh
After this configuration just make a reboot by proceeding the commands below
$ sudo reboot
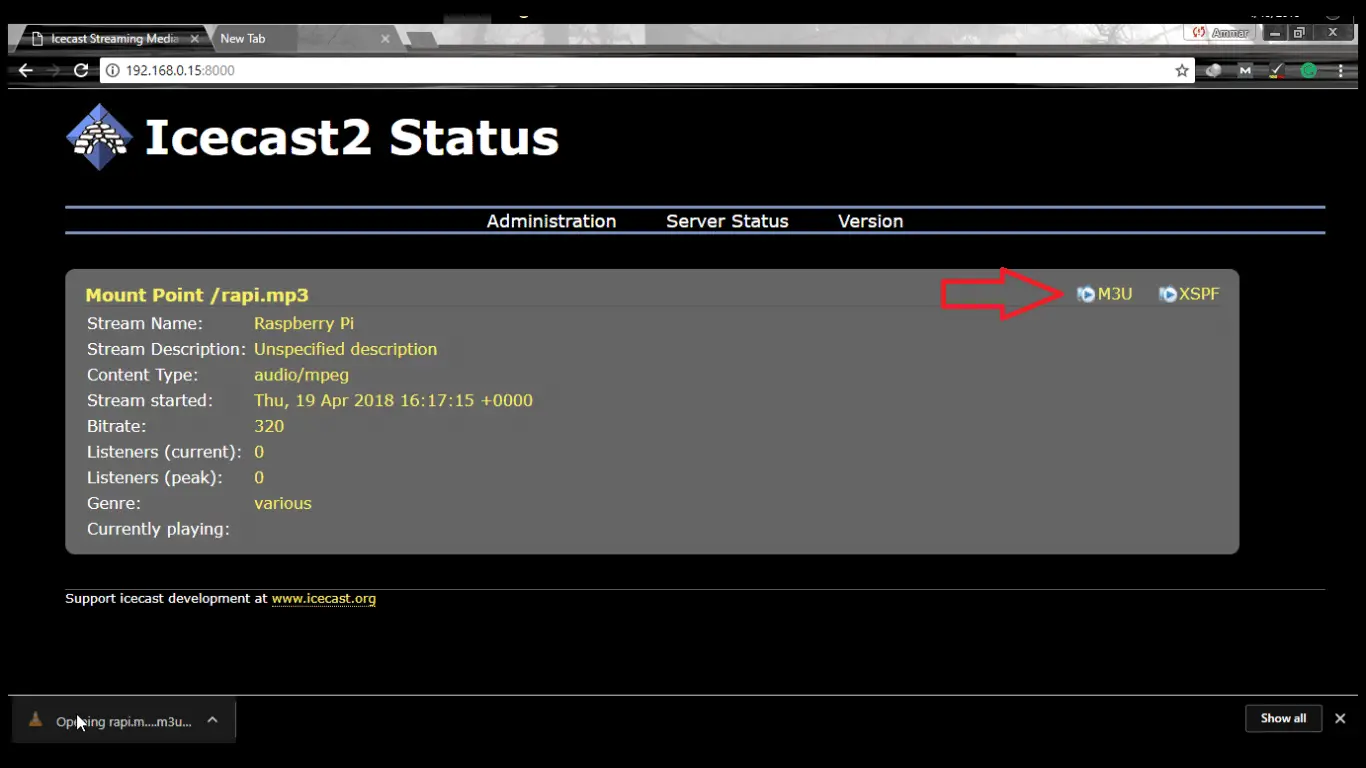
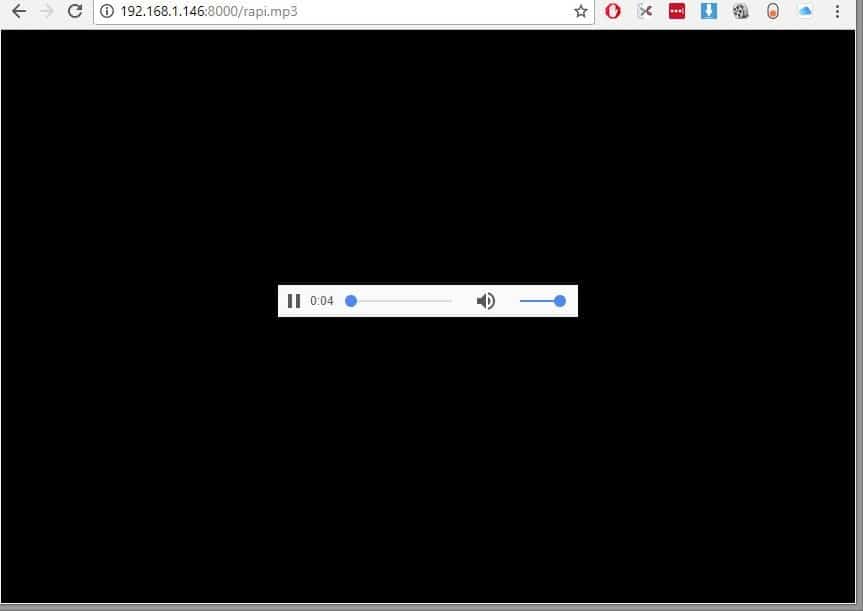
To test if the data stream is working, open a web browser on your regular computer and navigate to “https://192.168.1.146:8000” (Of course, your Pi’s correct IP address replaces my IP address) to see you State Pi’s Icecast2 server. To listen, click on the M3U icon in the upper right corner, or you can directly enter “https://192.168.1.146:8000/rapi.mp3” to open the stream directly and skip downloading the .m3u playlist file. If you hear your live source, the Pi works fine and you can now add it to Sonos.