


If you’ve ever been in a situation where you wished you could use more than more applications at once, knowing how to split your screen is very important information. Splitting your screen is very easy on Windows 10.
You can shuffle through your music playlist while typing a document and using your browser for reference. There are several combinations of multitasking that are accessible to you if you can split your screen.
This article will explain how to split your screen on Windows 10. It would also mention the advantages and disadvantages associated with it.
Advantages & Disadvantages of Split Screen

If you’re wondering if splitting your screen is something you want to experiment on, knowing the pros and cons of enabling that feature will make your decision much easier to make.
Advantages of Split Screen on Windows 10:-
1. Increased productivity: Being able to access multiple apps at the same time would make your work more productive. You’ll be able to do more in a shorter time. You can cross-reference more easily, and switching between software is done faster.
2. Sharing data between applications is easier: When two or more applications are open, sharing information between them is easier. You can easily copy information on one into another.
You can create something in one and open whatever you’ve created in another. For instance, you can create an image in Photoshop and open it in Dreamweaver.
3. For easy comparison: You can compare different versions of a design, you can test different browsers, you can test and compare the user interface of various applications more easily when they are open at the same time.
4. Skype while having access to other data: You can make your business calls while having the rest of your screen available for other data. You can easily access any information you’ll need.
Disadvantages of Split Screen on Windows 10:-
1. More distractions: Splitting your screens can create room for distractions. You can use Facebook while working on an important project. Sharing your screen gives more opportunity for distracting influences.
2. Possible lack of resources: This is usually more obvious in older computers. The video card is shared between each display, and this could lead to a drop in performance.
3. Little space: Some applications need more space for you to properly see or enjoy whatever you’re doing. Splitting your screen will reduce the utility derived from using those apps. Also, there is a possibility that a lot of time will be spent resizing the screens.
How To Split Screen on Windows 10
You have multiple tasks you want to do concurrently or a single task that you want to break into multiple components. A good, and effective way to go about it on your computer is to split the screen. That way you can do two or more different things on one screen or two or more aspects of one thing.
If you are interested in working on two or more applications at the same time, Windows offers you the tool you need. Normally, you can open several applications at once on Windows, but only one will usually occupy your screen.
When you want to switch between applications, you need to minimize the app you’re working on, and open the next one. With Snap Assist you can open multiple applications and have them occupy different portions of your screen.
Snap Assist:-
Snap assist is a tool that makes the arrangement of your windows quick, easy, and aesthetically pleasing. It helps you organize your screen in the most convenient way for your work.
With snap assist, you can have more than one application open on your screen at once. With this tool, applications can easily be snapped to the sides or corners of your screen using the keyboard, mouse, or even touch. The task of repositioning and resizing applications becomes more automated than before.
Snap Assist was first introduced in Windows 7. The functionality was then was limited, but in Windows 10, you can do a lot with Snap Assist.
The first step in using snap assist is to enable the feature on your computer if it hasn’t already been enabled.
How to Enable Snap Assist:-
Enabling snap assist is easy. With a few clicks, you would enable this tool that makes your work easier and more productive.
Snap assist is usually enabled by default. This means you can just dive in and start enjoying working with split screens. However, if you’re having issues with the split-screen setting; maybe because you are using an old system and it doesn’t work well with your screen split, or it has old drivers; then you can disable it.
If also, the feature wasn’t already enabled on your computer, you can enable it yourself. The process to enable and disable is the same.
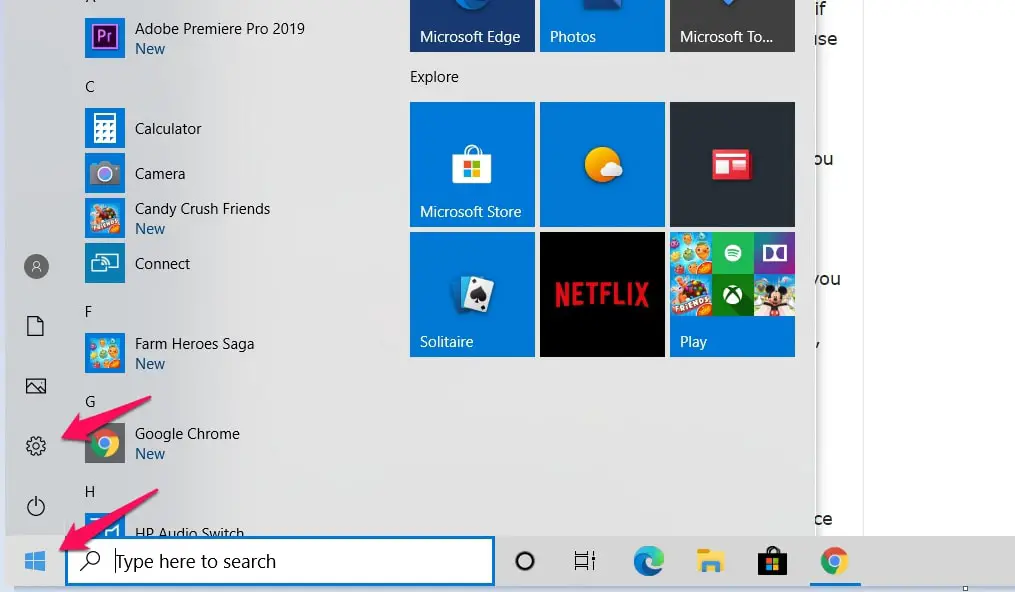
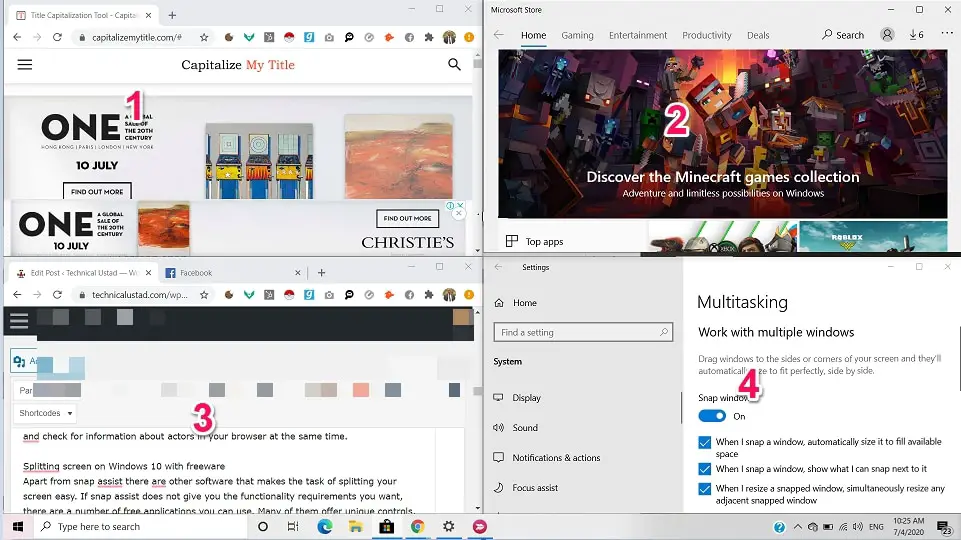
First, click on the start menu, and go to settings. Alternatively, you can press the Windows key and I at the same time to go to settings.
Next, under settings, go to “Systems“. Under systems, click on “Multitasking“.
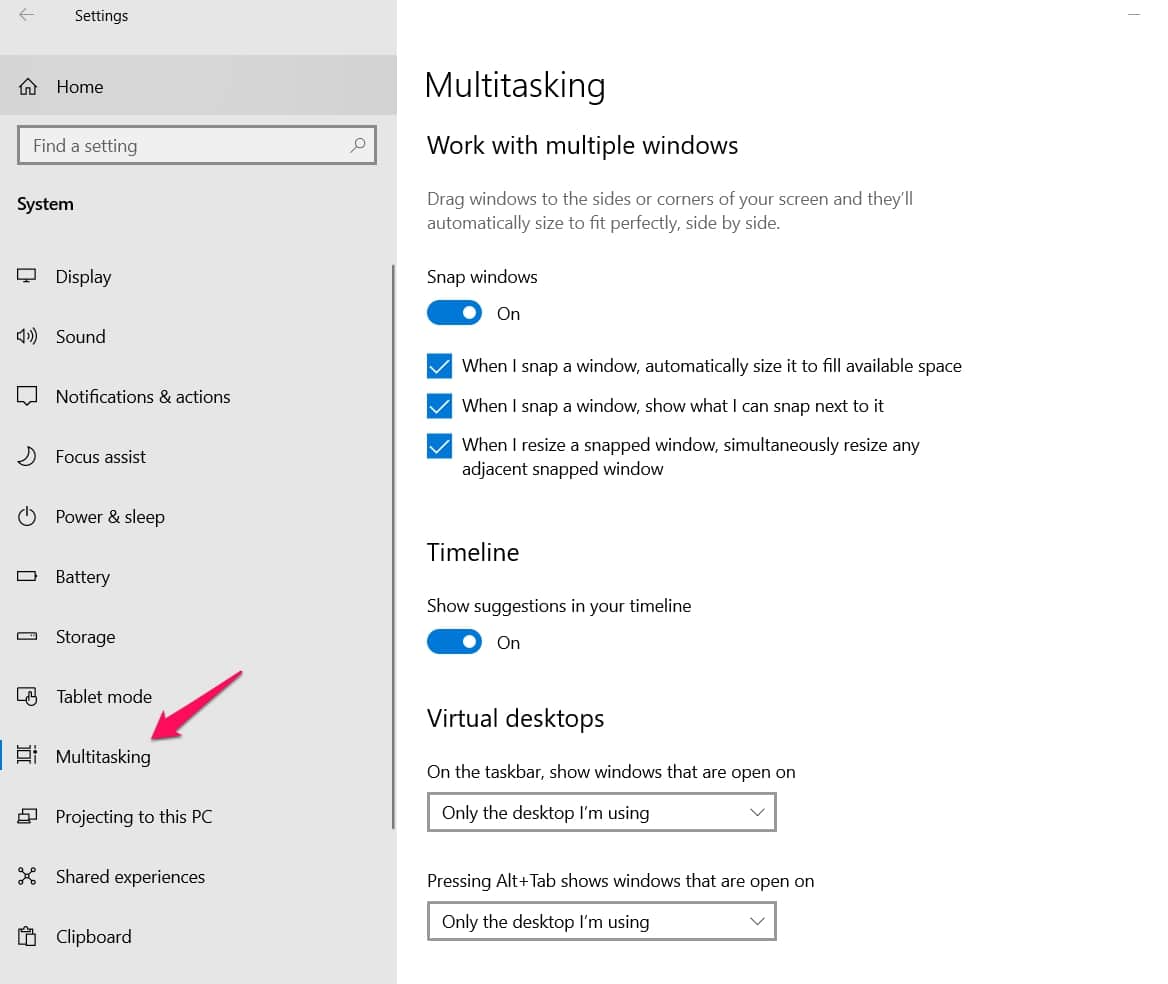
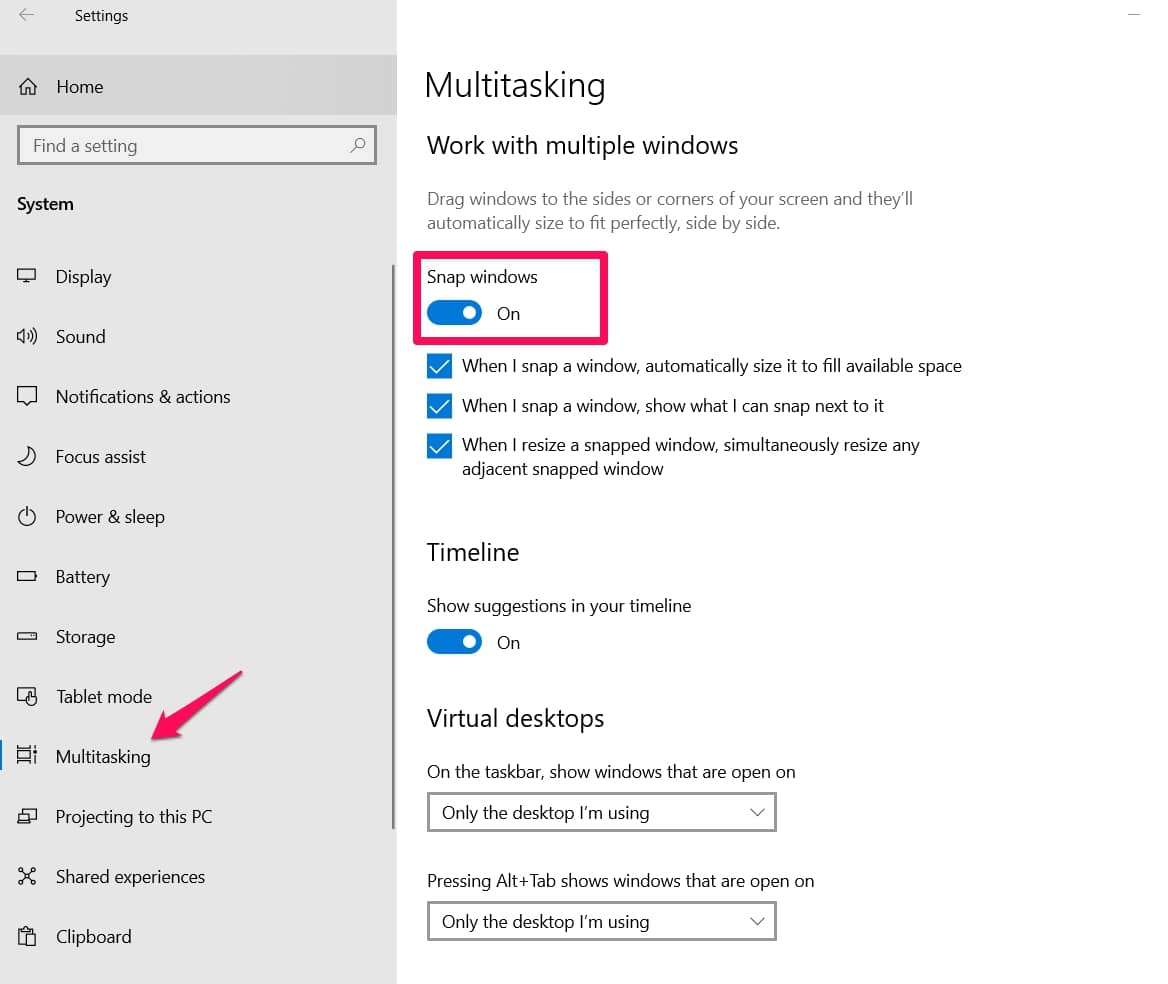
Under multitasking, there is an option to “Snap Windows“. To enable it, toggle it on, and you can disable it by toggling it off.
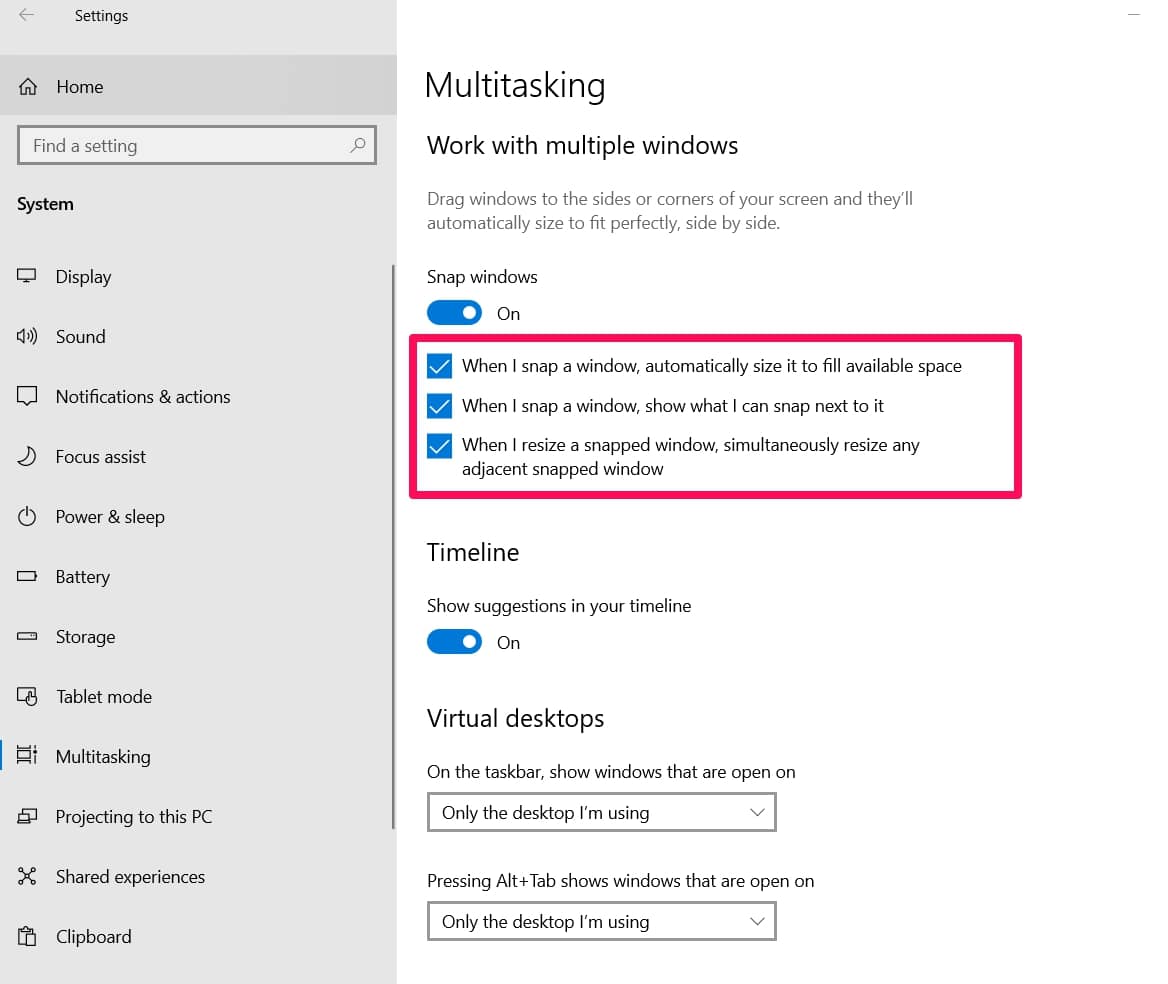
There are other options you can enable such as:-
- When I snap a window, automatically size it to fill available space
- When I snap a window, show what I can snap next to it
- When I resize a snapped window, simultaneously resize any adjacent snapped window.
Once you’ve enabled the snap Windows feature you’re good to go.
How to Split Screen on Windows 10 Into Two:-
You want to watch a movie, and at the same time type a report on the movie; or you want to use a calculator on your PC, and enter your computer figures into a word document. There are several scenarios that would warrant your using two applications at once. With snap assist doing this is very easy.
First, open the applications you want to use. Click the title bar of a window and then drag it either to the left or the right side of the screen.
Open the second windows manually, and drag it to the second end of your screen. A simpler way is to select the thumbnail of the second window you want to run.
The shortcut for snapping windows is the Windows key + left arrow or Windows key + right arrow to snap the window either to the left and to the right. Click on whatever window you want to work on.
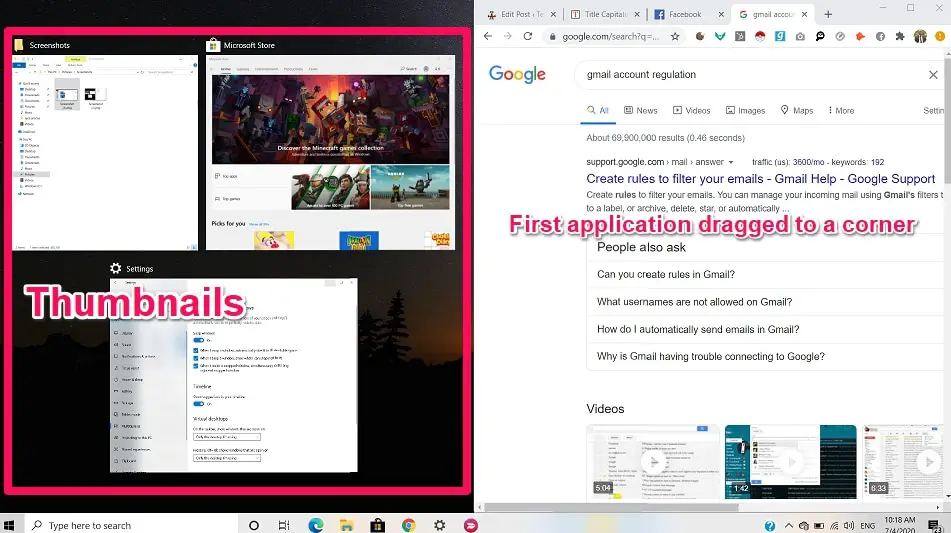
How to Split Screen on Windows 10 Into Three or Four:-
The steps for snapping screen into more than two windows are exactly the same as those involved in splitting the screen into two parts.
Click on the title bar of the first window and drag it to a corner. Next, click on the title bar of another window and drag it to a different corner. Do the same for the other window(s).
You can use shortcuts in snapping three or four windows. If you want an application to occupy the top right corner, press the Windows key then the right arrow then the up arrow. To occupy the bottom left corner press Windows key + left arrow + down arrow.
Splitting your screen between three or four applications makes work easier. You can do several connected tasks at the same time. You can watch a movie, type out the review, and check for information about actors in your browser at the same time.
Splitting Screen on Windows 10 With Freeware
Apart from Snap Assist, there are other software that makes the task of splitting your screen easy. If snap assist does not give you the functionality requirements you want, there are a number of free applications you can use.
Many of them offer unique controls, as well as advanced features. A disadvantage of using some freeware is that updates may not always come and support for the freeware may stop suddenly because the makers of these software make little from the softwares.
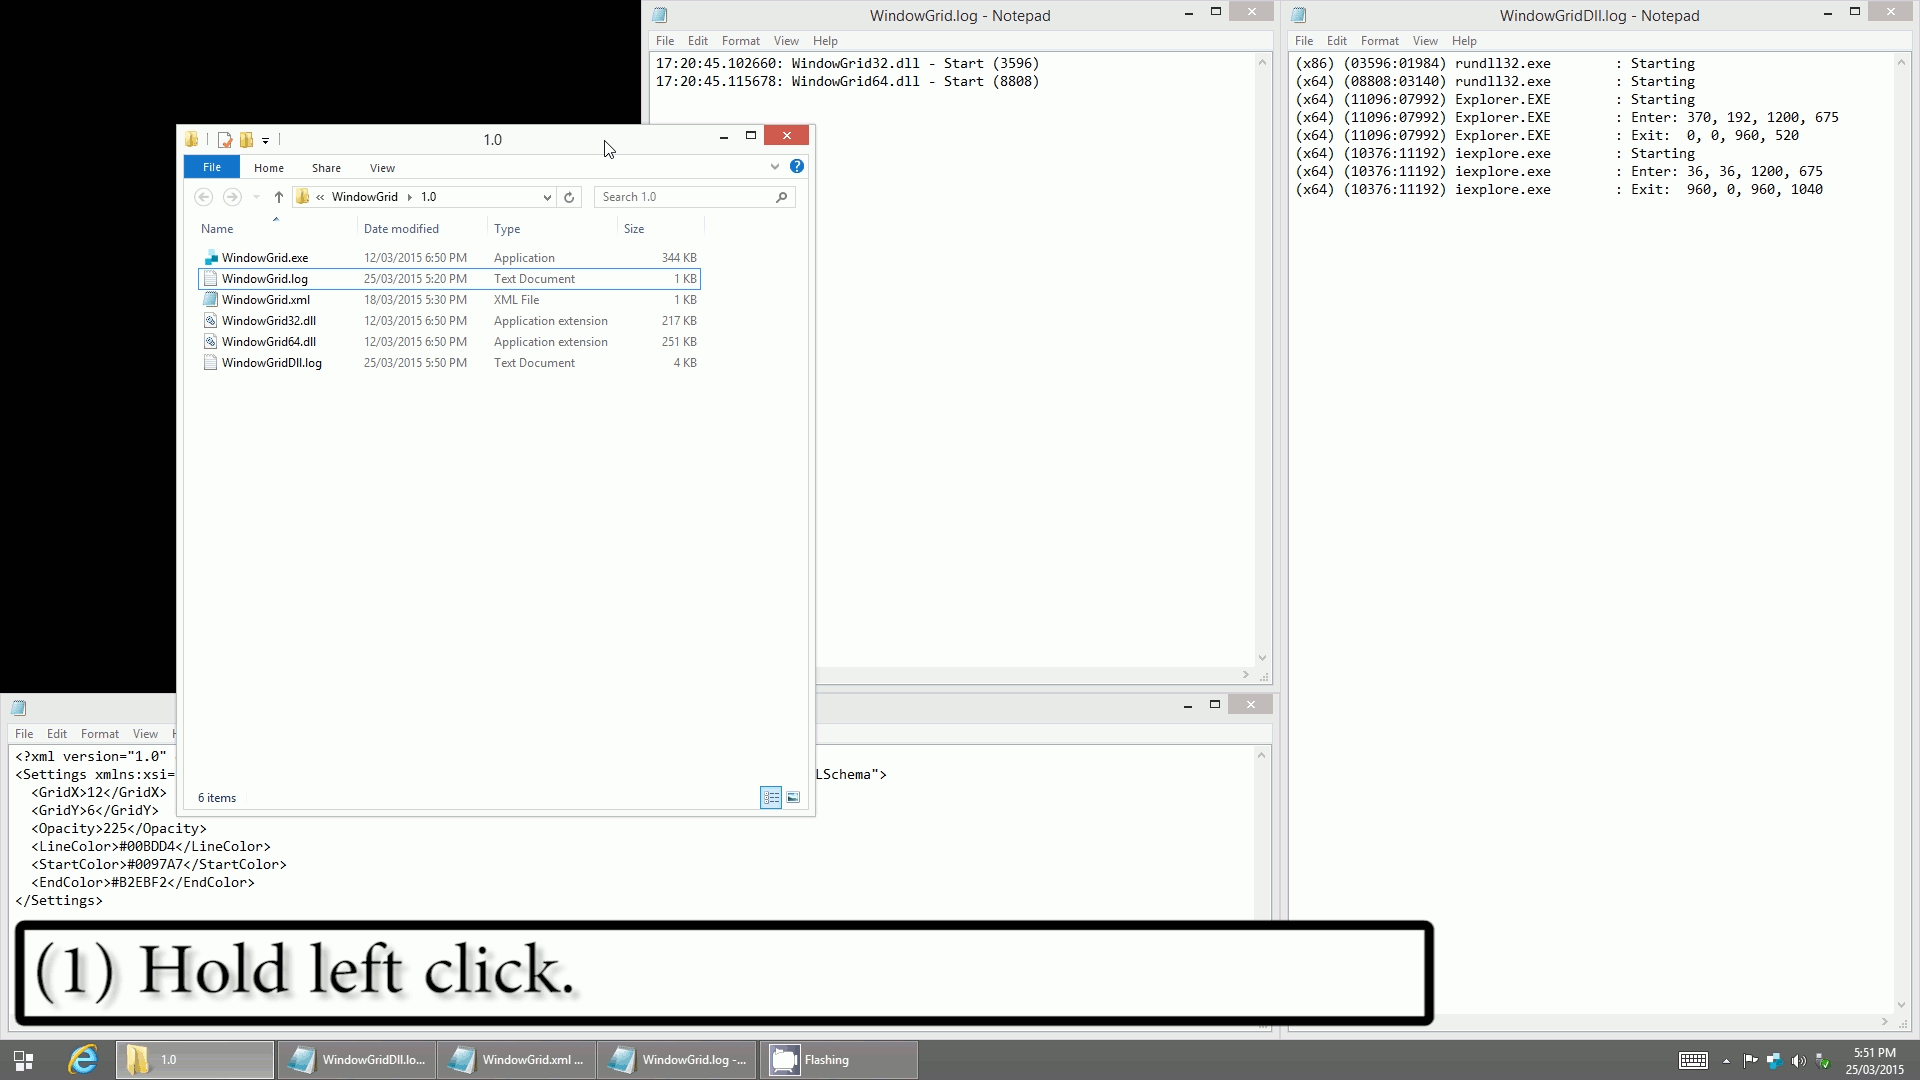
Some of the more popular freeware that helps in splitting screens on Windows 10 are GridMove, AltDrag, and WindowsGrid.
Split-Screen With Paid Software
The advantage of using paid software is that they offer advanced features. You also have more consistency and reliability than you can expect from freeware. Customer support is usually available if you’re having trouble using the software. Divvy and AquaSnap are amongst the most popular software.
Divvy makes it easy to divide your screen into several portions. Though similar to Snap Assist, it offers more options on how to arrange the screen. Furthermore, users can create their own shortcuts.
AquaSnap doesn’t possess all the features of Divvy, but it is more user friendly.
What is the Windows shortcut for split screen?
Windows Key + D
Conclusion
Splitting your screen comes with plenty of benefits. It increases productivity, it makes cross-referencing and sharing data between apps easy.
It should be noted that occasionally you may have a problem when Snap Assist is enabled. Sometimes you turn on your computer and the screen would be split into two identical halves.
Usually, restarting the computer will clear the problem. It may also be a sign that you need to upgrade your video driver or graphics driver.
Splitting screens on Windows 10 is easy. You can make your work, and entertainment easier by knowing how to do it.

