


Making a piano with Arduino is a very interesting and easy project. This is not a traditional piano major, but it is very close to the piano you may like to play. Here we will make a piano that can be used to play basic songs. You don’t need to be a professional musician for this project, but a Maker is enough.
The project represents: You can use any of the fast pulse-width modulations on the microcontroller (up to the maximum frequency limit (depending on the system clock)) to produce close to any desired frequency.
Arduino Uno is used here and it has a 16 MHz system clock. Therefore, you can use PWM to generate a maximum frequency of approximately 8 MHz.
We will use Arduino timers and registers to encode it.
Understanding the Basics
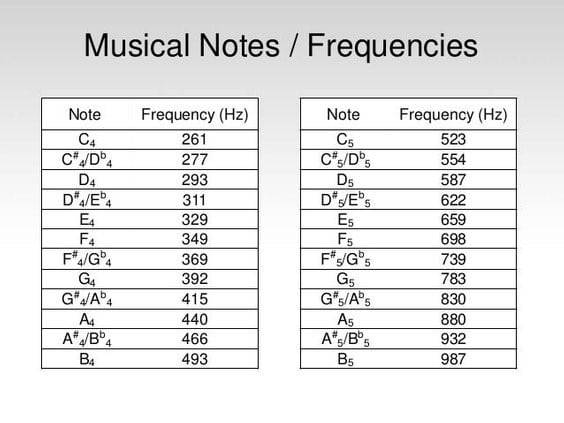
The frequencies of basic notes of a piano are as follows:
- c – 261 Hz
- d – 294 Hz
- e – 329 Hz
- f – 349 Hz
- g – 392 Hz
- a – 440 Hz
- b – 493 Hz
- C – 523 Hz
For beginners, this might go over their heads, and for people with non technical background this might be an ‘all-greek-to-me’ thing. I’m gonna make it simple.
Skill: Intermediate
Generating frequency:
The formula is: frequency in Hz = 16 MHz / prescaler / (OCRA + 1) / 2 (for register A, pin 11).
For example, for generating 261 Hz:
TCCR2A = B01000011; (When the value reaches 119, the com2a1 com2a0 bit is 01, which is used to switch the counter)
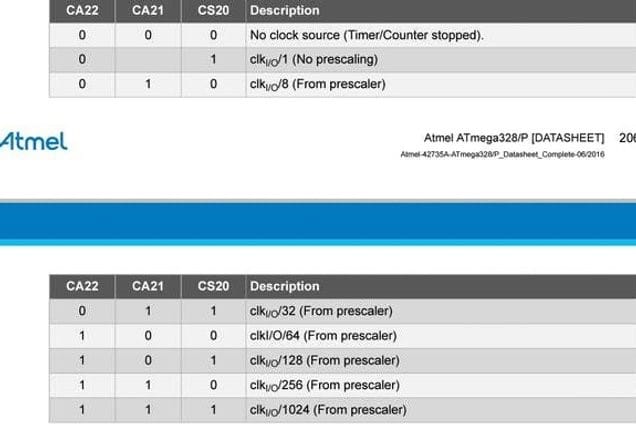
TCCR2B = B00001110; (For fast pwm, the wgm22 wgm21 wgm20 bit is 111, for the prescaler 256, the ca22 ca21 cs20 bit is 110)
OCR2A = 119;
Calculation: 16MHZ / 256/120/2 = 260.42 Hz
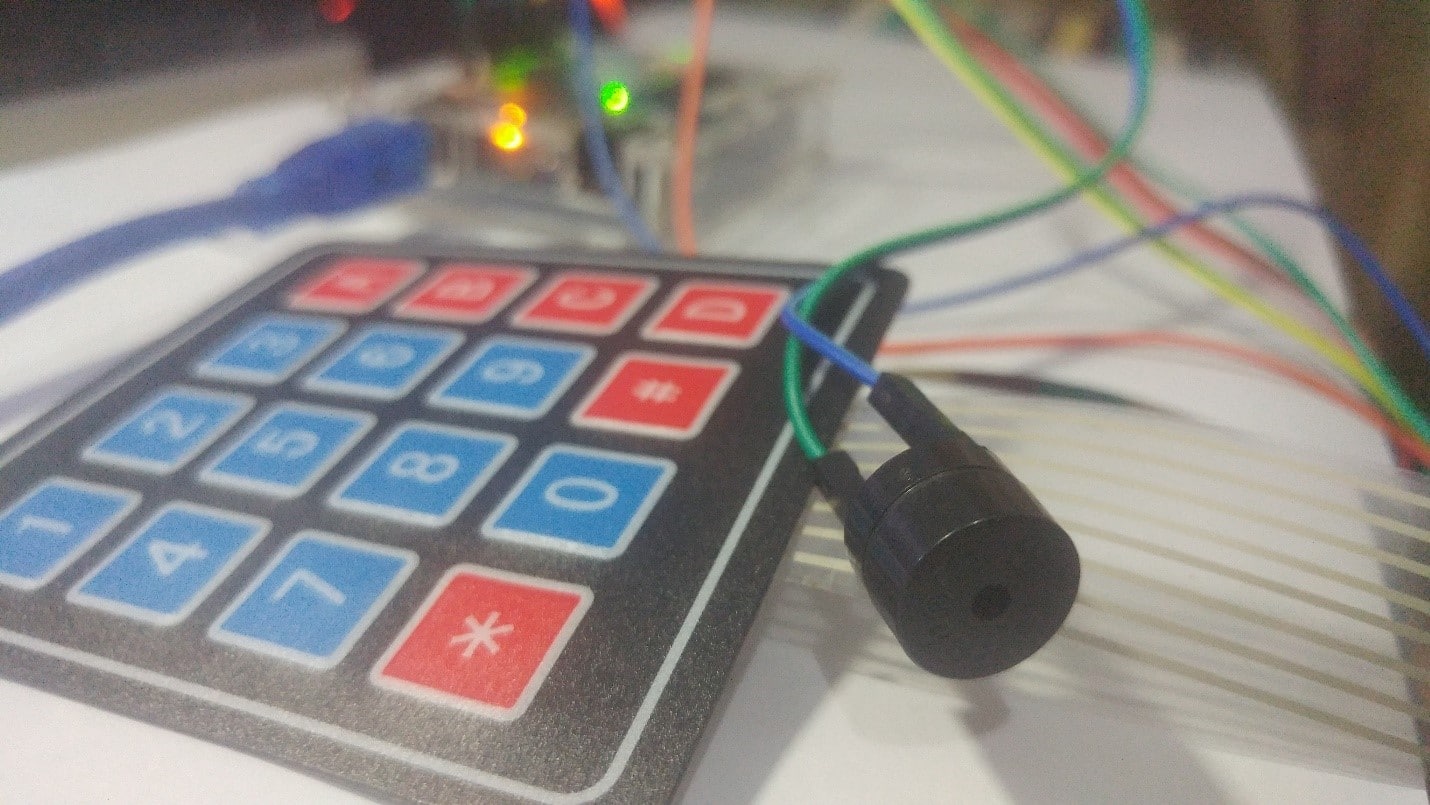
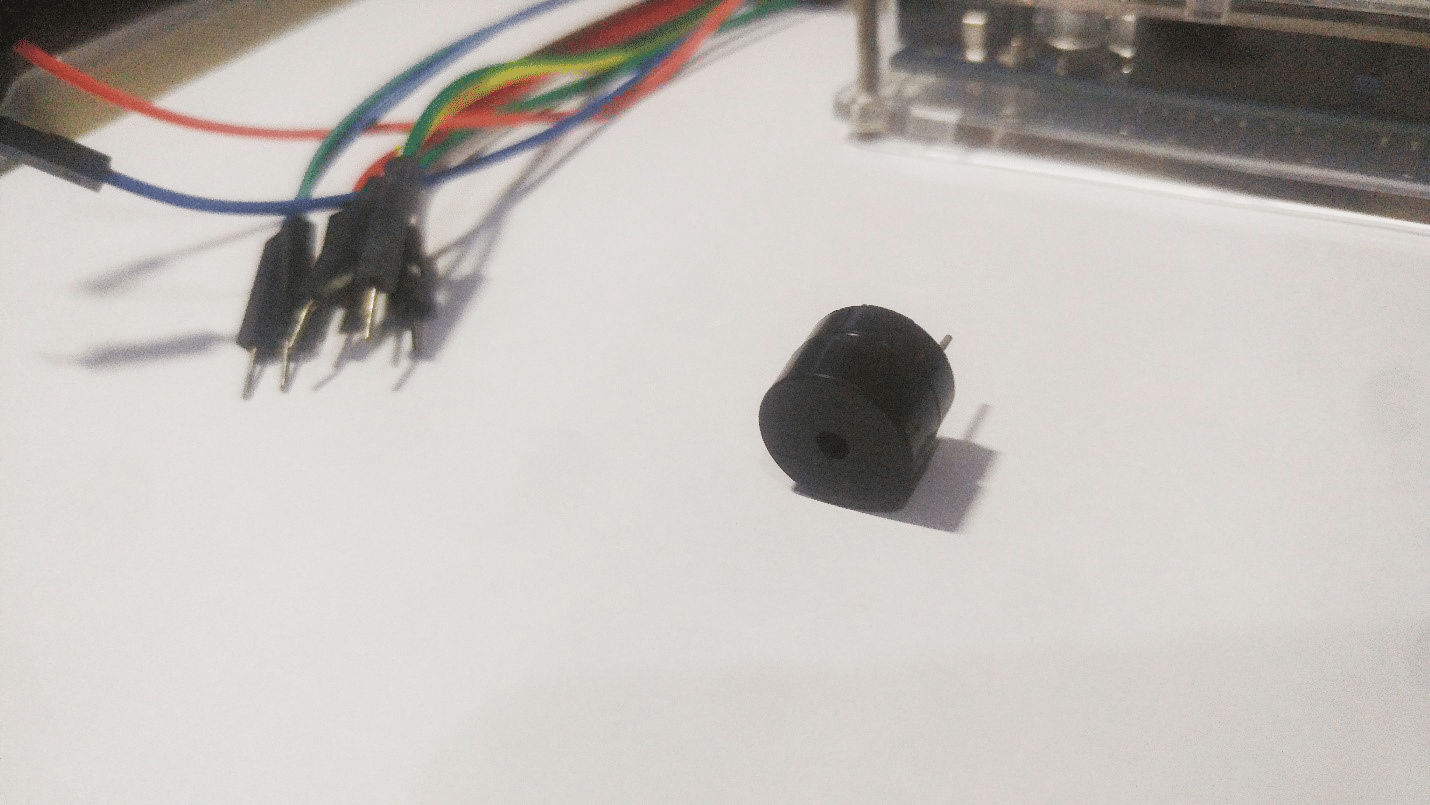
Again, by changing the OCR2A value, you can use this formula to generate the remaining frequencies. These frequencies are emitted by a piezoelectric buzzer with its +Ve terminal connected to pin 11 of the Arduino Uno and its -Ve terminal connected to ground.
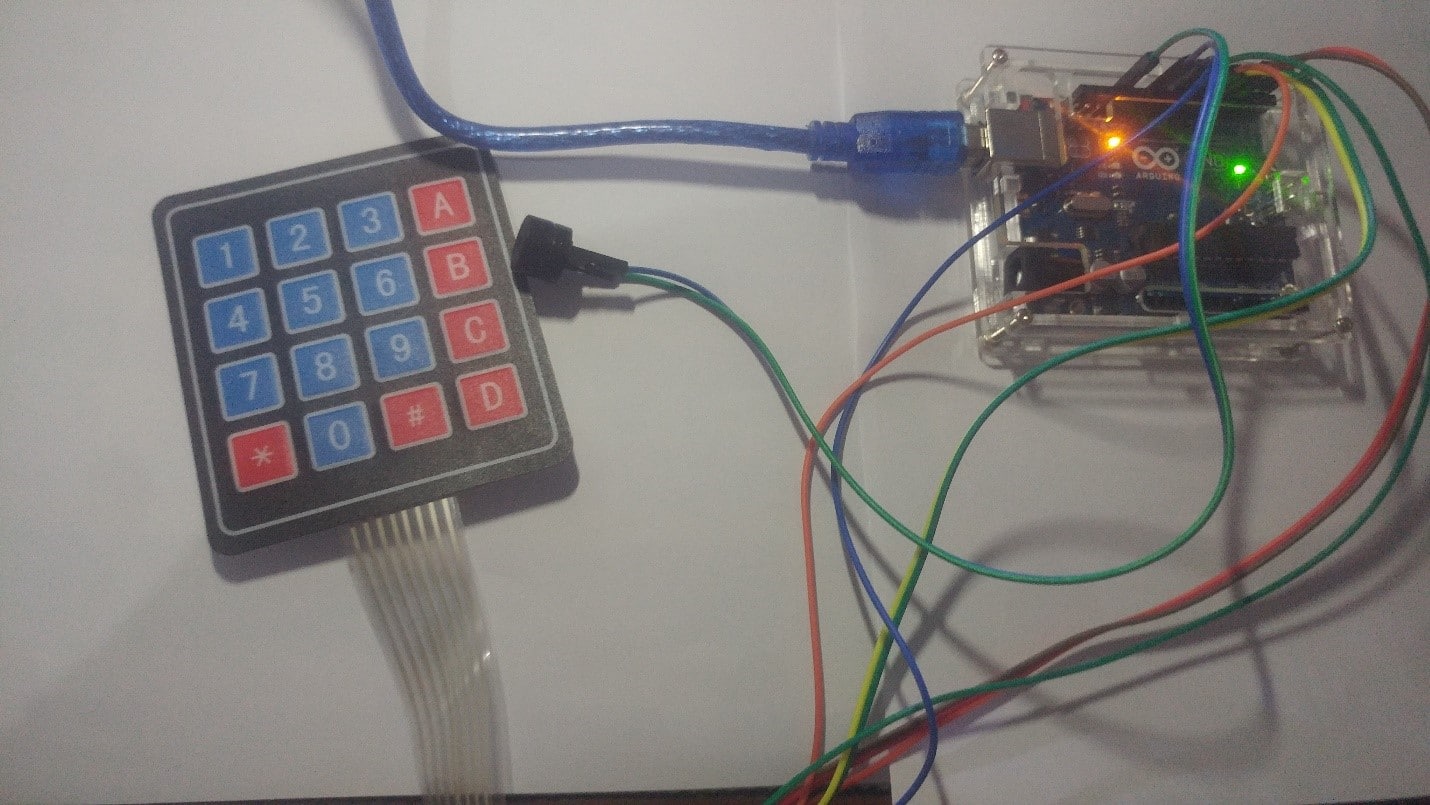
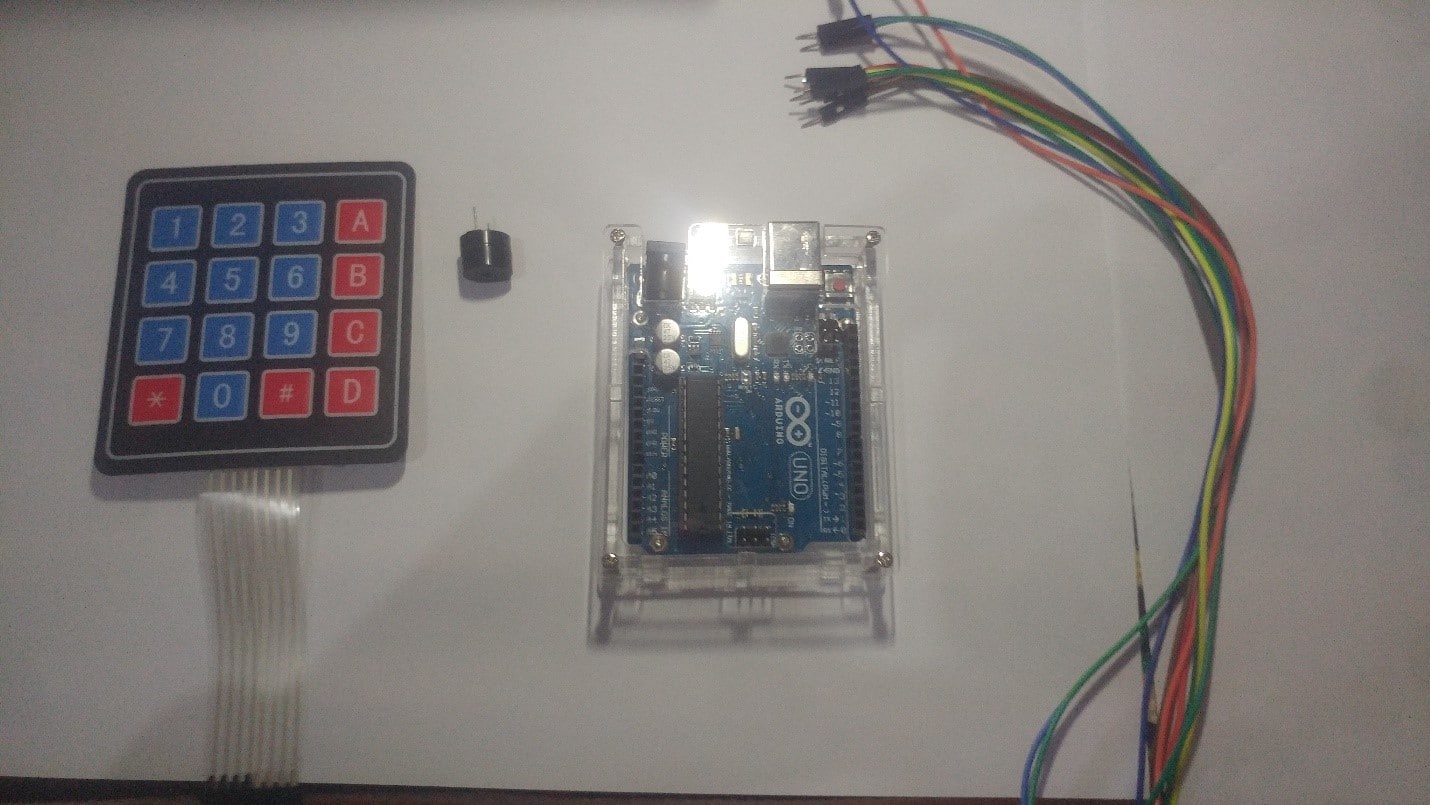
Now for piano keys, I use a 4×4 membrane keyboard. For its interface, please refer to my previous project. Use a better keyboard and a better buzzer for better results. Its code is shown in code1. If you need to, you can use the keypad library instead of this code to shorten the code.
I also played the melody of ‘Happy Birthday’, but it was half (two times worse). It is displayed in video.
Components Required:
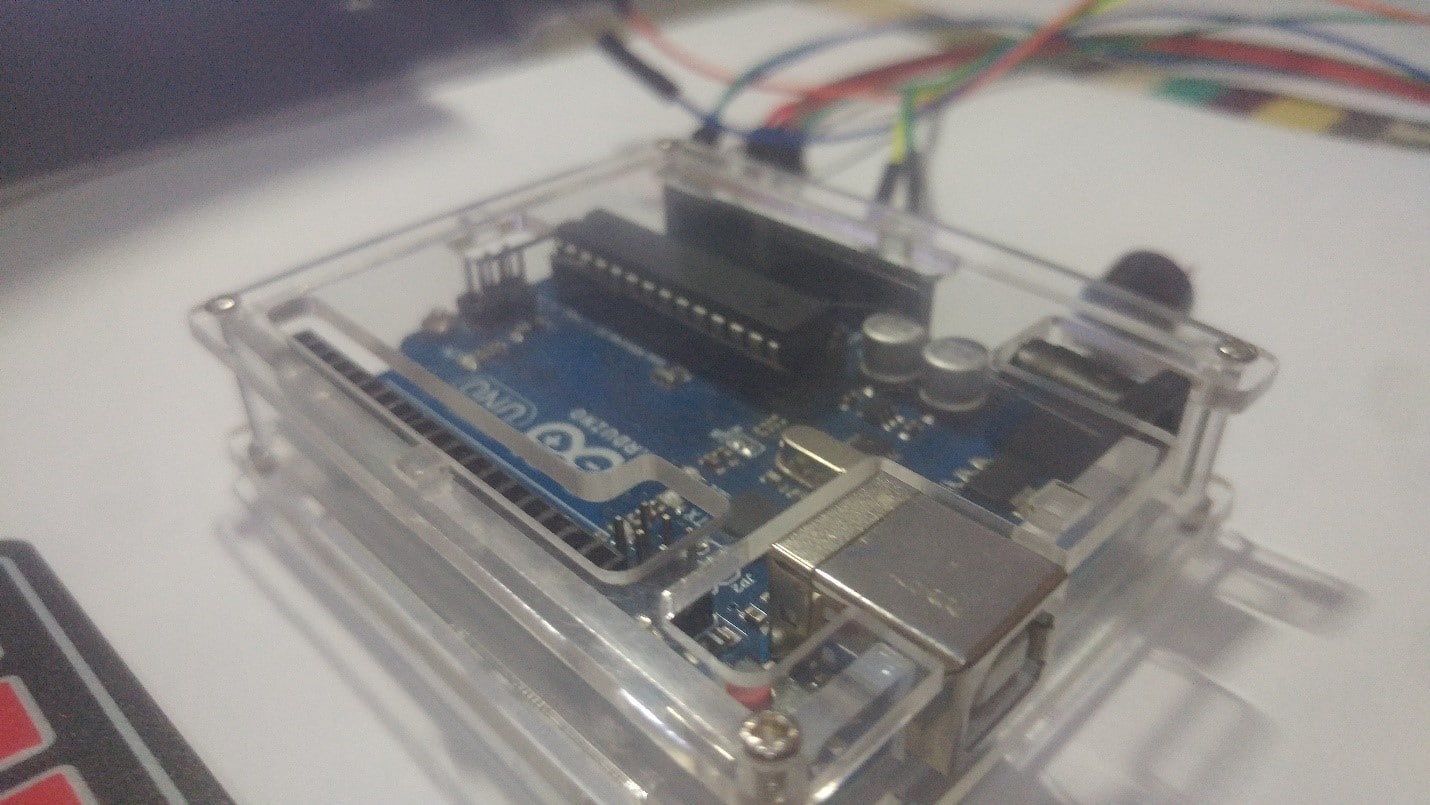
- Arduino Uno (Buy Now)
- Keypad (Buy Now)
- Speaker (small toy speaker) 1W /Piezo Buzzer
- Few Jumper cables
Connection:
| Arduino’s Pin | Keypad (From Left to Right) |
| 2 | Pin1 |
| 3 | Pin2 |
| 4 | Pin3 |
| 5 | Pin4 |
| 6 | Pin5 |
| 7 | Pin6 |
| 8 | Pin7 |
| 9 | Pin8 |
| Arduino | Speaker / Buzzer’s |
| 11 | One terminal |
| Gnd | Other terminal |
Upload Source Code
#define c3 9
#define c2 8
#define c1 7
#define c0 6
#define r3 5
#define r2 4
#define r1 3
#define r0 2
void setup() {
Serial.begin(9600);
pinMode(c0,INPUT_PULLUP);
pinMode(c1,INPUT_PULLUP);
pinMode(c2,INPUT_PULLUP);
pinMode(c3,INPUT_PULLUP);
pinMode(r0,OUTPUT);
pinMode(r1,OUTPUT);
pinMode(r2,OUTPUT);
pinMode(r3,OUTPUT);
pinMode(11,OUTPUT);
}
void loop()
{digitalWrite(r0,LOW);
digitalWrite(r1,HIGH);
digitalWrite(r2,HIGH);
digitalWrite(r3,HIGH);
if(digitalRead(c0)==LOW){
TCCR2A = B01000011;
TCCR2B = B00001110;
OCR2A=119;
delay(100);
TCCR2B=B00001000;
TCCR2A = B00000000;
digitalWrite(11,LOW);}
else if(digitalRead(c1)==LOW){
TCCR2A = B01000011;
TCCR2B = B00001110;
OCR2A=106;
delay(100);
TCCR2B=B00001000;
TCCR2A = B00000000;
digitalWrite(11,LOW);}
else if(digitalRead(c2)==LOW){
TCCR2A = B01000011;
TCCR2B = B00001110;
OCR2A=94;
delay(100);
TCCR2B=B00001000;
TCCR2A = B00000000;
digitalWrite(11,LOW);}
else if(digitalRead(c3)==LOW){
TCCR2A = B01000011;
TCCR2B = B00001110;
OCR2A=89;
delay(100);
TCCR2B=B00001000;
TCCR2A = B00000000;
digitalWrite(11,LOW);}
digitalWrite(r0,HIGH);
digitalWrite(r1,LOW);
digitalWrite(r2,HIGH);
digitalWrite(r3,HIGH);
if(digitalRead(c0)==LOW){
TCCR2A = B01000011;
TCCR2B = B00001110;
OCR2A=79;
delay(100);
TCCR2B=B00001000;
TCCR2A = B00000000;
digitalWrite(11,LOW);}
else if(digitalRead(c1)==LOW){
TCCR2A = B01000011;
TCCR2B = B00001110;
OCR2A=71;
delay(100);
TCCR2B=B00001000;
TCCR2A = B00000000;
digitalWrite(11,LOW);}
else if(digitalRead(c2)==LOW){
TCCR2A = B01000011;
TCCR2B = B00001110;
OCR2A=63;
delay(100);
TCCR2B=B00001000;
TCCR2A = B00000000;
digitalWrite(11,LOW);}
else if(digitalRead(c3)==LOW){
TCCR2A = B01000011;
TCCR2B = B00001110;
OCR2A=59;
delay(100);
TCCR2B=B00001000;
TCCR2A = B00000000;
digitalWrite(11,LOW);}
digitalWrite(r0,HIGH);
digitalWrite(r1,HIGH);
digitalWrite(r2,LOW);
digitalWrite(r3,HIGH);
if(digitalRead(c0)==LOW){
TCCR2A = B01000011;
TCCR2B = B00001110;
OCR2A=25;
delay(100);
TCCR2B=B00001000;
TCCR2A = B00000000;
digitalWrite(11,LOW);}
else if(digitalRead(c1)==LOW){
TCCR2A = B01000011;
TCCR2B = B00001110;
OCR2A=20;
delay(100);
TCCR2B=B00001000;
TCCR2A = B00000000;
digitalWrite(11,LOW);}
else if (digitalRead(c2)==LOW){
TCCR2A = B01000011;
TCCR2B = B00001110;
OCR2A=10;
delay(100);
TCCR2B=B00001000;
TCCR2A = B00000000;
digitalWrite(11,LOW);}
else if(digitalRead(c3)==LOW){
TCCR2A = B01000011;
TCCR2B = B00001110;
OCR2A=50;
delay(100);
TCCR2B=B00001000;
TCCR2A = B00000000;
digitalWrite(11,LOW);}
digitalWrite(r0,HIGH);
digitalWrite(r1,HIGH);
digitalWrite(r2,HIGH);
digitalWrite(r3,LOW);
if(digitalRead(c0)==LOW){
TCCR2A = B01000011;
TCCR2B = B00001110;
OCR2A=50;
delay(100);
TCCR2B=B00001000;
TCCR2A = B00000000;
digitalWrite(11,LOW);}
else if(digitalRead(c1)==LOW){
TCCR2A = B01000011;
TCCR2B = B00001110;
OCR2A=50;
delay(100);
TCCR2B=B00001000;
TCCR2A = B00000000;
digitalWrite(11,LOW);}
else if(digitalRead(c2)==LOW){
TCCR2A = B01000011;
TCCR2B = B00001110;
OCR2A=50;
delay(100);
TCCR2B=B00001000;
TCCR2A = B00000000;
digitalWrite(11,LOW);}
else if(digitalRead(c3)==LOW){
TCCR2A = B01000011;
TCCR2B = B00001110;
OCR2A=50;
delay(100);
TCCR2B=B00001000;
TCCR2A = B00000000;
digitalWrite(11,LOW);}
}
You may also like to check these awesome Projects
Build DIY touch Screen Calculator using Arduino and TFT LCD
How to Build Mobile Voice Based Home Automation using Raspberry Pi


