Dreamed of making a cheap and “EXTREMELY RELIABLE” portable USB solar charger? Here’s a quick tutorial, revealing how I made mine with a budget less than 50$
I have so many uses for it. When we travel and go camping, it serves us an unlimited supply of charging power for our handheld devices, such as iPhones, iPads, Speakers and Android Devices. It can charge anything! Anytime, anywhere! When an outrageous storm comes in, blackouts are inevitable, it’s a good thing to have a solar charger!
By the help of our trusty USB power bank, charging during night time is possible, it acts as a battery reservoir, and charges during the day.
It only takes 40-120 minutes to fully charge your power bank, and it also comes with a 4 bar battery indicator!
It’s a sustainable + reliable source of energy, ideal for charging USB devices.
Features:-
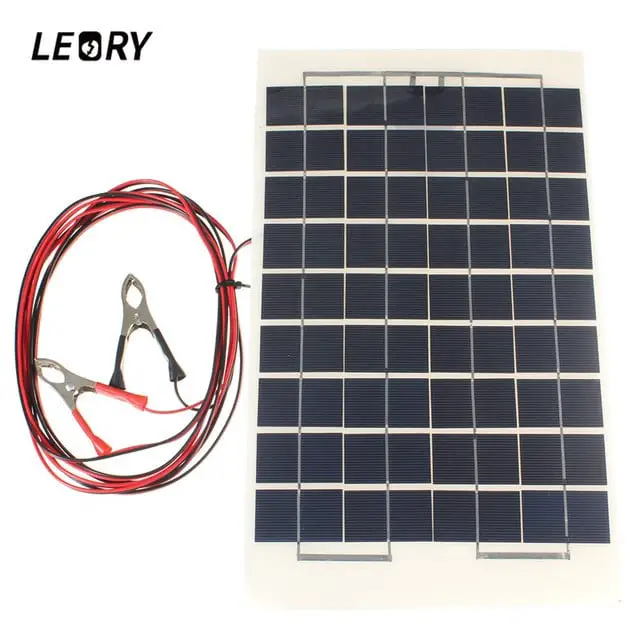
- 12 Volt 10W Solar Panel (Water Proof – Shock Resistant)
- 2800mAh PowerBank (2A Output – iPhone 5 compatible)
Let’s Get Started to make a DIY Solar Power Bank
Collect the Hardware
I will recommend you to buy things from Aliexpress just because that because things will come from directly China and it will cost you much lesser than Amazon
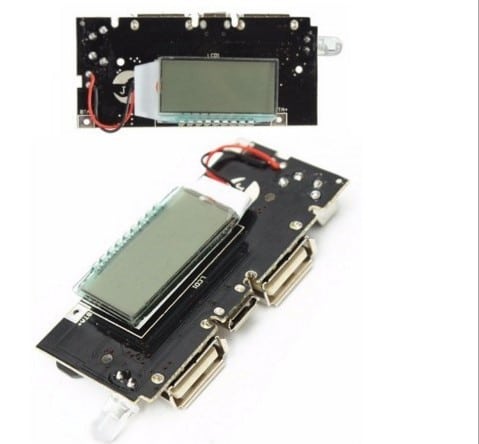
Buy Battery PCB Battery Module (Amazon)
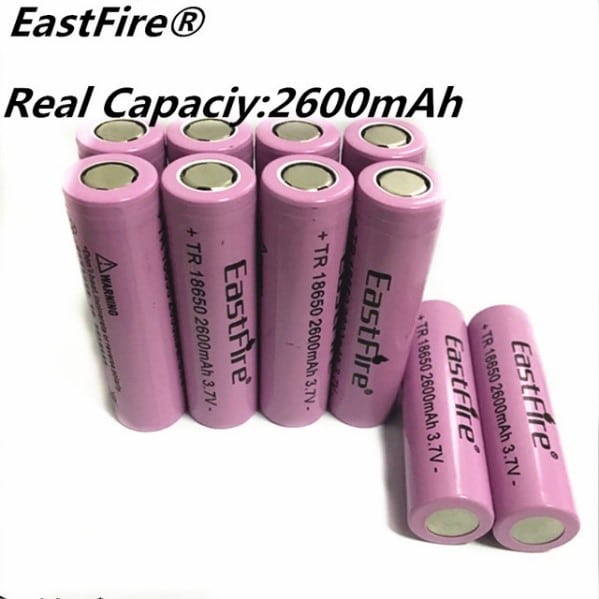
Buy 18650 Batteries at least 10batteries and It will give you more then 20000mah power (Amazon)
BUY 10W 12v Solar Plate (Amazon)
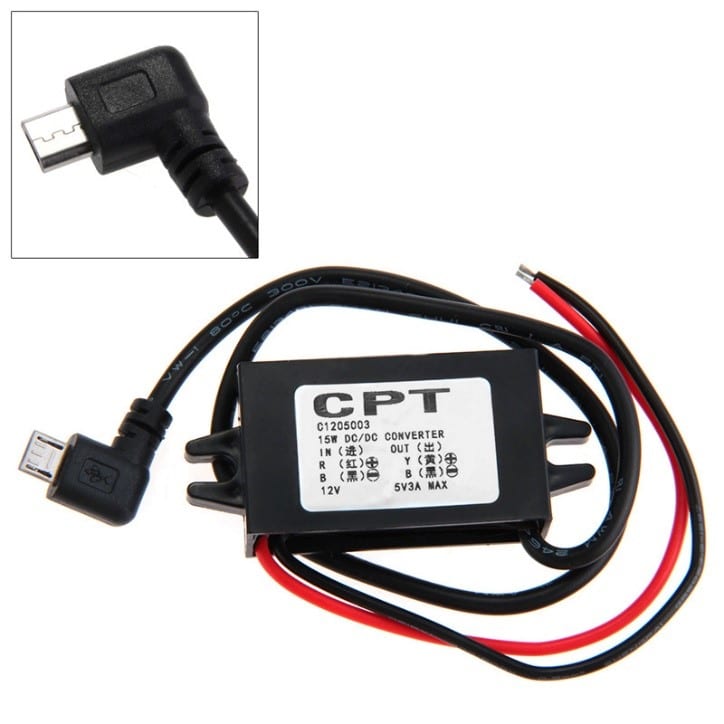
Buy DC to DC Step Down Converter 12v to 5v 3A (Amazon)
Let’s Build
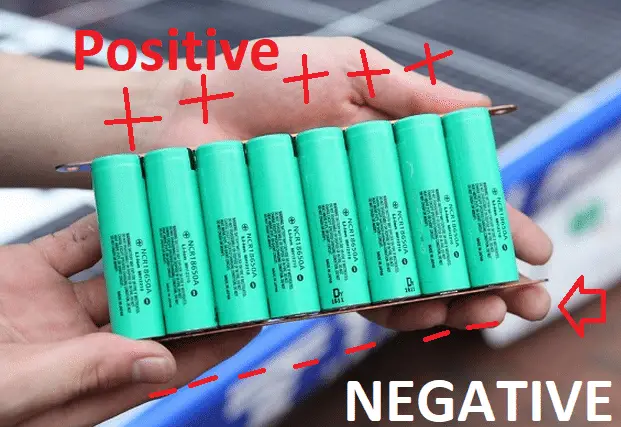
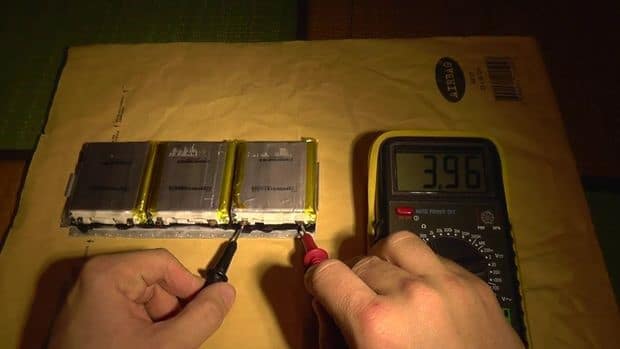
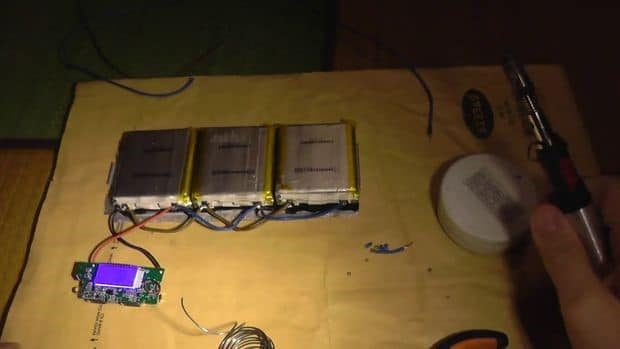
Connect the batteries in parallel
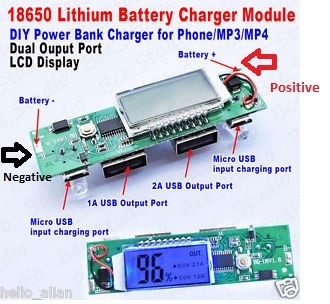
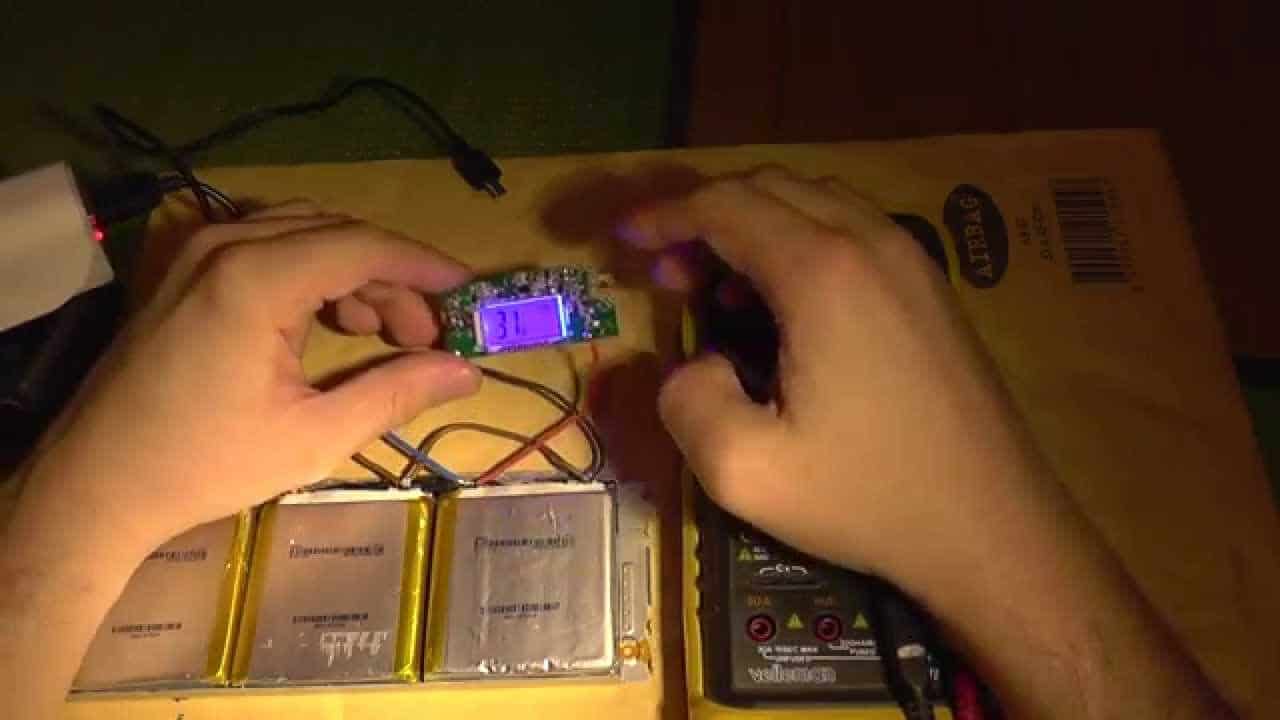
After it Connect batteries to Power Bank module
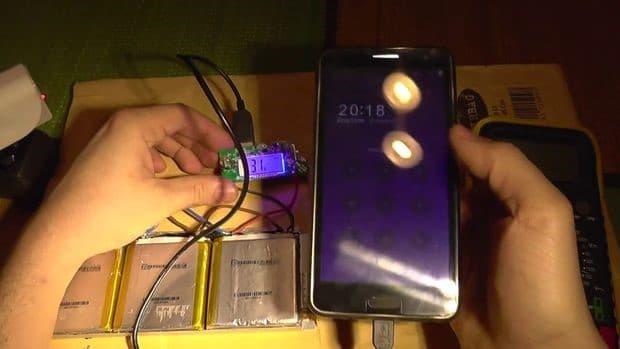
So that is it your bank power is ready you can use dual USB port for charging,
Let’s Move on Solar Power Panel
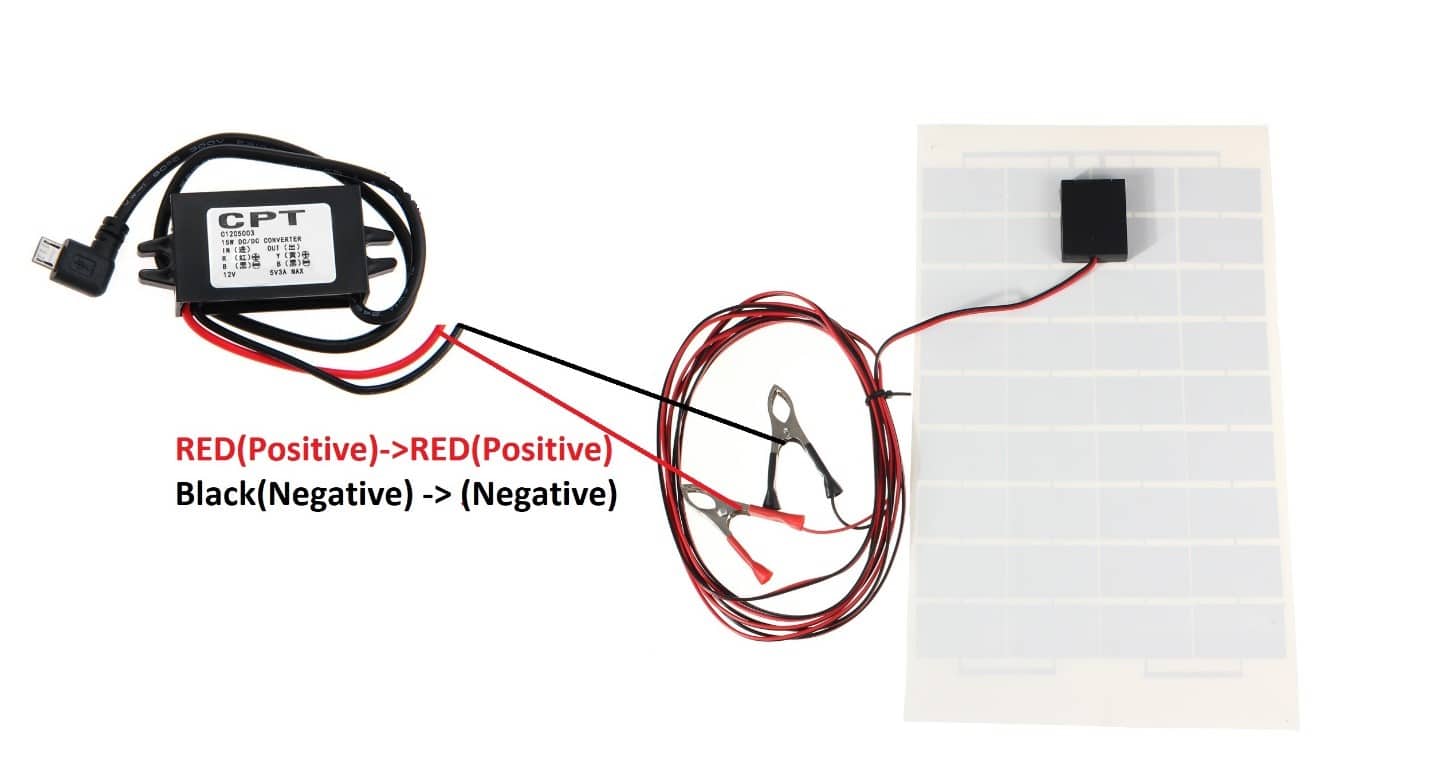
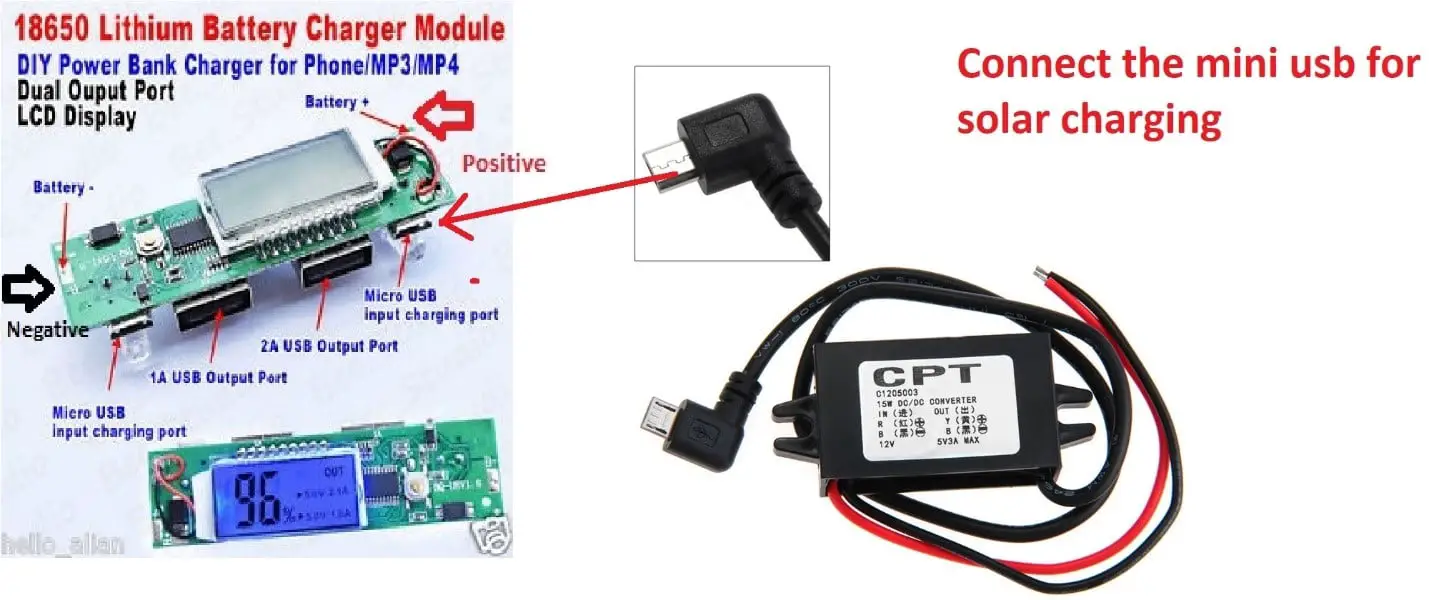
Connect the Solar panel with step down DC to DC Converter positive wire to positive side and negative wire to negative as mention in the figure below
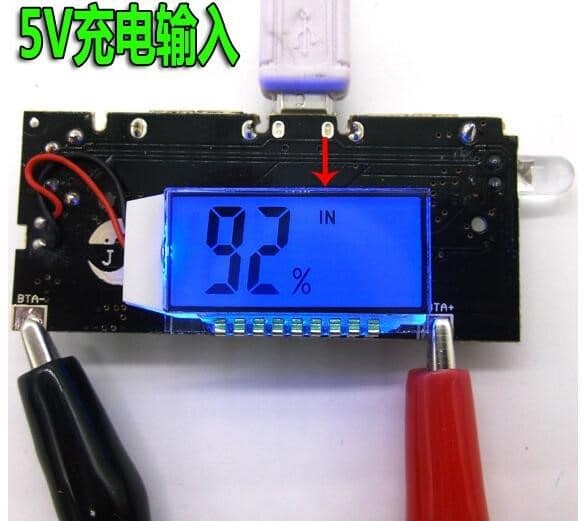
So that is it when you have to charge your power bank with Solar Bank Just connect the Mini USB cable to Power Bank Module like the shown in the figure below
Here are few things I have done on my side and It works great
Further Steps
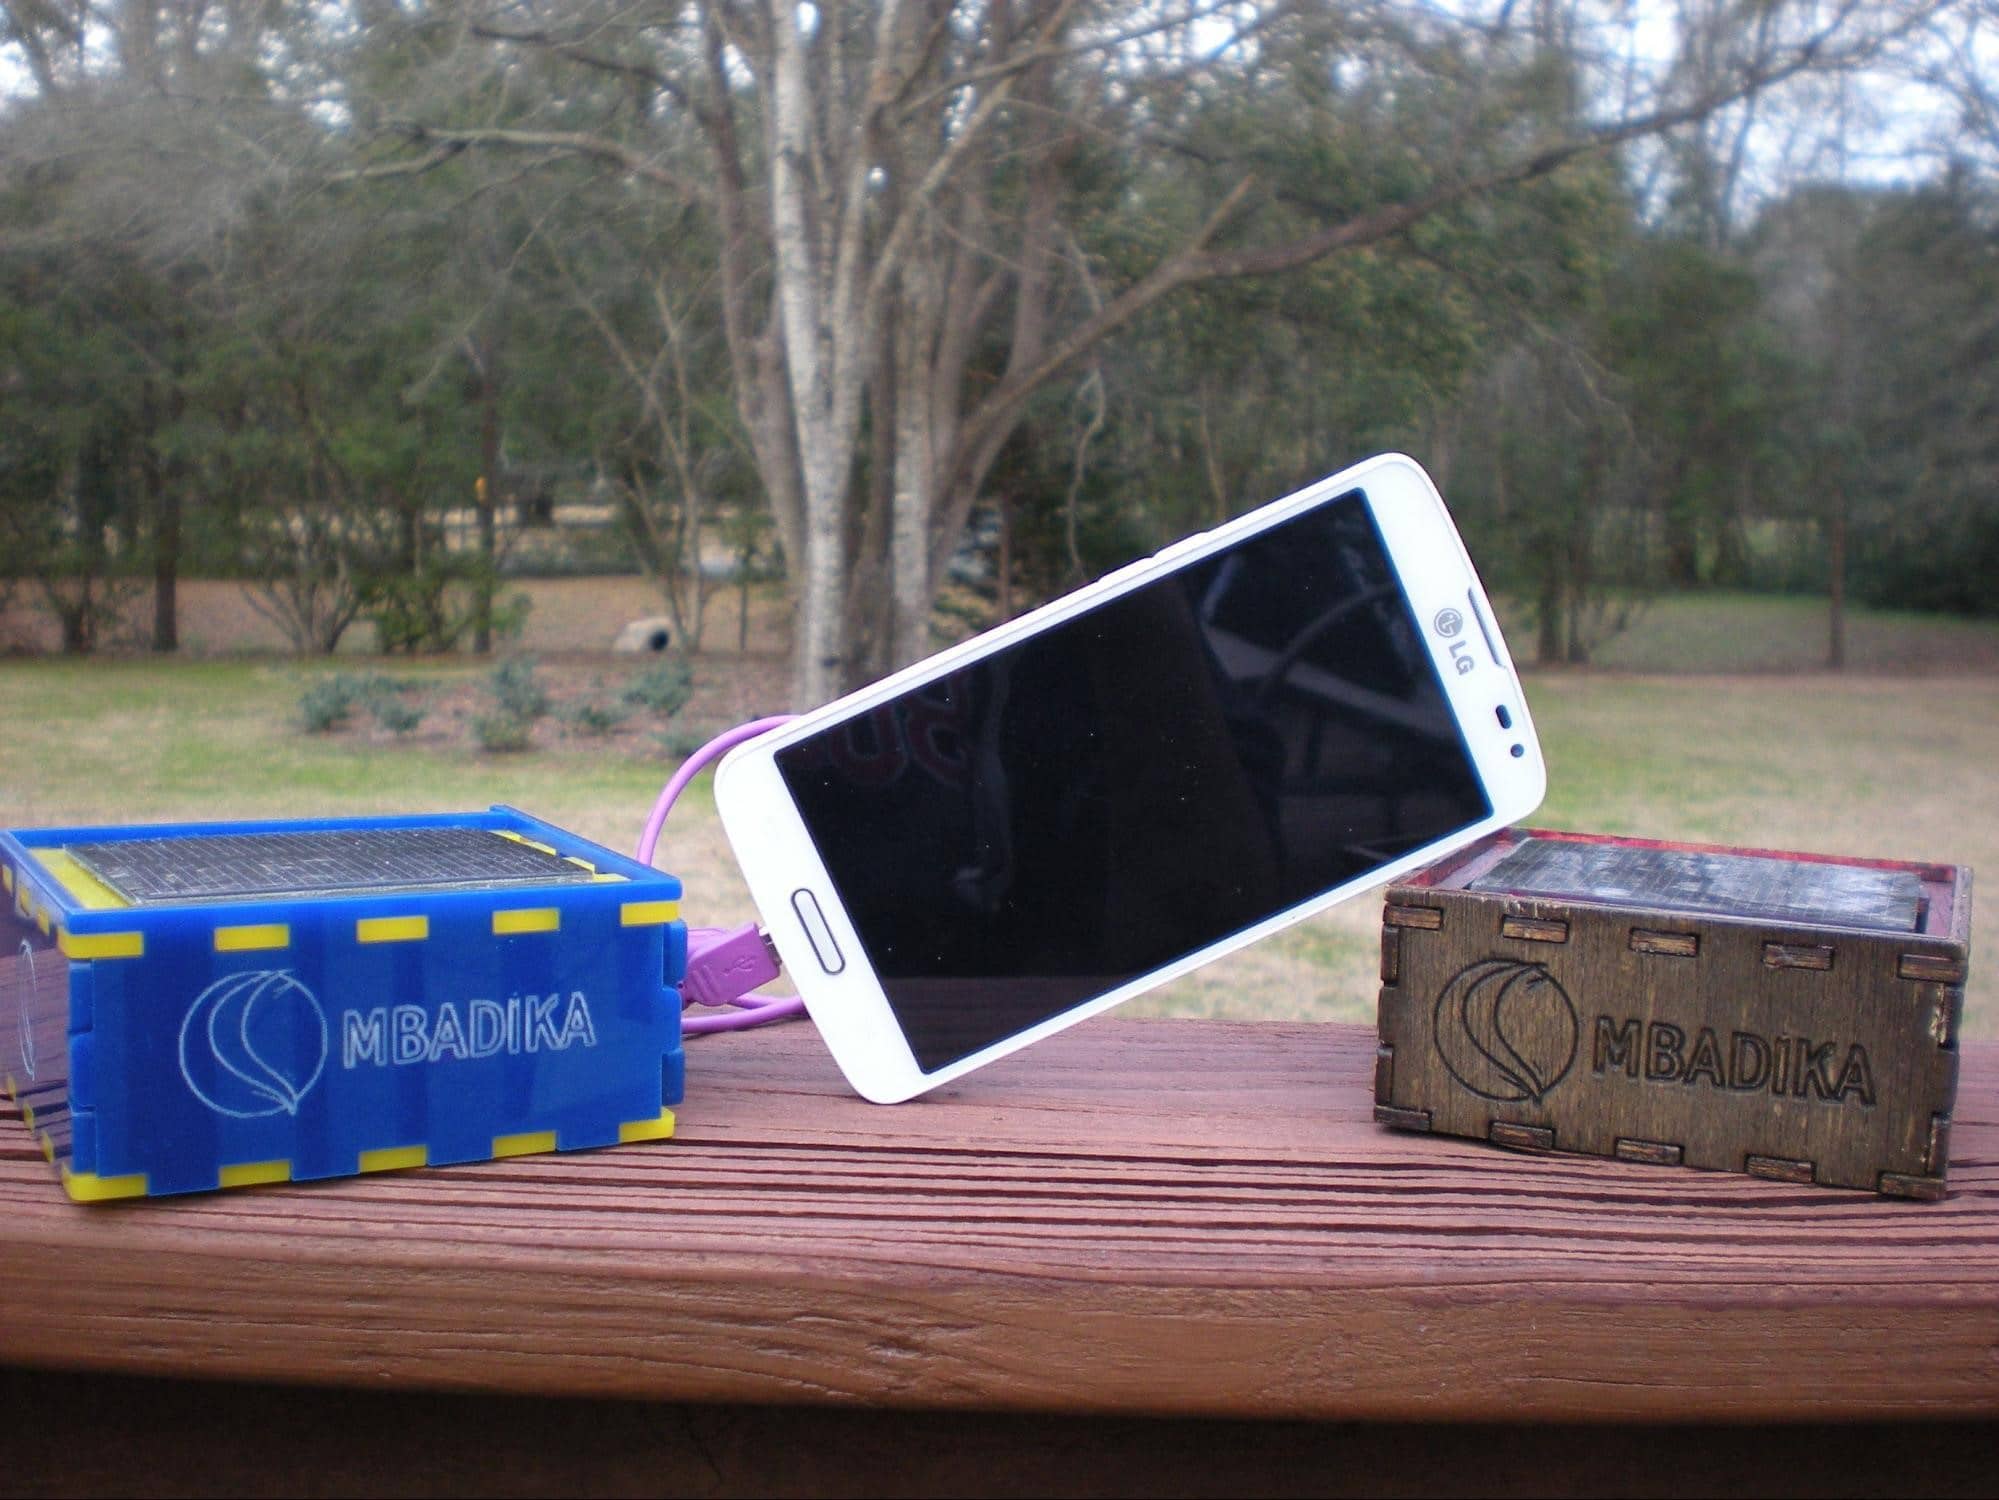
You can build a shell for your solar USB charger just like we did.
For our Teen USB Charger Kit, we use a laser cutter on the MIT campus to cut the inspirational shell from plywood and acrylic. If you can use a laser cutter, you can find plenty of open source laser cut files (usually Adobe Illustrator or Corel Draw files) that you can download and use to create interesting housings for your Solar USB charger.
However, we know that most of the planet does not have these facilities and there are other solutions to showcase your new solar building.
Our favorite is a small plastic storage container or Altoids can. An assistant at MIT, Ladyada of Adafruit Industries, has developed an Altoids Tin packaged USB charger kit called MintyBoost that has become a huge hit in the manufacturer’s community.
If your solar panel is small enough, you can connect the solar panel to the outside of an aluminum tin for charging and store it in the tin when not in use.
Since solar enclosures are exposed to the sun, we do not recommend using cardboard or paper products as solar enclosures.
You may also like to read these articles
How to Build DIY Heart Rate Monitor with Arduino
Arduino VS Raspberry: Which Is The Mini Computer For You?
Hope my article “How to make a DIY Solar Power Bank” helps you to make a DIY Solar Power Bank. if you have any query, feel free to comment.


